 Loading...
Do you have a question about the Asus P7P55D Deluxe - Motherboard - ATX and is the answer not in the manual?
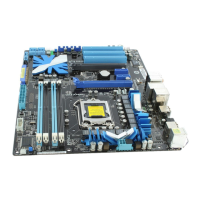
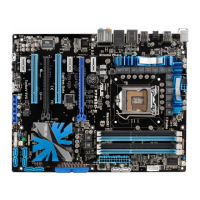
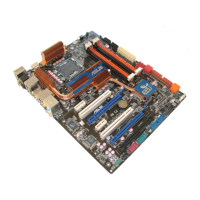
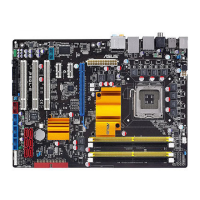
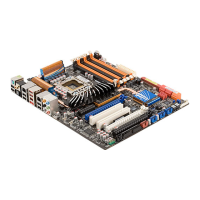
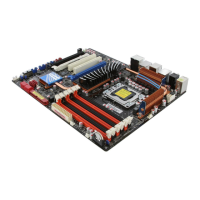
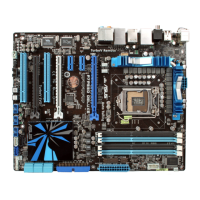
| Form Factor | ATX |
|---|---|
| Chipset | Intel P55 |
| CPU Socket | LGA 1156 |
| Max Processors Qty | 1 |
| Memory Slots | 4 |
| Max Memory | 16 GB |
| Memory Type | DDR3 |
| Memory Standard | DDR3 2200(O.C.)/1600/1333/1066 |
| PCIe x16 Slots | 2 |
| PCI Express x1 | 2 |
| PCI Slots | 2 |
| SATA 6Gb/s | No |
| RAID Support | Yes |
| USB 2.0 Ports | 12 |
| USB 3.0 Ports | No |
| Audio | 8-channel |
| Audio Codec | VIA VT2020 |
| LAN | Gigabit Ethernet |
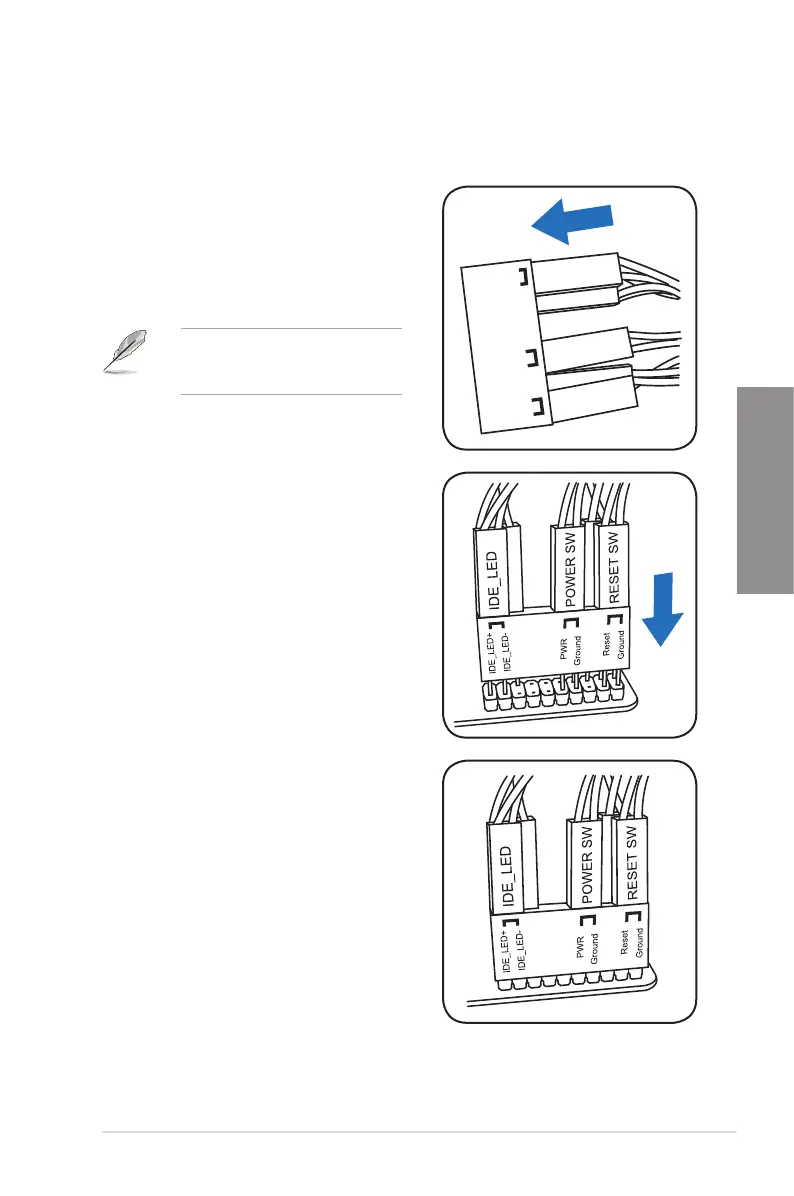
| Power Connector | 24-pin ATX |