3-3ASUS ROG Swift Pro PG248QP Series LCD Monitor
* MonitoringRectangleLocation: Manually adjusts the location of the
monitoring rectangle using the ( 5-way) button.
* MonitoringRectangleSize: Manually adjusts the size of the
monitoring rectangle using the ( 5-way) button.
You can also download and install the GeForceExperience to enjoy the full
experience of system latency analysis.
The GeForceExperience setup steps are as follows:
a. Install the GeForceExperience.
b. Ensure the monitor is set to 540Hz in the NVIDIA Control Panel.
c. Open GeForceExperience by clicking the desktop shortcut or by right-
clicking the NVIDIA logo in the Windows System Tray near the clock.
d. Log in to GeForceExperience.
e. Click the gear and check the EnableExperimentalFeatures box in
General settings to expose performance metrics.
f. Press ALT + Z to open the GeForce Experience in-game overlay.
g. Now that the GeForce Experience overlay is open, click Performance.
h. Click the small gear to congure the performance overlay.
i. Ensure Performance is highlighted, choose an overlayposition, then
click Latency.
j. This will open the PerformanceOverlay with latencymetrics.
• NVIDIA ULMB 2 (Ultra Low Motion Blur)/ULMB2PulseWidth (only for
DisplayPort input): Adjusts the level of motion blur reduction. This function
is available when the refresh rate is 360Hz, 480Hz, 500Hz or 540Hz.
• ULMB2PulseOffset: Could improve the motion blur on different position
of the screen (top, middle or bottom of the screen).
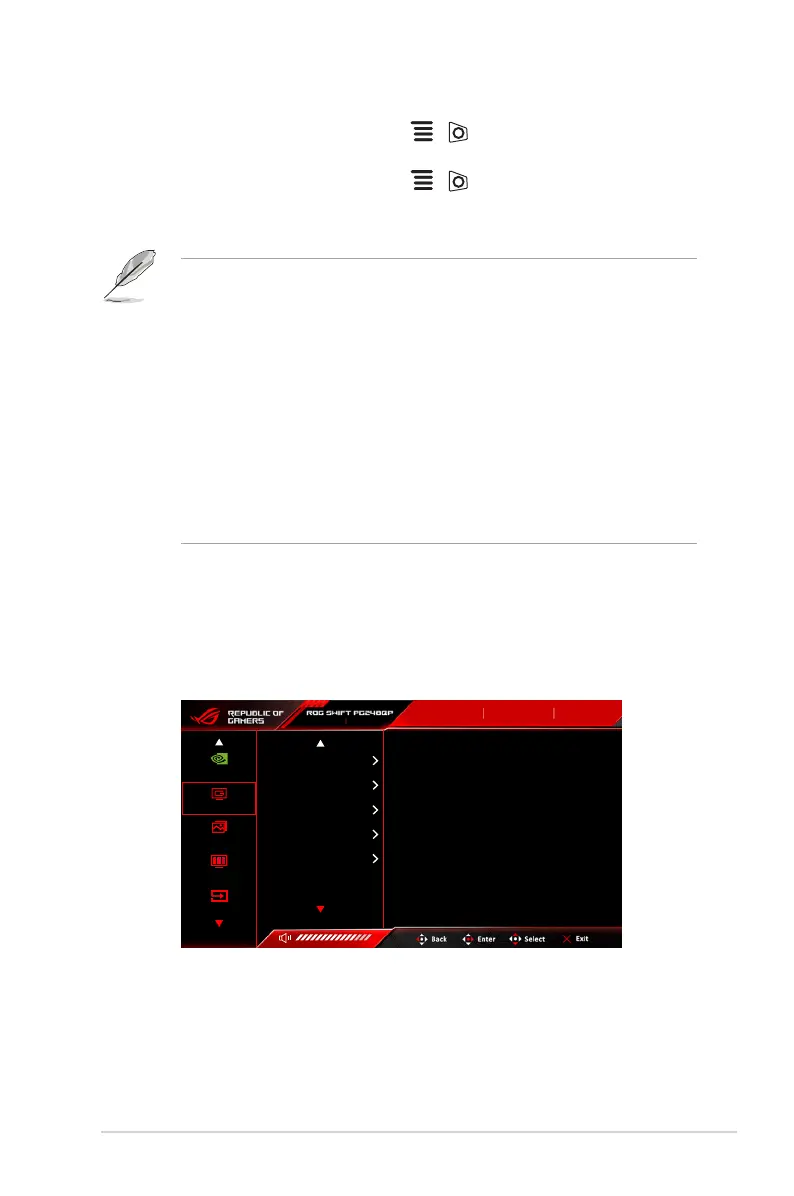
2. Gaming
1920x1080 540 Hz
G-SYNC®
Processor
Gaming
Image
Color
Input Select
Input Select
DisplayPort
Mouse
Analyzer Inactive
HDR
OFF
Overcolocking
OD
GamePlus
GamrVisual
Dark Boost
• Overclocking: This function allows you to activate the maximum refresh
rate.
• OD: Improves the gray level response time of the LCD panel. It contains 4
modes including Extreme, Esports, Normal and OFF.
 Loading...