Chapter 3: Installation options3-2
3.1 Friction Rail Kit Installation Guide
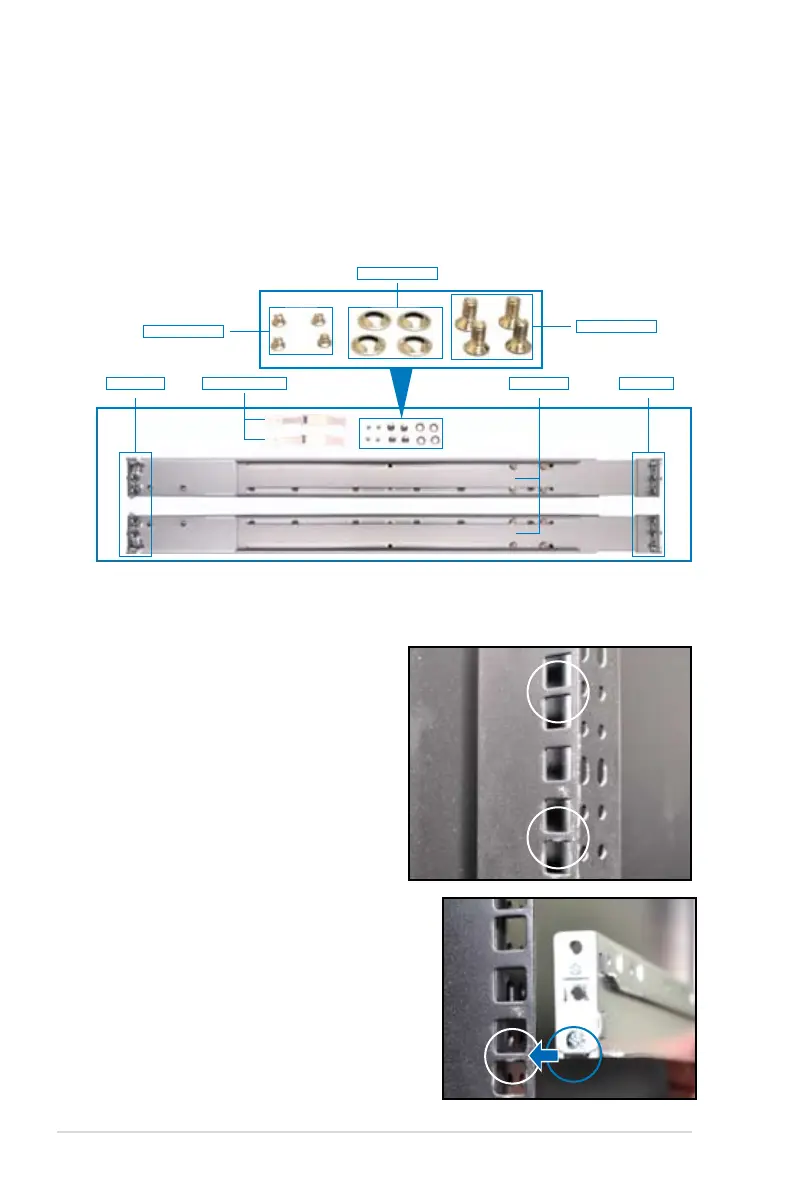
Your friction rail kit package contains:
• One pair of rack rails
• One pair of xing latches
• 4 latch screws, 4 rail screws and 4 rail washers
3.1.1 Setting up the friction rail kit on the rack
Rack railsFixing latchesFront end Rear end
Latch screws
Rail screws
Rail Washers
1. Select a 1U space on the rack
where you want to install the rack
rail. A 1U space consists of three
square mounting holes with two
thin lips on the top and the bottom,
as shown in the right gure.
2. Adjust the rack rail to t the depth
of the rack.
3. From inside the rack, place the rear rail
hook on the bottom thin lip of the rear
mounting hole, and then place the front
rail hook on the bottom thin lip of the
front mounting hole, as shown in the
right gure.
 Loading...