Do you have a question about the ASUSTOR AS-604T and is the answer not in the manual?
This document serves as a Quick Start Guide for ASUSTOR Network Attached Storage (NAS) devices, specifically covering models AS-602T, AS-604T, AS-606T, and AS-608T. It provides essential information for setting up, configuring, and maintaining these NAS units, ensuring users can quickly get their devices operational.
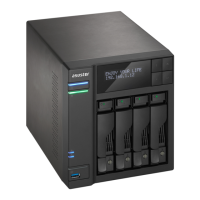
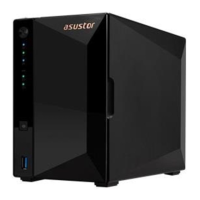
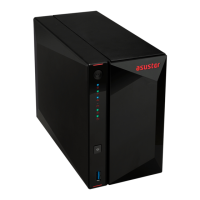
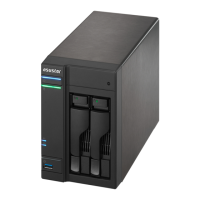
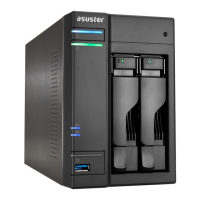
The ASUSTOR NAS is a network-attached storage device designed to provide centralized data storage, sharing, and management capabilities for both Windows and Mac users. It acts as a central hub for your digital content, allowing multiple users to access and share files over a network. The device supports various hard disk configurations, including both 3.5-inch and 2.5-inch HDDs and SSDs, offering flexibility in storage capacity and performance.
The core function of the NAS is to store data securely and make it accessible across a network. This includes personal files, media libraries, backups, and more. It integrates with network infrastructure via Ethernet, allowing for seamless data transfer and access from connected computers and other devices. The NAS is powered by an external adapter and features a system fan for cooling, ensuring stable operation.
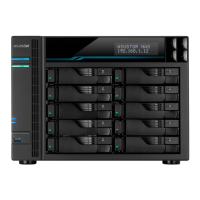
For initial setup and ongoing management, ASUSTOR provides the ASUSTOR Control Center software. This utility helps users discover their NAS devices on the network, initiate the installation process, and configure system settings. The installation process involves setting up the hard disks, configuring network parameters, and establishing user accounts. The NAS also supports web-based installation, allowing users to configure the device through a web browser if its IP address is known. For specific models (AS-604T/606T/608T), an LCD display offers an alternative method for initialization, providing a direct interface for basic setup tasks.
Connectivity options on the rear panel include multiple USB 3.0 and USB 2.0 ports for connecting external devices, eSATA ports for additional storage expansion, RJ45 Ethernet ports for network connection, and an HDMI port for direct display output. A reset button is also available for system recovery or configuration reset. The presence of multiple network ports suggests support for link aggregation or redundant network connections, enhancing performance and reliability.
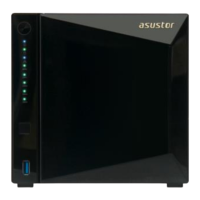
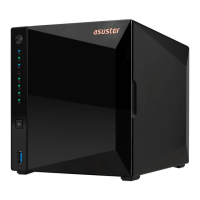
The NAS is designed to be a reliable and efficient storage solution, capable of handling various data management tasks. It supports different operational states, indicated by LED indicators, such as power on, sleep mode, system ready, network connected, and hard disk activity. These indicators provide visual feedback on the device's status, helping users monitor its operation.
The ASUSTOR NAS offers a user-friendly experience, starting with its straightforward hardware installation. Users can easily install 3.5-inch or 2.5-inch hard disks into the disk trays, which are designed for simple insertion and secure locking into the disk bays. The guide emphasizes ensuring the trays are fully pushed in and latched to prevent issues.
Once hardware is set up, connecting the NAS to power and the network (router, switch, or hub) is a simple process using the provided cables. Powering on the device involves pressing and holding the power button for a few seconds until the blue power LED illuminates. The system status LED provides feedback during the boot process, flashing until the system is ready, at which point it remains steadily lit and a 'beep' confirms readiness.
Software installation is flexible, offering three primary methods:
http://192.168.1.168:8000), providing a convenient way to set up the device without needing the CD.The ASUSTOR Control Center is a key utility for managing the NAS. It allows users to detect NAS devices on the network and guides them through the configuration process. This includes setting up network parameters, creating user accounts, and managing storage volumes.
LED indicators on the front panel provide crucial status information at a glance:
These visual cues help users quickly understand the operational state of their NAS without needing to access the software interface.
The guide provides important safety precautions to ensure the longevity and safe operation of the NAS. These include:
The document also includes troubleshooting steps for common issues, particularly when the ASUSTOR Control Center fails to detect the NAS. These steps are designed to help users diagnose and resolve connectivity problems:
If these troubleshooting steps do not resolve the issue, users are advised to contact their local ASUSTOR dealer or ASUSTOR Customer Service for further assistance.
The guide also highlights environmental responsibility, indicating that the product should not be disposed of in municipal waste. The crossed-out wheeled bin symbol signifies that the device is designed for proper reuse of parts and recycling, encouraging users to check local regulations for electronic product disposal.
Overall, the ASUSTOR NAS is designed for robust performance and ease of use, with comprehensive guidance for setup, operation, and troubleshooting to ensure a smooth user experience.
| Model | AS-604T |
|---|---|
| Category | NAS |
| RAM | 1GB DDR3 |
| Expandable Memory | Yes |
| Drive Bays | 4 |
| Hot Swappable | Yes |
| Network Interface | 10/100/1000 Mbps |
| HDMI Output | Yes |
| Operating System | ADM (ASUSTOR Data Master) |
| Form Factor | Desktop |
| CPU | Intel Atom Dual-Core 2.13 GHz |
| Processor | Intel Atom |
| Drive Type | 3.5" SATA II/ SATA III or 2.5" SATA II/ SATA III HDD/SSD |
| RAID Support | RAID 0, 1, 5, 6, 10, JBOD |
| LAN Ports | 2 |
| Power Supply | External Adapter |
| Audio Output | HDMI |
| USB Ports | 2 x USB 3.0 (Rear), 4 x USB 2.0 (Front x 1, Rear x 3) |
| Dimensions | 185.5(H) x 170(W) x 230(D) mm |