Do you have a question about the ASUSTOR AS1102T and is the answer not in the manual?
Statement regarding FCC compliance for the device, including operating conditions and interference guidelines.
Information on CE marking compliance with EEC directives for electromagnetic compatibility and safety.
Guidelines for safe use of power sources, adapters, and ensuring correct power input ratings.
Precautions for product placement, environment, ventilation, and avoiding damage or improper use.
Lists necessary tools and provides a link to compatible hard disk information for installation.
Step-by-step instructions for physically installing 3.5-inch hard disks into the NAS device.
Instructions on how to use a provided bracket to secure the power cord to prevent detachment.
Steps for connecting power and network cables, and the procedure to turn on the NAS device.
Guide for installing ASUSTOR Control Center on Windows and scanning for NAS devices.
Instructions on how to initialize the NAS by accessing its IP address via a web browser.
Steps to install and use the AiMaster mobile app for NAS discovery and setup.
Refers to troubleshooting section for instructions on direct network connection setup.
Explains how to shut down or put the NAS into sleep mode using the power button.
Explains the meaning of different LED indicators on the NAS for status monitoring.
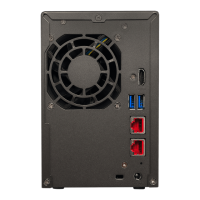
Identifies and describes the ports and buttons located on the rear of the NAS device.
Provides solutions for common issues, such as NAS detection problems with ASUSTOR Control Center.
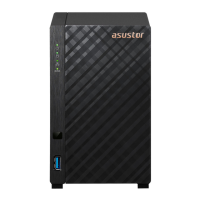
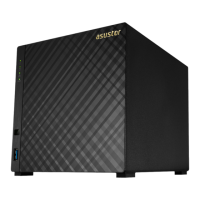
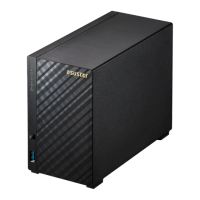
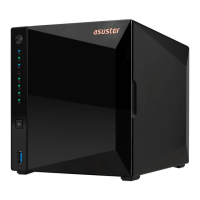
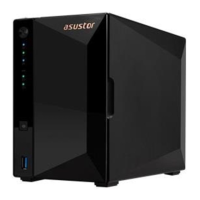
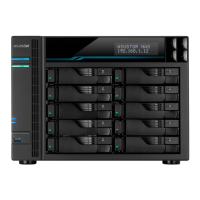
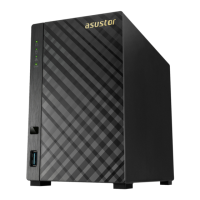
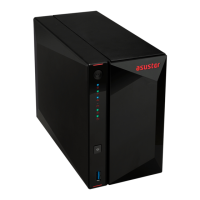
This document is a Quick Installation Guide for ASUSTOR NAS devices, specifically models AS1102T and AS1104T. It provides comprehensive instructions for setting up and maintaining the network-attached storage (NAS) system.
The primary function of these ASUSTOR NAS devices is to provide network-attached storage, allowing users to store, access, and manage data over a network. They are designed for both personal and small business use, offering features for data backup, file sharing, and multimedia streaming. The guide covers both hardware and software installation, ensuring users can get their NAS up and running efficiently.
The guide details the process of installing hard disks, connecting the NAS to a network, and powering it on. For hard disk installation, users are instructed to remove screws from the rear of the NAS, slide off the cover, and then insert 3.5-inch SATA hard disks into the disk bays until they are firmly seated. It's emphasized that all data on the hard disks will be erased during initialization, so backing up important data beforehand is crucial. For models with multiple disk bays, the guide recommends inserting the first hard disk into the HDD 1 slot for initialization. If utilizing RAID functions, using hard disks of the same capacity is recommended to fully utilize the storage. After installing the hard disks, users replace the cover and tighten the screws.
Connecting and powering on the NAS involves plugging it into a power supply, connecting it to a router, switch, or hub via an Ethernet cable, and then pressing and holding the power button for 1-2 seconds until the yellow power LED lights up. The system is ready for operation once the yellow system status LED stops flashing and remains steadily lit, accompanied by a 'beep' from the system buzzer.
Software installation can be done via four different methods: Download Center Installation (for Windows and Mac users), Web Installation, Installation Using a Mobile Device, and Installation Using a Direct Connection. For Windows and Mac users, the ASUSTOR Control Center software automatically scans the network for NAS devices. Users select their NAS from the list and follow the installation wizard. Web Installation requires knowing the NAS's IP address and entering it into a web browser. Mobile installation uses the "AiMaster" app, available on Google Play and the Apple App Store. Users scan a QR code or search for the app, connect their mobile device to the same local network as the NAS, open AiMaster, and use the "Auto Discovery" feature to find and initialize the NAS. The guide also mentions a direct connection method, referring users to the troubleshooting section for instructions.
The guide also explains how to secure the power cord using a provided bracket to prevent accidental detachment. This involves removing a fan screw, positioning the bracket over the screw hole, and then replacing the screw to secure the bracket and the power cord.
The document includes a section on "Safety Precautions" to ensure the longevity and safe operation of the NAS. These precautions cover electrical safety, such as unplugging the product before cleaning and using only the bundled power adapter. Operation safety guidelines include placing the product on a flat, stable surface, using it within a specified temperature range (0°C to 40°C), ensuring proper ventilation by not blocking air vents, and avoiding inserting objects or spilling liquids into the vents. Users are advised to contact a qualified service technician or retailer for technical problems rather than attempting repairs themselves. The guide also includes a "DO NOT throw this product in municipal waste" directive, emphasizing proper disposal and recycling of electronic products.
An "Appendix" section provides details on LED Indicators and the Rear Panel layout. The LED indicators (Power, System Status, Network, Hard Disk) are described with their corresponding colors (Green, Orange, Red) and states (Steadily lit, Flashing) to help users understand the NAS's operational status, including power on, LED night mode, powering on, system ready, system or hard disk abnormality, fan or system temperature abnormality, network port connected, hard disk ready, and data access in progress. The Rear Panel diagram labels various ports and buttons, such as the Power Button, Reset Button, USB 3.2 Gen 1 Port, Network Port, DC Input, System Fan, and K-Lock.
The "Troubleshooting" section addresses common issues, specifically the inability to detect the ASUSTOR NAS using ASUSTOR Control Center. It provides a step-by-step guide to diagnose and resolve network connection problems. This includes checking the network connection, ensuring the computer and NAS are on the same local area network, verifying the network LED indicator, trying different Ethernet cables or ports, disabling firewalls, and, if necessary, connecting the NAS directly to the computer and changing the computer's IP settings. Detailed instructions are provided for modifying IP settings in Windows, guiding users through the Control Panel to adjust network adapter settings, specifically for Internet Protocol Version 4 (TCP/IPv4).
Finally, the guide explains how to shut down the NAS. Users can configure the power button's function (shut down or sleep mode) via the ADM settings. Holding the power button for 1.5 seconds will trigger the configured action, accompanied by a "beep" from the system buzzer. For further support, users are directed to the ASUSTOR Customer Service website and Knowledgebase.
| Processor | Realtek RTD1296 Quad-Core 1.4GHz |
|---|---|
| Memory | 1GB DDR4 |
| Drive Bays | 2 |
| Network | 1 x Gigabit Ethernet |
| USB Ports | 2 x USB 3.2 Gen 1 |
| Wake-on-LAN (WOL) | Yes |
| Certifications | FCC, CE, VCCI, BSMI, C-Tick |
| Hot Swappable Drive | Yes |
| HDMI Output | No |
| Operating System | ADM (ASUSTOR Data Master) |
| Drive Compatibility | 3.5" SATA HDD, 2.5" SATA HDD |
| Dimensions | 165 x 102 x 218 mm |
| Input Power Voltage | 100V to 240V AC |
| RAID Support | RAID 0, 1, JBOD, Single |
| Maximum Capacity | 36 TB (18 TB HDD x 2, Capacity may vary by RAID types) |