GB 6
GB 7
Igniting and adjusting
Each burner can be adjusted continuously between the high and low
positions.
1. 0-setting
2. Burner indication
3. Low setting
4. High setting
Controls
Press the control knob in and turn it anti-clockwise.
e burner ignites.
Hold the control knob pressed in for approximately 5 seconds to
switch the flame failure device on.
CONTROLS
Igniting and adjusting
What you should pay attention to
Ensure that there is adequate ventilation during use. U
Keep natural ventilation openings open. º
When using the hob for long periods, extra ventilation is º
necessary. Open a window for instance or install a mechanical
fan.
Use the hob only for preparing dishes. U
e appliance is not suitable for space heating. º
Never flambé under an extractor hood. U
e high flames can cause a fire, even if the fan is switched off. º
e burner parts are hot during and immediately after use. U
Do not touch them, and avoid contact with non-heat-resistant º
materials.
Never immerse hot burner parts in cold water. e rapid º
cooling can damage the enamel.
e distance from the pan to a knob or non-heat-resistant wall U
should always be greater than two centimetres.
In the case of smaller distances the high temperature may º
cause the knobs or wall to discolour and/or distort.
Always use the pan supports and suitable cooking utensils. U
Always place the pan on the pan support. Placing the pan º
directly on the burner head can result in dangerous situations.
Aluminium trays or foil are not suitable as cooking utensils. º
ey can become burnt into the burners and pan supports.
Installing burner parts and pan supports. U
e hob can only function effectively if the burner parts have º
been assembled using the guide ridges.
Ensure that the pan supports lie properly against each other º
and flat on the drip tray. Only then can the pans be
positioned stably.
Safety instructions
1
3
2
4
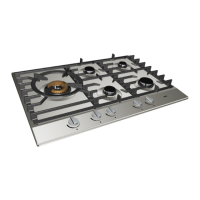
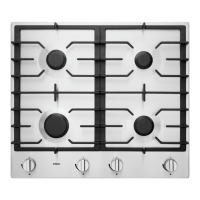
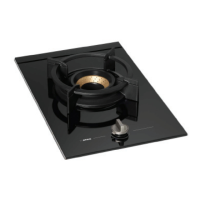
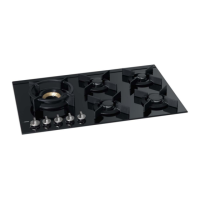
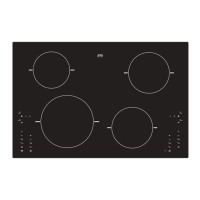
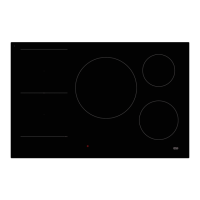
YOUR GAS HOB
 Loading...