EasyManua.ls Logo

Atag HI9071M User Manual

Atag HI9071M
150 pages
Go to English
To Next Page IconTo Next Page
Page #1 background imageLoading...
Page #1 background image
700001872100
Dit plaatje bevindt zich aan de bovenzijde van het toestel.
Cette plaque se trouve sur le dessus de l'appareil.
Dieses Schild befindet sich an der Oberseite des Gerätes.
This card is located on the top of the appliance.
Houd, wanneer u contact opneemt met de serviceafdeling, de productiecode (PCODE)
en het volledige itemnummer (ITEMNR) bij de hand.
En cas de contact avec le service après-vente, ayez auprès de vous
le code de production (PCODE) et le numéro complet de l'article (ITEMNR).
Halten Sie den Produktionscode (PCODE) und die vollständige Itemnummer (ITEMNR) bereit,
wenn Sie mit der Kundendienstabteilung Kontakt aufnehmen.
When contacting the service department, have the production code (PCODE)
and complete item number (ITEMNR) to hand.
Adressen en telefoonnummers van de serviceorganisatie vindt u op de garantiekaart.
Les adresses et les numéros de téléphone du service après-vente se trouvent sur la carte de garantie.
Adressen und Telefonnummern der Kundendienstorganisation finden Sie auf der Garantiekarte.
You will find the addresses and phone numbers of the service organisation on the guarantee card.
plak hier het toestel-identificatieplaatje
placez ici la plaque d'identification de l'appareil
kleben Sie hier das Gerätetypenschild ein
stick the appliance identification card here
700001872100 HL HI9071M.qxp 12-10-2005 12:51 Pagina b

Table of Contents

Question and Answer IconNeed help?

Do you have a question about the Atag HI9071M and is the answer not in the manual?

Atag HI9071M Specifications

General IconGeneral
TypeInduction hob
Control TypeTouch control
Power Levels9
Boost FunctionYes
TimerYes
Residual Heat IndicatorYes
InstallationBuilt-in
ColorBlack
Safety FeaturesChild Lock, Auto Shut-off
MaterialCeramic glass

Summary

Hob Description

Control Panel Overview

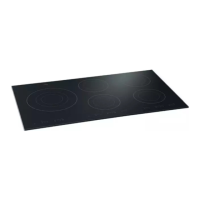
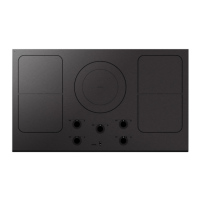
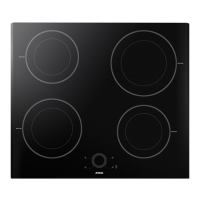
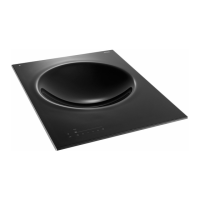
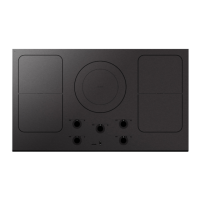
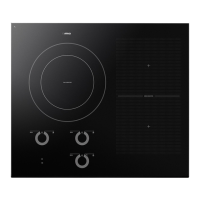
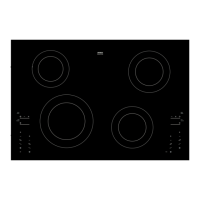
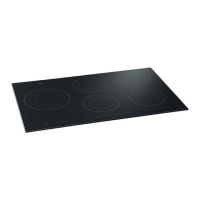
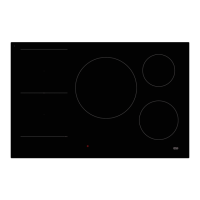
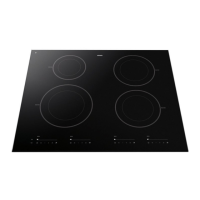
Explanation of the control panel layout and its functions.

Safety Precautions

General Operational Awareness

Matters to be aware of, such as initial odour and professional electrical connection.

Burn Risk Minimization

Details on the low risk of burns due to heat generation in the pan.

General Information: Pans

Pan Suitability Criteria

Criteria for selecting suitable pans for induction cooking, including magnetic base.

Recommended Pan Specifications

Advice on using pans with thick, flat bases and the 'Class Induction' mark.

Operation: Switching On

Memory Function Programming (Record)

Instructions for programming cooking settings and times into the memory.

Basic Zone Activation and Power Adjustment

Steps to switch on zones and adjust power levels using '+' and '-' buttons.

Memory Function Activation (Play)

Steps to activate a programmed cooking setting using the 'PLAY' function.

Childproof Lock Operation

How to activate and deactivate the childproof lock to prevent accidental use.

Operation: Switching On

Boost Setting Usage

Explanation of the 'b' (boost) setting for rapid boiling, including wattage.

Operation: Switching On

Timer Functionality Guide

How to use the built-in clock as a cooking timer, independent of zones.

Operation: Extra Security

Cooking-Time Limiter Function

Explanation of the limiter that switches zones off after a set time.

Operation: Extra Security

Ventilation Cooling System

Description of the cooling system and automatic shut-off for insufficient air circulation.

Operation: Extra Security

Overheating Protection Details

Causes and reactions of the appliance overheating, including error codes.

Overheating Prevention Measures

Measures to prevent overheating, such as using good pans and ensuring ventilation.

Cooking Information: Settings and Power Levels

Boost Setting Usage Guidance

Guidance on using the 'b' (boost) setting for boiling water only.

Extra Facilities: Beep

Faults and Troubleshooting

Appliance Power and Connection Faults

Checks for no electricity or incorrect connection when the appliance is dead.

Display Error Code Troubleshooting

Troubleshooting for error codes F9, FA, F99, and F8 display.

Zone and Appliance Operation Issues

Resolving flashing displays, locked appliance, slow heating, and faults F00-F11.

Installation: General

General Installation Requirements

Covers electrical safety, regulations, ventilation needs, and worktop flatness.

Installation: General

Space Clearance Requirements

Diagram showing required clearances for cooker hood, cabinets, and side walls.

Installation: Possibilities for Building In

Appliance Cooling Ventilation

Explanation of cooling needs and ventilation openings for optimal hob operation.

Installation Above Drawer or Fixed Panel

Instructions for ventilation openings above drawers or fixed panels.

Installation Above Ovens and Cable Management

Guidelines for installing above ovens, including ventilation gaps and cable entry.

Installation: Possibilities for Building In

Installation Above Different Ovens

Specifics for installing above combi-microwave, 90 cm ATAG, or other brand ovens.

Ventilation Opening Creation Guide

Instructions for sawing ventilation openings, ensuring minimum total surface area.

Protective Plate and Panel Installation

Fitting protective plate between oven/hob and panel for airflow.

Installation: Electrical Connection

Approved Electrical Cable Types

List of approved cable types (H05V2V2-F, H05RR-F, H05RN-F) for connection.

Connecting Block Bridge Installation

Instructions on how to install bridges on the connecting block for interconnections.

Fixed Connection Switch Requirement

Requirement for a multi-polar switch with contact separation for fixed connections.

Installation: Electrical Connection

Common Connection Configuration (400V)

Details for a 3-phase, 400V connection, including bridge placement and fusing.

Special Connection Configuration (230V)

Details for a 1-phase, 230V connection, including bridge placement and fusing.

Installation: Building In

Pre-Installation Preparation

Checking cabinet, applying sealing strip, and treating woodtops before fitting.

Related product manuals