bc cb
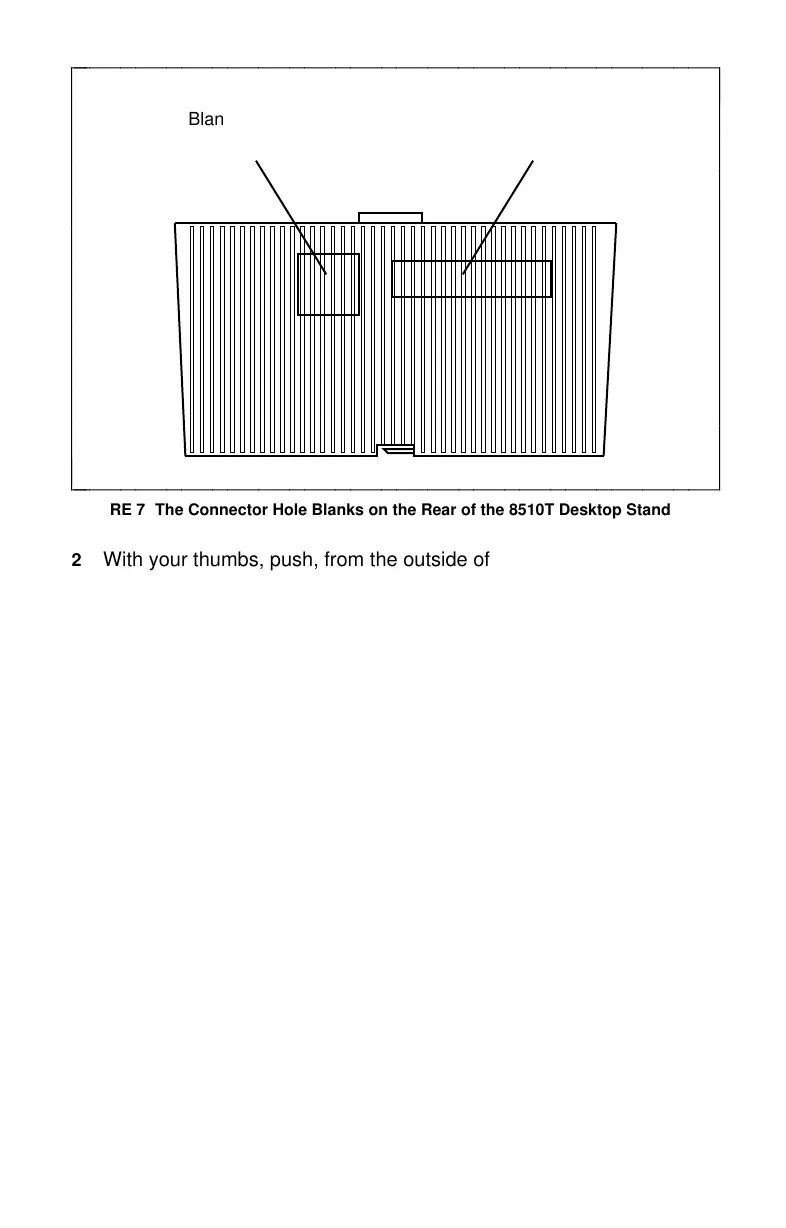
Blank for round
8-pin connector
Blank for
RS232 connector
c
c
c
c
c
c
c
c
c
c
c
c
c
c
bbbbbbbbbbbbbbbbbbbbbbbbbbbbbbbbbbbbbbbbbbb
c
c
c
c
c
c
c
c
c
c
c
c
c
cbbbbbbbbbbbbbbbbbbbbbbbbbbbbbbbbbbbbbbbbbbb
FIGURE 7 The Connector Hole Blanks on the Rear of the 8510T Desktop Stand
2 With your thumbs, push, from the outside of the stand, on the two
connector hole blanks at the same time. As the blanks loosen, push
them back and then up. The blanks that you remove should look like
the ones in Figure 8.
3 Break the blanks in half. Figure 8 shows the point at which the
blanks should be separated. Discard the RS232 portion of the blank
which covered the RS232 connector hole.
11
fc cf
 Loading...
