a.
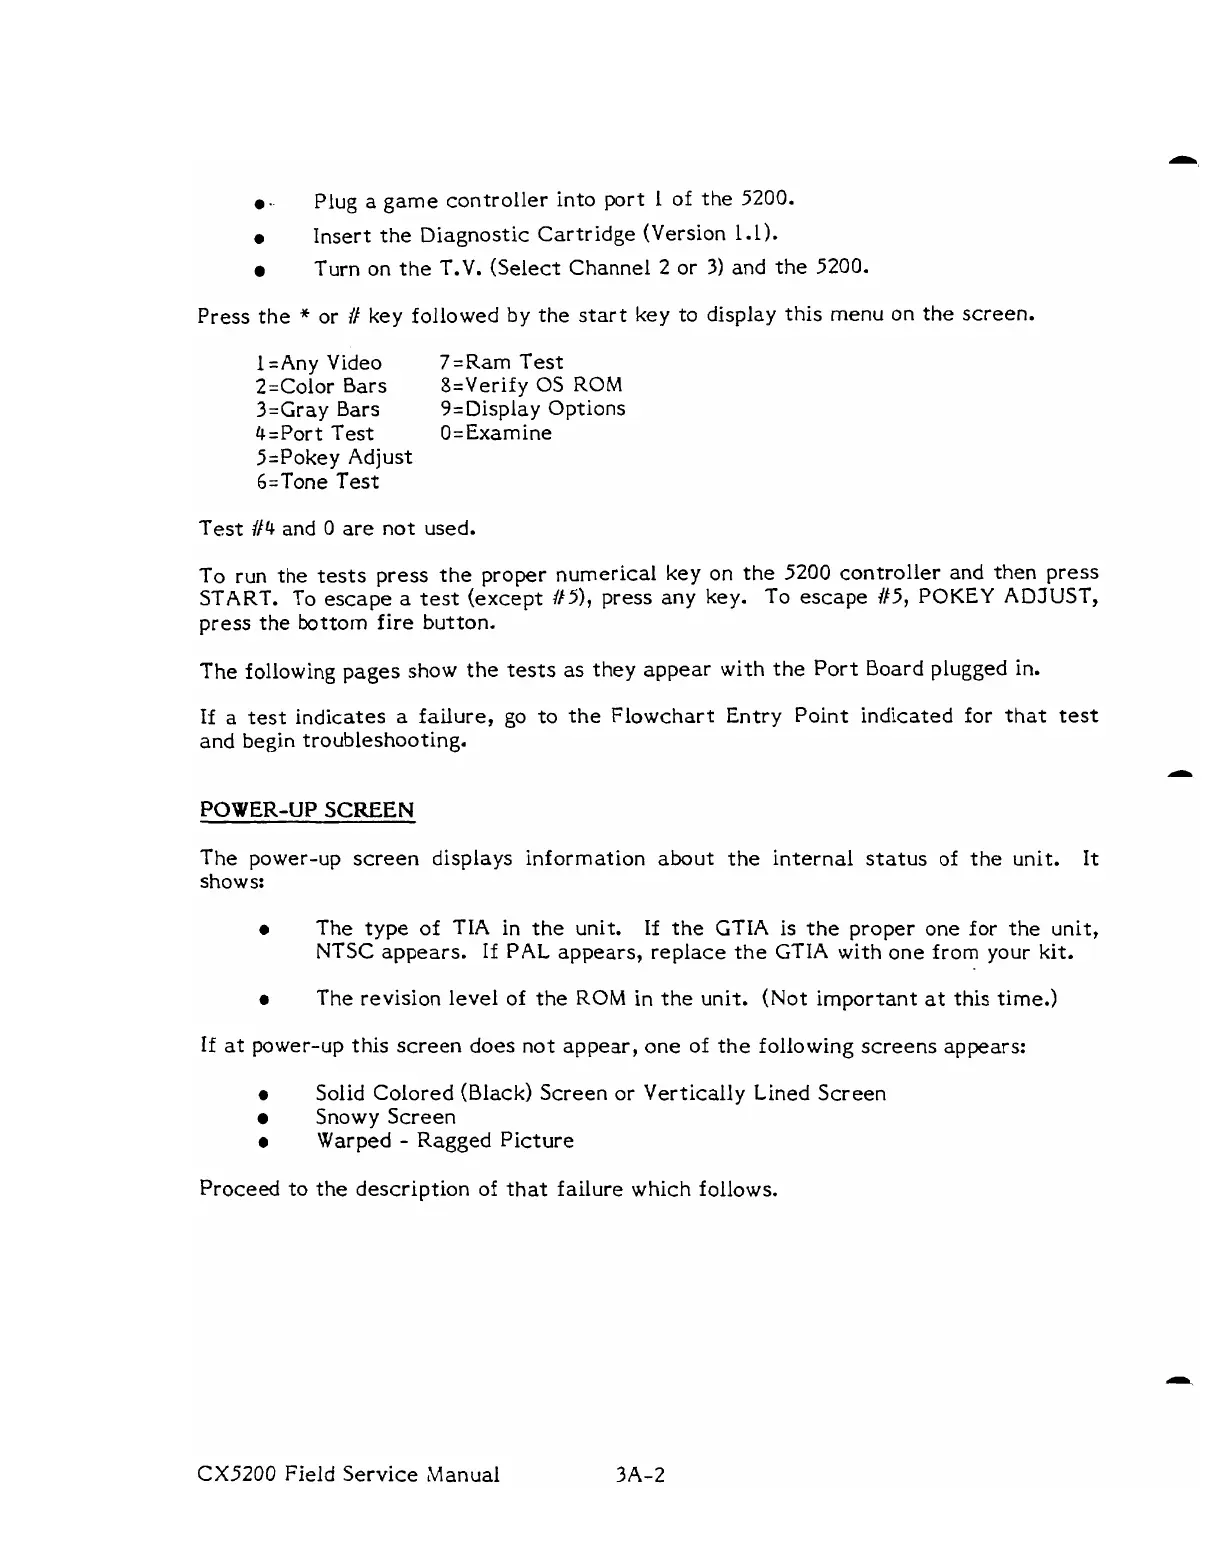
Plug
a
game controller into port 1 of the 5200.
0
Insert the Diagnostic Cartridge (Version 1.1).
Turn on the T.V. (Select Channel
2
or
3)
and the 5200.
Press the
*
or
U
key followed by the start
key
to
display this menu
on
the
screen.
1
=Any Video 7=Ram Test
2=Color Bars 8=Verify
OS
ROM
3=Gray Bars 9=Display Options
4=Port Test O=Examine
5=Pokey
Adjust
6=Tone
Test
Test
#4
and
0 are not used.
To
run
the tests press the proper numerical key on the 5200 controller and then press
START.
To
escape
a
test (except #5), press any
key.
To
escape
85,
POKEY
ADJUST,
press the bottom
fire
button.
The following pages show the tests as they appear with the Port Board plugged in.
If
a
test indicates
a
failure, go to the Flowchart Entry Point indicated for that
test
and begin troubleshooting.
POWER-UP
SCREEN
The power-up screen displays information about the internal status of the unit.
It
shows:
a
The type of
TIA
in the unit.
If
the GTIA is
the
proper
one
for the unit,
NTSC
appears.
If
PAL
appears, replace the
GTIA
with one
from
your kit.
a
The revision level
of
the
ROM
in the unit. (Not important
at
this time.)
If
at
power-up this screen does not appear, one of the following screens appears:
e
Solid Colored (Black) Screen or Vertically Lined Screen
Snowy Screen
a
Warped
-
Ragged Picture
Proceed to the description of that failure which follows.
CX3200
Field Service Manual