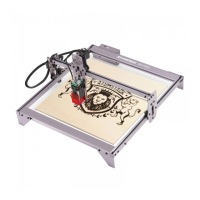
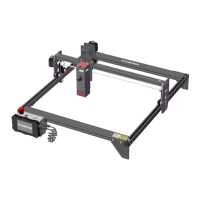
Introduction to the contents of the home page, file list, and engraving
preparation page of the display
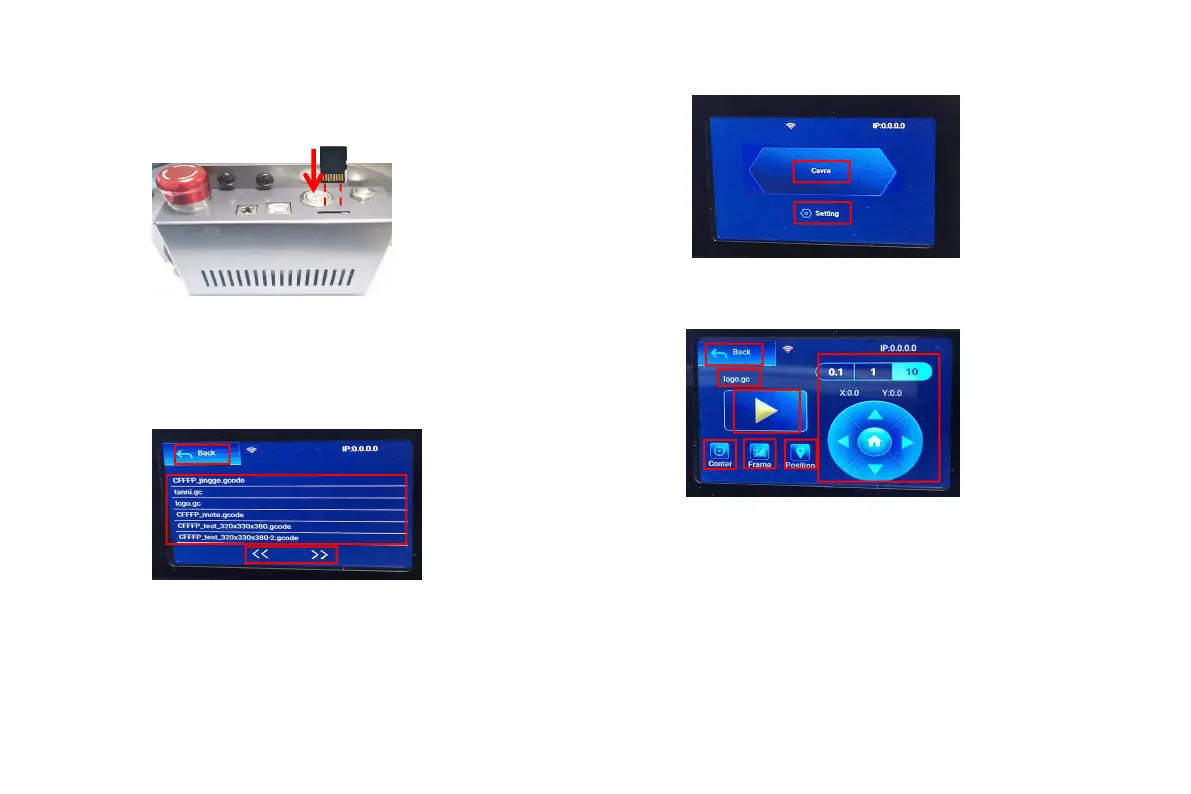
1、Before using the engraving machine, please insert the SD card into
the control box card slot along the dotted line. If the SD card is not
inserted, the engraving machine cannot be operated after entering the
operation display. When inserting the card, pay attention to the front
and back of the SD card. Insert the card into the card slot on the reverse
side (see the picture for correct insertion)
2、This is the boot interface, which has two major functions.
1.Click the engraving button to enter the engraving file list interface.
2.Click the setting button to enter the setting interface.
1
2
1
2
3
3、This is the engraving file list interface, which can perform file
name selection, page up and down, and return to the startup
interface.
1. Click the back button to return to the boot interface.
2. Select the corresponding file name to enter the engraving
preparation interface.
3. Click the left and right page buttons to turn the file name up
and down.
1
2
3
4
5
6
7
4、This is the engraving preparation interface, which can perform engraving start, X/Y axis
movement, center point, contour scanning, and positioning operations.
1. Click the back button to return to the engraving file list interface and the startup interface
2. Engraved file name display
3. Click the up, down, left and right arrow function buttons to move the Y axis and X axis, click the
arrow middle button to return to the zero position of the X/Y axis, "0.1, 1, 10" are the X/Y axis travel
distance values, select different values The travel distance of X/Y axis is also different. The maximum
engraving range is "X: 250, Y: 220". The coordinates will change with the movement of X/Y axis.
4. After clicking the engraving start button, the engraving times can be set. The engraving
machine executes the engraving action
5. Click the center point button to set the position of the laser center point
6. Click the contour scan button, the laser can automatically walk the engraving file size range
(Note: when the engraving file nc or .gc file is larger than 1M, the laser will automatically walk for a
long time, and it will take about 2-10 minutes).
7. After clicking the positioning button, click the confirm button to locate the starting point of the
laser
 Loading...