Do you have a question about the ATOMSTACK P7 Series and is the answer not in the manual?
Precautions for eye and skin exposure to laser light, including protective eyewear recommendations.
Guidelines on preventing fires during operation, material handling, and ventilation.
Recommended and not recommended materials for engraving and potential hazards.
Ensuring safe operation, proper positioning, and avoiding pointing the laser at living beings or objects.
Instructions for safe power connection, including the use of a ground wire for shock prevention.
Maintaining a safe workspace by clearing flammable materials and using a protective metal plank.
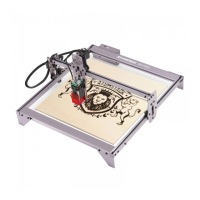
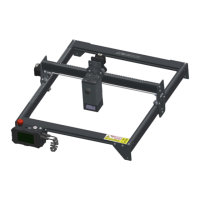
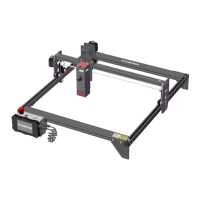
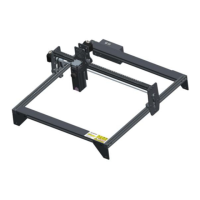
Instruction for assembling the X-axis and Y-axis components, ensuring proper roller tension.
Guide for attaching the upper and lower support feet to the Y-axis using specified screws.
Procedure for installing the timing belt, bearings, and securing the belt tension.
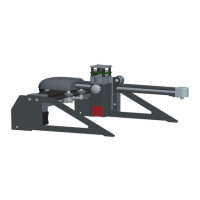
Instructions for inserting the laser module into the X-axis slide rail and attaching foot pads.
Steps for connecting the various cables to the motors, laser module, and control box.
Procedure for cleaning the laser module's protective cover, heat sink, and laser head.
| Software | LaserGRBL, LightBurn |
|---|---|
| Engraving Accuracy | 0.01mm |
| Machine Material | Aluminum Alloy |
| Engraving Speed | 10000mm/min |
| Material Compatibility | Wood, Acrylic, Leather, Plastic, Bamboo, Paper, Fabric |
| Connectivity | USB |
| Laser Wavelength | 455nm |
| Laser Protective Cover | Yes |
| Input Format | BMP, JPG, PNG, DXF |
| Data Transmission Method | USB |
| Input Voltage | 110V-220V |
| Power Supply | AC 100-240V, 50/60Hz |