3. Remove the terminal cover. Isolate element wires from terminal block and check
resistance with an ohmmeter. If there is resistance, no further action is needed. If there
is not any resistance, replacement is needed. Disconnect and mark the element from
the terminal block. It is important to straighten or cut o the loops at the end of the
element leads in order to prevent damage to the insulation cylinder when the leads are
pulled through it.
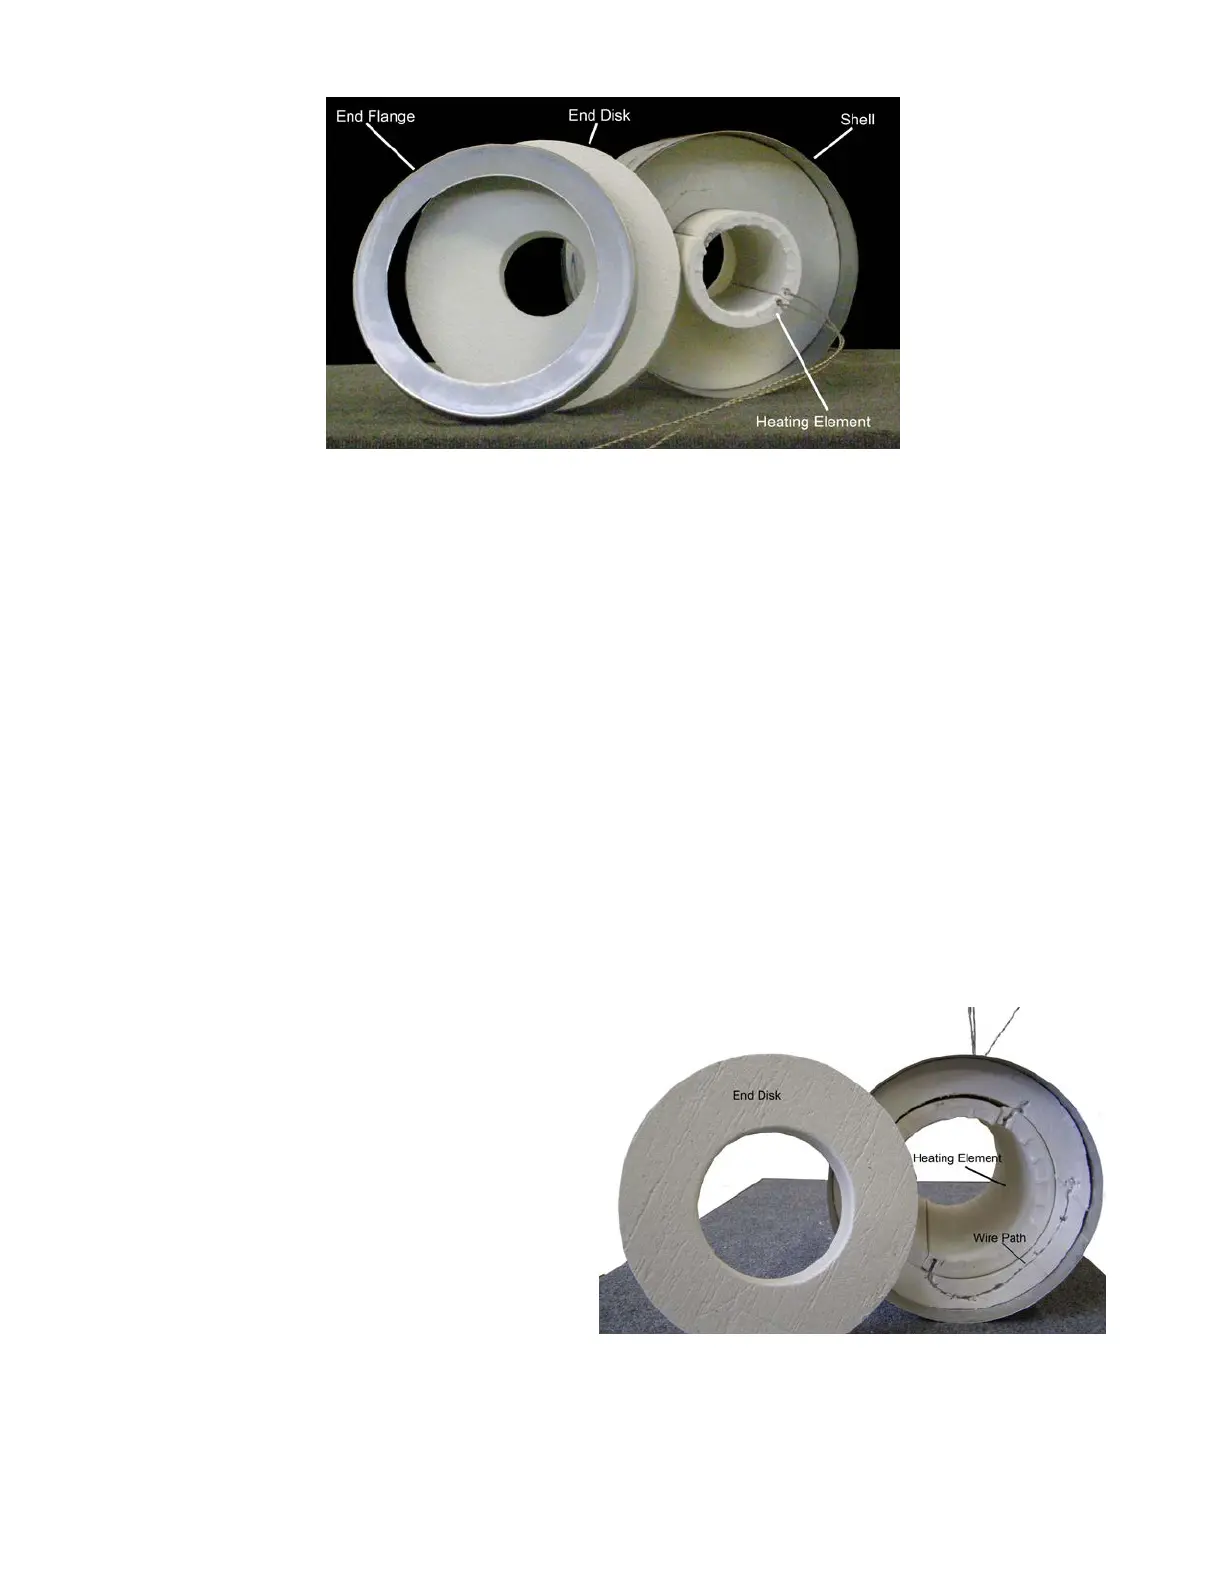
4. Mark the shell and end anges for easy assembly alignment. Remove the end ange
closest to the burned-out element and carefully remove the end ange and end disk.
5. Carefully feed the element lead wires through the shell while removing the defective
element from its seat. Be careful not to damage the insulation.
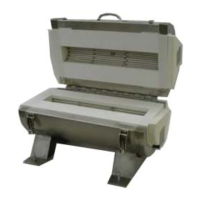
6. If necessary, straighten the new wire
leads. Align the wires with the wire
paths in the insulation and feed the
wires through the shell by inserting
a guide tube into the wire path and
pushing the wire through the guide
tube, or by putting a string through
the hole, tying it to the wire, and
pulling it through the wire path.
7. Place the wires to maintain the
maximum distance between them.
Carefully position the element in
place. Align any ports if applicable.
Refer to Figure G.2.
Series 31XX, 32XX Furnaces | G. Furnace and Element Maintenance 15
Figure G.1 - Series 3110 Furnace Disassembly
Figure G.2 - End View of ATS Series 3110 Tube Furnace