284 Emergency situations
• Press inward strongly on the upper left side
of the cap to remove it from the bumper
¢ fig . 237 .
• Screw the towing loop tightly in the thread-
ed hole as far as it will go and tighten it with
the wheel wrench
¢ fig . 238 .
Remove the towing loop when you are done
using it and place it back in the vehicle tool
kit. Install the cover in the bumper. Always
keep the towing loop in the vehicle.
A WARNING
If you do not screw the tow ing loop com-
pletely, it could come out of the threaded
hole while the vehicle is being towed caus-
ing damage to the vehicle and possible se -
rious personal injury.
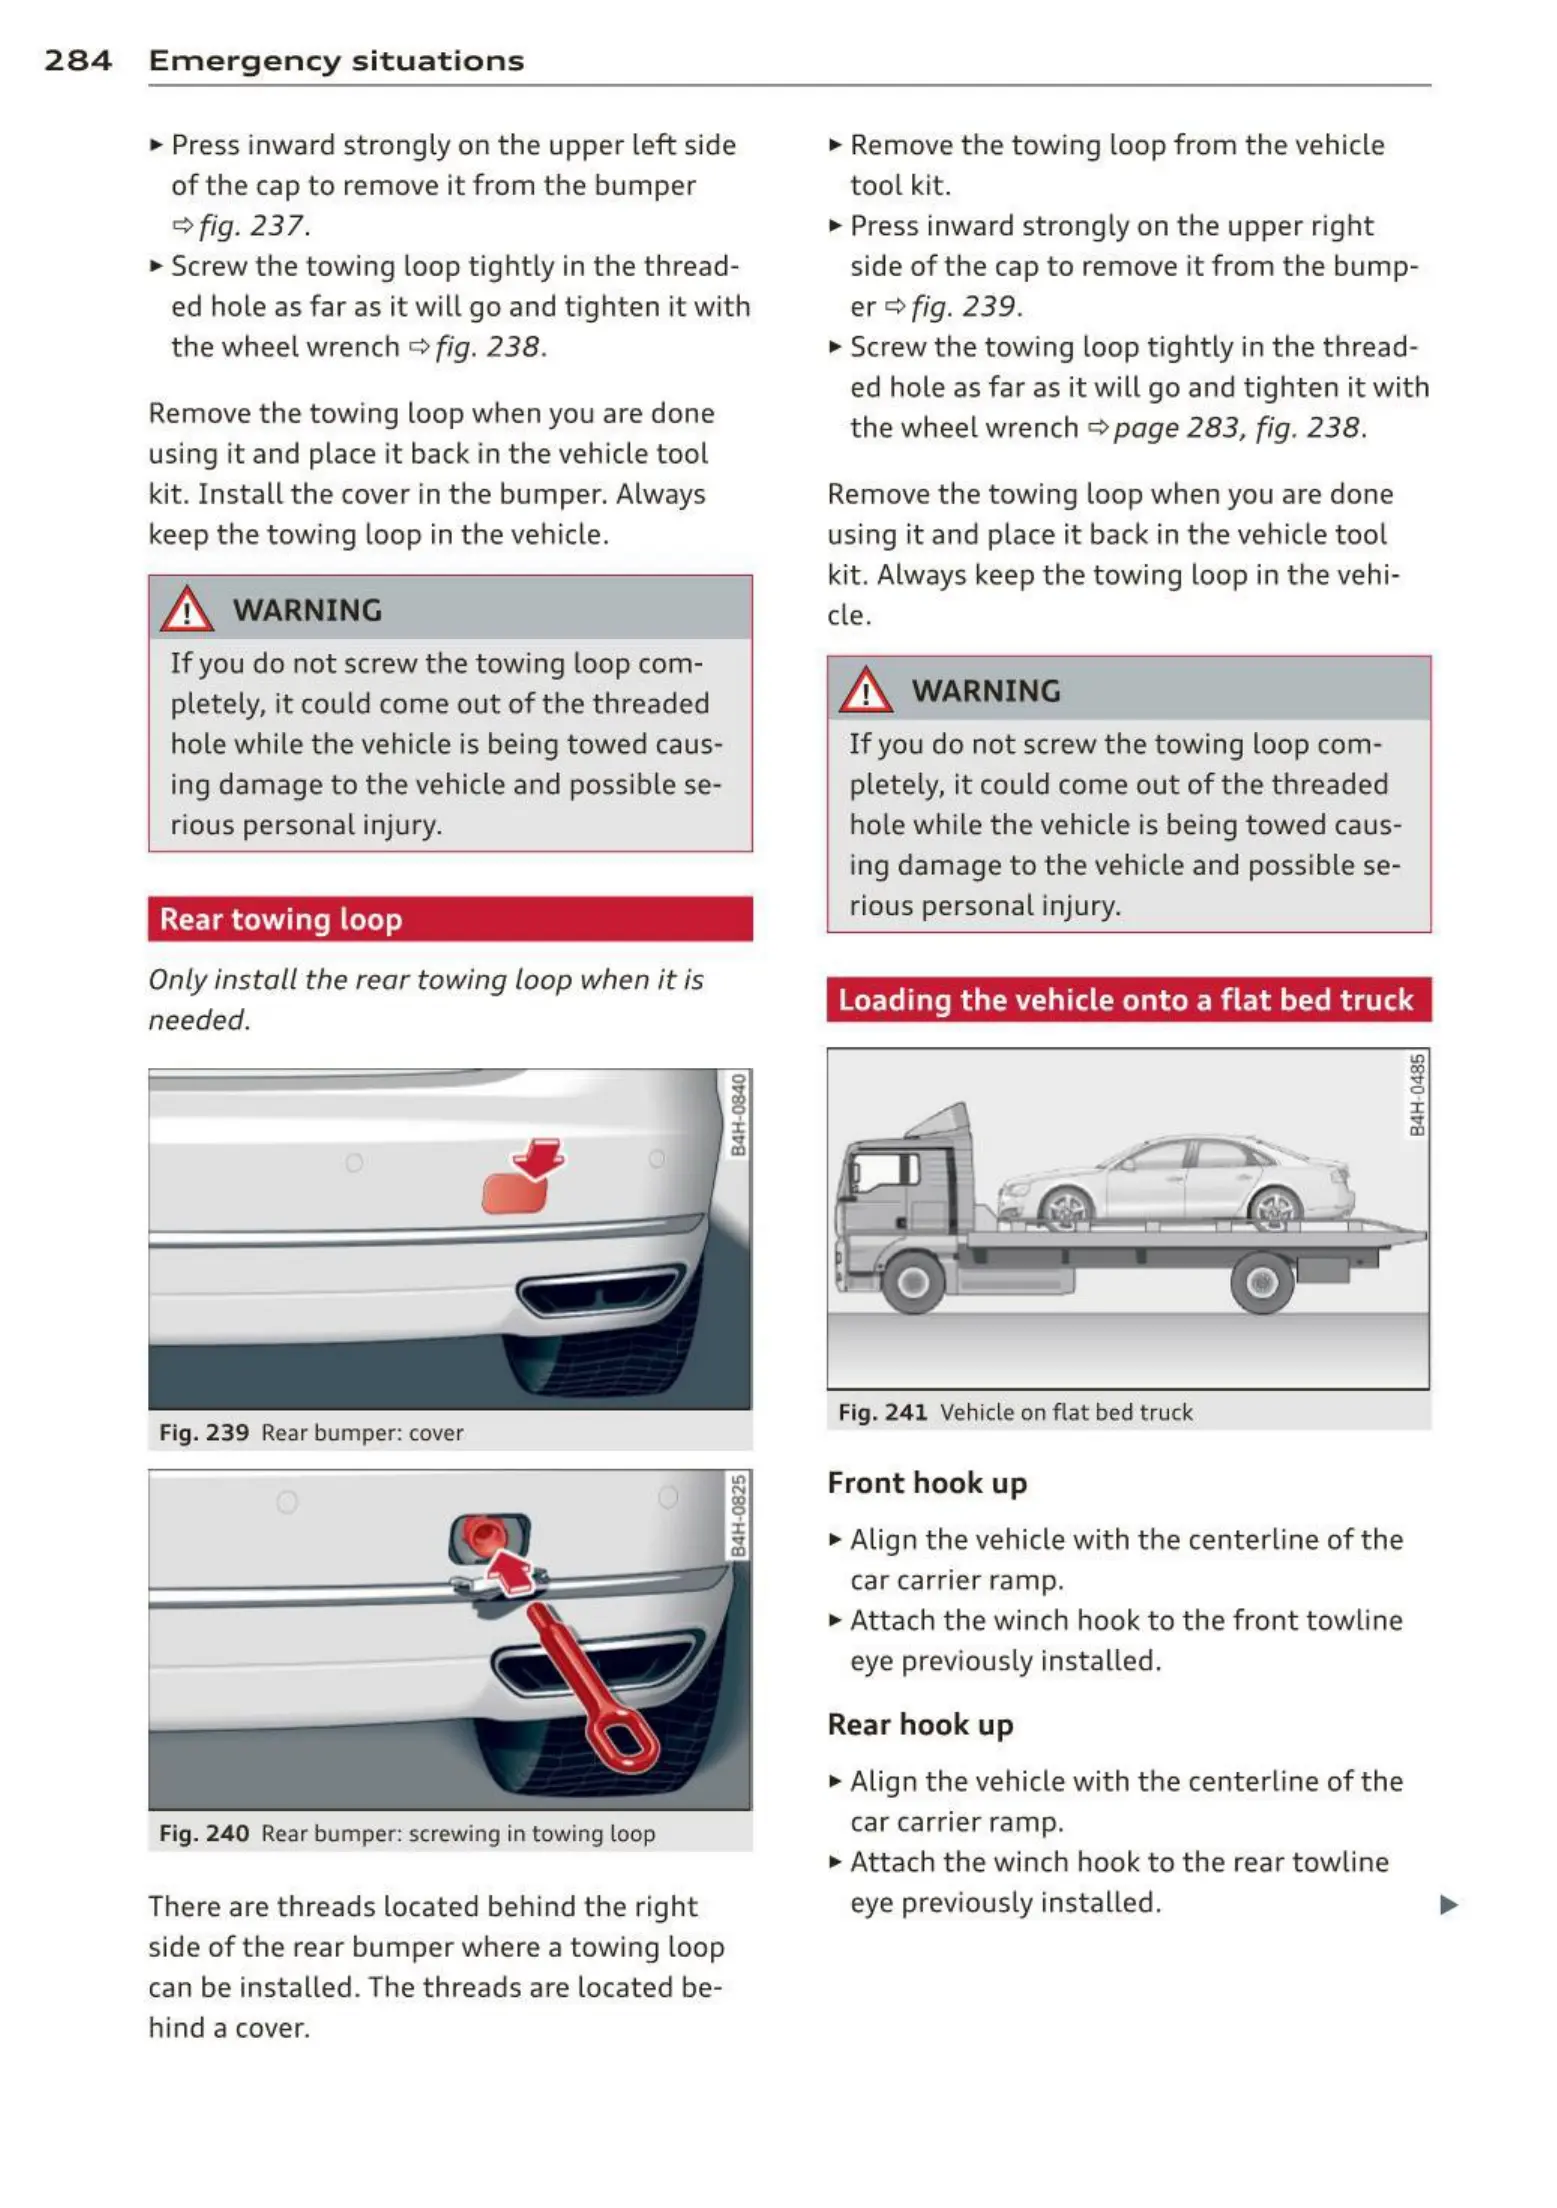
Rear towing loop
Only install the rear towing loop when it is
needed.
Fig. 239 Rear bumper: cover
Fig. 240 Rear bumper: screwing in towing loop
There are threads located behind the right
side of the rear bumper where a towing loop
can be installed . The threads are located be-
hind a cover.
-
• Remove the towing loop from the vehicle
tool kit.
• Press inward strong ly on the upper right
side of the cap to remove it from the bump-
er¢
fig. 239.
• Screw the towing loop tightly in the thread-
ed hole as far as it will go and tighten it with
the wheel wrench ¢
page 283, fig . 238.
Remove the towing loop when you are done
using it and place it back in the vehicle tool
kit. Always keep the towing loop in the vehi-
cle.
A WARNING
If you do not screw the towing loop com-
pletely, it could come out of the threaded
hole wh ile the vehicle is being towed caus-
ing damage to the vehicle and possible se-
rious personal injury.
Loading the vehicle onto a flat bed truck
Fig. 241 Vehicle on flat bed truck
Front hook up
• Align the vehicle with the centerline of the
car carrier ramp.
• Attach the winch hook to the front towl ine
eye previously installed.
Rear hook up
• Align the vehicle with the centerline of the
car carrier ramp .
• Attach the winch hook to the rear tow line
eye prev iously installed.
-