Do you have a question about the Audio Technica AT6006R and is the answer not in the manual?
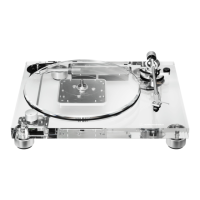
Determine spacer needs and adjust the raiser's height for correct tonearm clearance.
Test raiser position, attach it to the turntable, and verify automatic tonearm lifting.
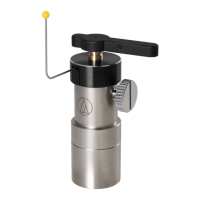
The provided document describes the setup and function of the Audio-Technica AT6006R Safety Raiser, a device designed to automatically lift a turntable's tonearm at the end of a record.
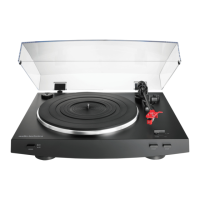
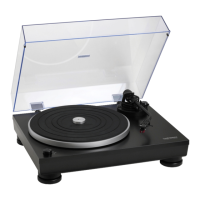
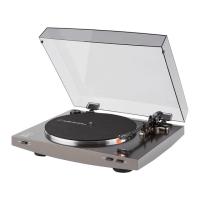
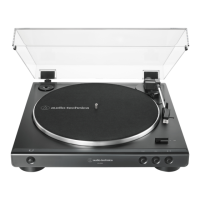
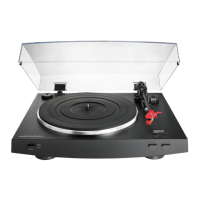
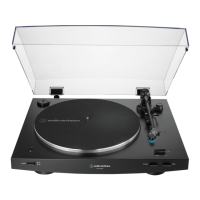
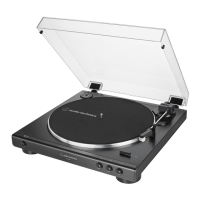
The AT6006R Safety Raiser is an accessory for specific Audio-Technica turntables (AT-LP5 and AT-LP7) that automates the lifting of the tonearm once it reaches the end of a record's playback. This feature is crucial for extending the lifespan of both the stylus and the records. When a record finishes playing, the stylus typically enters a "locked groove" or "runout groove," which is the innermost infinite groove preventing the stylus from running into the label. While leaving the stylus in this groove does not immediately damage records or the stylus, prolonged contact contributes to stylus wear over time. The AT6006R gently lifts the tonearm off the record surface, preventing unnecessary wear and tear on the stylus and ensuring the record is not continuously played in the runout groove. This automatic lifting mechanism provides convenience and peace of mind for users, eliminating the need for manual intervention at the end of each side.
The document highlights a critical compatibility requirement: the AT6006R Safety Raiser is specifically designed for use with Audio-Technica AT-LP5 and AT-LP7 turntables. Furthermore, a minimum clearance of at least 14 mm between the platter edge and the base of the tonearm is necessary for the device to function correctly. The AT6006R comes with two spacers, 12 mm and 24 mm, which can be used to adjust the height of the raiser if the default height is insufficient to effectively lift the tonearm. The height can also be fine-tuned using a height lock screw. The device is attached to the turntable using double-sided tape, which is applied to the bottom of the raiser (or the spacer if used).
Setting up the AT6006R involves several precise steps to ensure optimal performance:
The document implicitly suggests a form of maintenance through proper setup and verification. By ensuring the AT6006R is correctly positioned and adjusted, users are effectively maintaining the longevity of their stylus and records. The gentle lifting action provided by the device is itself a maintenance feature, as it prevents continuous wear in the runout groove. While no explicit cleaning or repair instructions are provided, the emphasis on precise placement and adjustment implies that incorrect setup could lead to suboptimal performance or potential issues. The document also advises users to contact the Audio Solutions Department for any further questions regarding setup, indicating that professional guidance is available for troubleshooting or more complex issues. The mention of changing the stylus after a certain number of hours, similar to changing car tires, reinforces the idea of regular maintenance for turntable components, which the AT6006R helps to extend.
| Brand | Audio Technica |
|---|---|
| Model | AT6006R |
| Category | Turntable |
| Language | English |