1. Springs Replacing
REMOVING
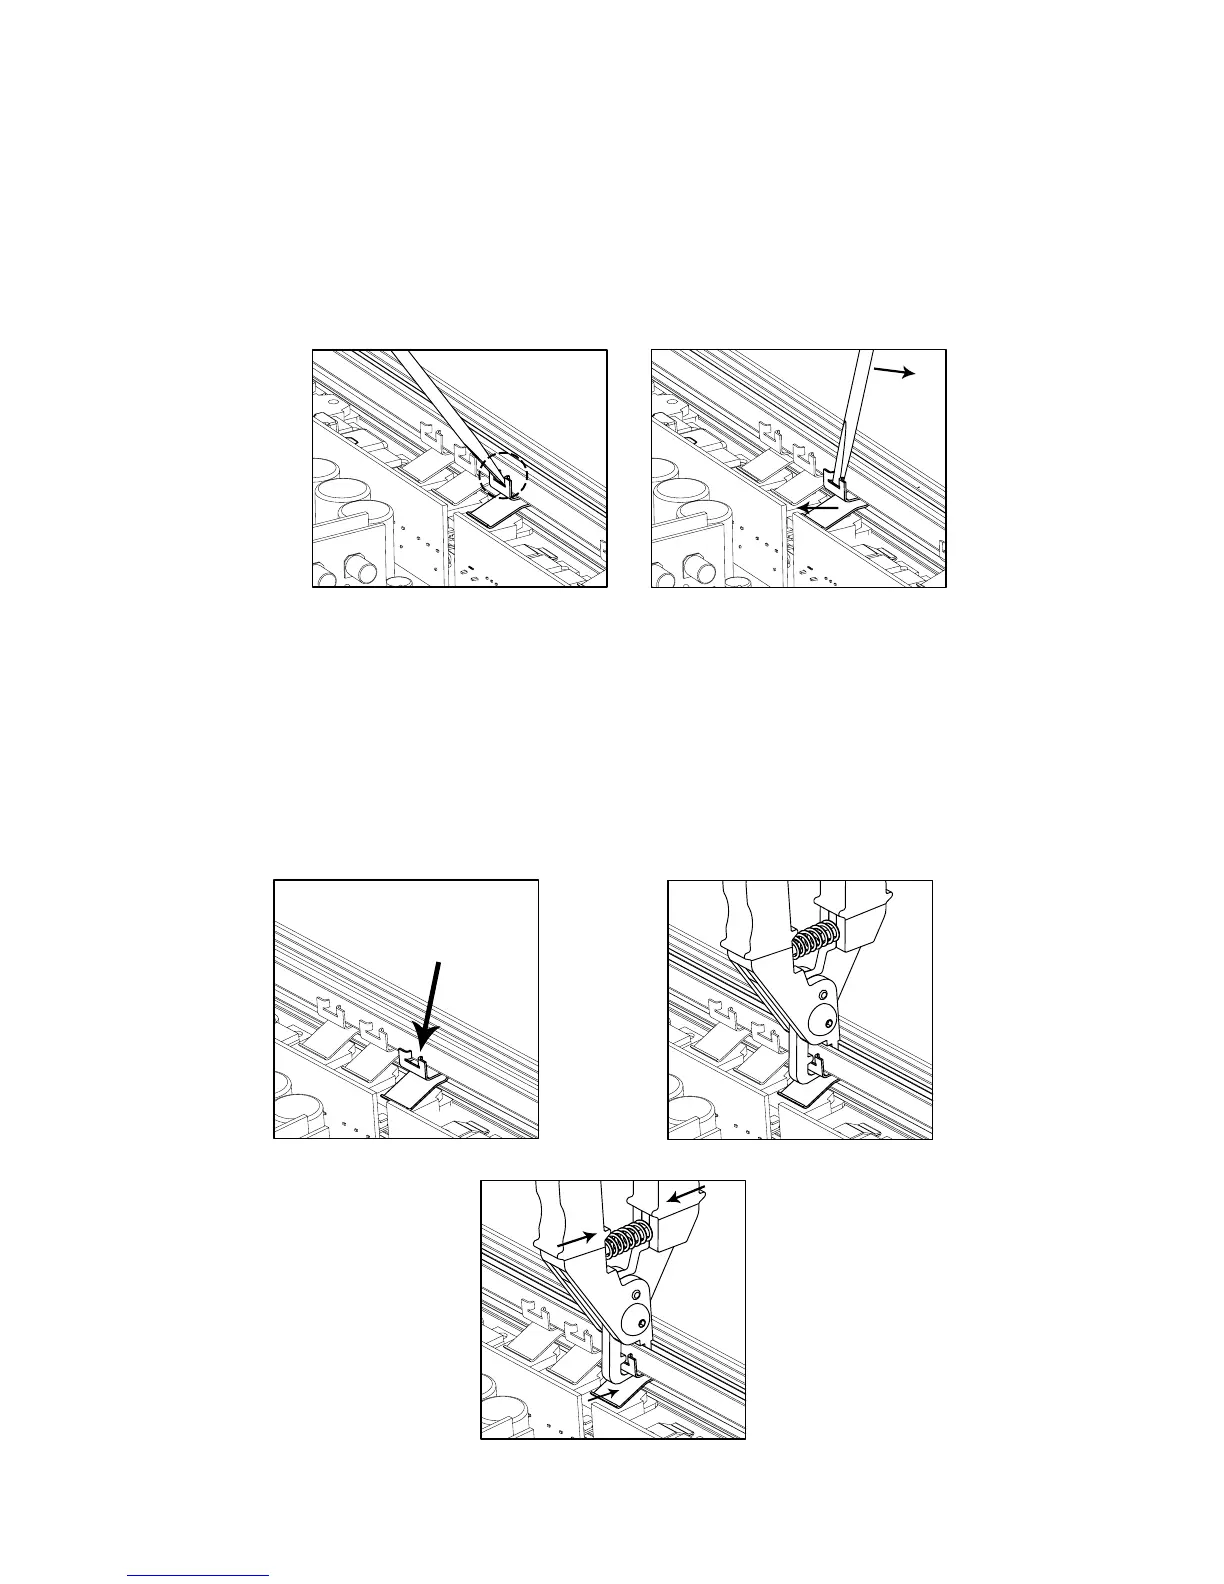
1- Insert the blade of the screwdriver in the center of the spring as shown in gure n°1.
2- Using the aluminium heatsink of the amplier as leverage, slowly extract the spring as shown in gure
n°2, being careful to not use too much force.
INSERTION
1- Fit the spring into the heatsink, over the transistor as shown in gure n°3.
2- Using the supplied tool, hook the spring with one end of the tool, while using the heatsink as leverage
for the other end. Make sure the spring remains as straight as possible as shown in gure n°4.
3- With constant pressure applied to the tool, insert the clamp into position as shown in gure n°5.
Carefully remove the clamp.
g.1 g.2
g.3
g.4
g.5
Part 3 page 1 of 3
TECHNICAL NOTES
Rev. A
 Loading...