-15-
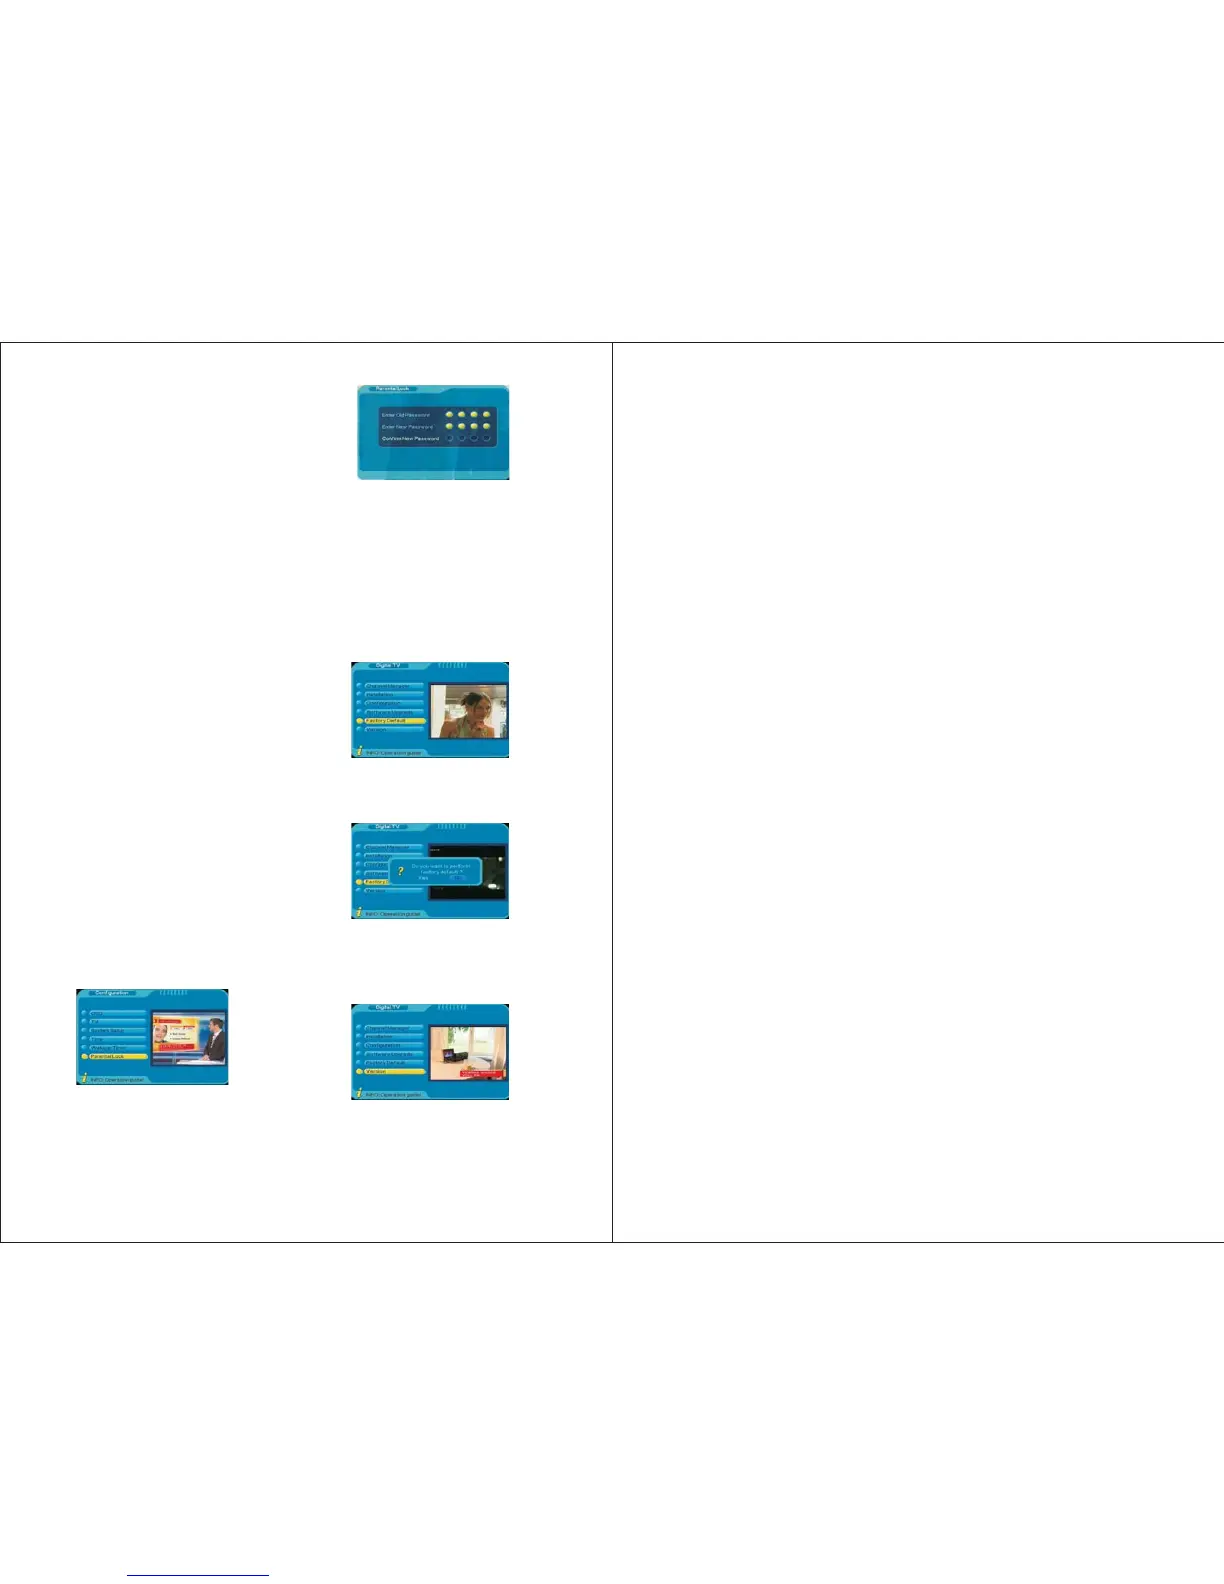
6.5 Factory Default
To restore the system configuration to factory
default, press MENU, selectDigital TV->
Factory Default, press ENTER.
It will ask whether you want to perform the
factory default, select [No] to cancel or
select [Yes] to confirm.
6.6 Version
This provides the hardware, software and
system information.
①
②
Wakeup Message: use LEFT/RIGHT to
select between Birthday, Anniversary or
General.
Wakeup Channel: use LEFT/RIGHT to
select a channel from the channel list.
4. Wakeup Date: press RIGHT to enter the
Calendar, use UP/DOWN/LEFT/RIGHT
to select a date.
5. On Time: use numbers to set the starting time.
6. Duration: use numbers to set how long you
want to watch or record the program.
7. Default Partition: this is for scheduled
recording only, press RIGHT, it will show
“Device List”, if the TV connects to an
USB stick, it only shows one device on the
list, if the TV connects to an external hard
drive which has number of partitions, it
will show the partition list, select the
appropriate, press ENTER, it will ask to
confirm whether to change, if you want to
change, select “Yes” then press ENTER,
otherwise select “No”. It will show “Set
successfully”.
After setting, press ENTER to confirm, press
MENU to exit the setup, it will show
“Successfully updated”.
Enter the old password, if it is correct, the
cursor will move to Enter New Password
option, enter and confirm the new password.
The system will show “Password changed”.
6.3.6 Parental Lock
User can change system password under
this option.
The system default password is 0000.
6.4. Software Upgrade
This function is for manufacturer use only.
7. Digital TV Recording
The device supports recording Freeview TV
to an USB memory stick or external hard
drive (FAT32, USB2.0) via the USB port.
Before starting the recording, connect an USB
stick or external hard drive, which has
sufficient space left, to the device first.
7.1 Real Time TV Recording
7.2 Scheduled TV Recording
To set up a recording schedule, please make
sure the device is on digital Freeview TV mode
first. Then press MENU, select Digital TV by
pressing ENTER, select Configuration, and
then select Wakeup Timer. It gives the
following options:
1.Timer No.: the number of this Wakeup Timer
setting, use LEFT or RIGHT to change.
2.Timer Mode: use LEFT or RIGHT to select
between Once, Daily, Weekly, Yearly or Off.
3.Wakeup Mode: select Recorder for scheduled
recording, for the use of other available
functions in this setting, please refer to page 14.
4.Wakeup Channel: use LEFT or RIGHT to
select the channel you want to record.
5.Wakeup Date: press RIGHT to enter the
Calendar, use UP/DOWN/LEFT/ RIGHT to
select a date you want to record the program.
6.On Time: use numbers to set the starting time
of the recording.
7.Duration: use numbers to set how long you
want the record to last.
8.Default Partition: press RIGHT, it will show
“Device List”, if the TV connects to an USB
stick, it only shows one device on the list, if
the TV connects to an external hard disk
which has number of partitions, it will show
the partition list, select the appropriate, press
ENTER, it will ask to confirm whether to
change, if you want to change, select “Yes”
then press ENTER, otherwise select “No”. It
will show “Set successfully”.
9.Press MENU to exit the setting, it will show
“Successfully updated”.
Please note the scheduled recording can only
be activated when the device is ON and is in
the Freeview TV mode.
When the recording starts, it will show “REC”
on the screen, when it has finished, the “REC”
will disappear. Press DISPLAY during the
recording, it shows the progress of the
recording, the name of the channel, and how
many space has left on your USB stick or
external hard disk, press DISPLAY again to exit.
The recorded program is saved in a new folder
“PVR” in the USB stick or external hard driver
-16-
Press REC on the remote to start the
recording, it will show “REC” on the screen,
press “REC” again to stop the recording, it
will ask “Do you want to stop recording”,
choose “Yes” to stop or “No” to carry on
recording.
Press YELLOW during the recording, it
allows you to set how long you would like
the record to last, press RIGHT to choose:
15 min, 30 min, 45 min, 60 min, 75 min,
90 min, 105 min, 120 min or disable, press
ENTER to confirm and exit.
Press DISPLAY during the recording, it will
show how long the record has been on, the
name of the channel, and how many space
has left on your USB stick or external hard
disk, press DISPLAY again to exit.
The recorded program is saved in a new
folder “PVR” in your USB stick or external
hard driver and is in MPG video format. It
can be viewed by pressing the GREEN
shortcut button or pressing MENU then
selecting Disk Manager.
Press MENU, then select Disk Manger, it
shows all the recorded programs stored in
your USB stick or external hard drive, press
GREEN repeatedly to select Play/Delete One
/ Delete All/ Rename a recorded program,
press ENTER to confirm, press MENU to
exit at any time.
Press BLUE to select partitions on your
external hard drive.
 Loading...