9ENGLISH
TROUBLESHOOTING
If there is a problem with your shredder, check below for the symptoms and steps to resolve. If you
continue to have problems, contact customer support at our Service Center 1-800-327-8508. DO
NOT ATTEMPT TO REPAIR BY OPENING THE SHREDDER HEAD. This will completely void the
product warranty.
Theshredderdoesnotworkatall.
1)Make sure the unit is pluggedin and that the outlet is in good working order.
2) Overheatingwithextendeduse: In the event that the shredder has shred continuously
beyond the maximum running time and overheated, the unit will automatically shut off. If this hap-
pens, switchtheshredderOfffor30minutes or longer before resuming normal operation.
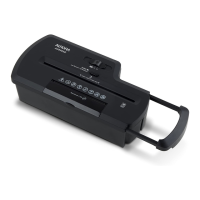
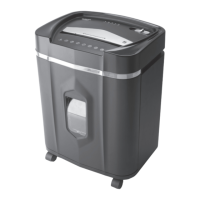
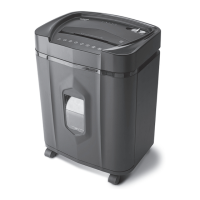
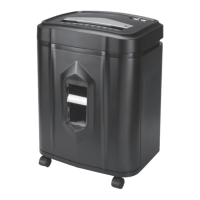
3) Make sure the shredder head is correctly seated onto the included
wastebasket, with all the words and icons facing towards you.
The head unit is particularly designed to work only with the
integrated wastebasket. Aurora shredders are equipped with a
safety interlocking mechanism, which prevents the shredder from
working when the head unit is lifted, removed, or accidentally
knocked over. The shredder will not function unless the head unit is
properly mounted as pictured. (FIGURE 7)
4) BesureNOTtoopenthecoverbeyondthepresetposition, otherwise the ShredSafe™
feature will be activated and the shredder will be inoperable. The “SHREDDER STATUS” indication line
must align with the “READY” setting.
5) If using a plastic bag to line the wastebasket, please remove it. This may cause the shredder not to
operate properly.
6) The activation sensor of the shredder is located near the center of the feed slot. Be sure to feed
directly into the center area to activate the machine (especially applies to smaller pieces of paper
or credit cards).
Theshredderrunsin“Rev(Reverse)”modebutnotin“Auto(On)”mode.
While in “Auto” mode, the motor will not start running until paper is inserted into the feed slot. Set
the unit to “Auto” and insert paper to shred. The sensor that activates the shredder in Auto mode
CONTINUED NEXT PAGE
Coverovertilt
Disabledposition
Readyposition
FIGURE7