T
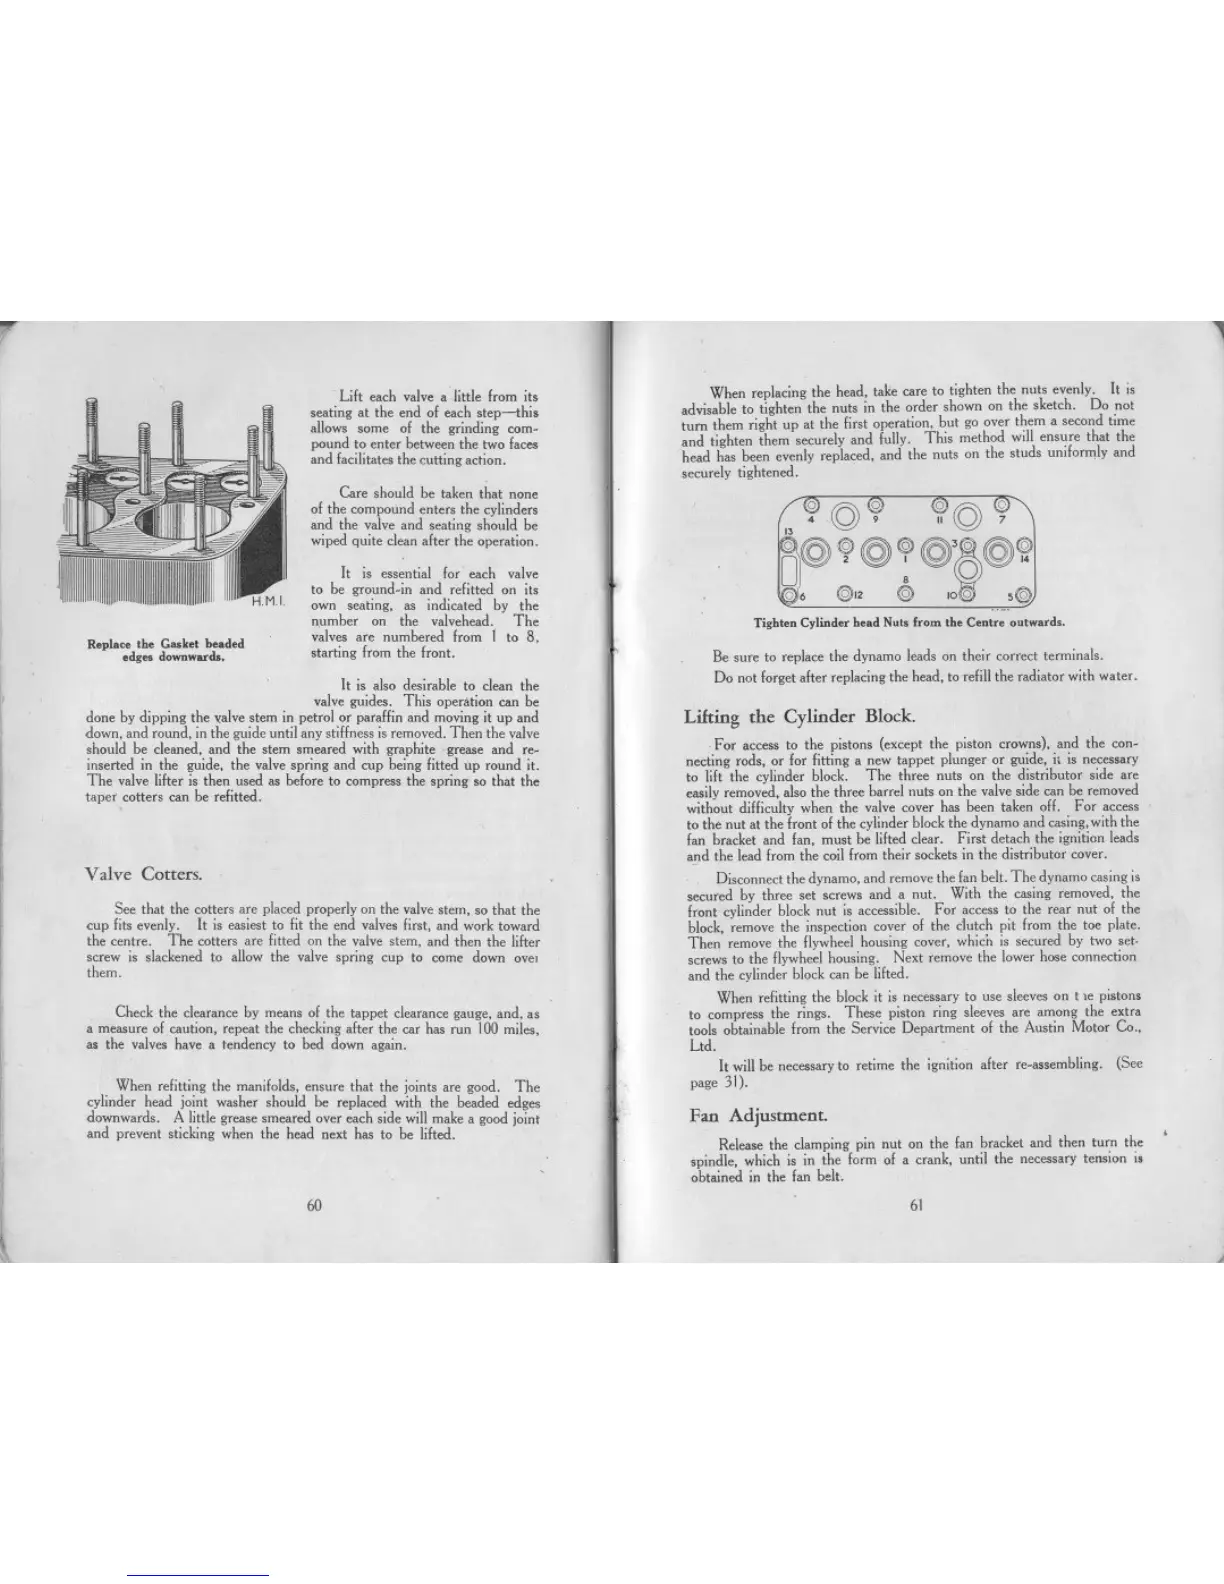
Replace the Gasket headed
ed... downwards.
1
Lift each valve a little from its
seating at the end of each step-this
allows some of the grinding com-
pound to enter between the two faces
and facilitates the cutting action.
When replacing the head. take care to tighten the nuts evenly. It is
advisable to tighten the nuts in the order shown on the sketch. Do not
turn them right up at the first operation. but go over them a second time
and tighten them securely and fully. This method will ensure that the
head has been evenly replaced. and the nuts on the studs uniformly and
securely tightened.
Care should be taken that none
of the compound enters the cylinders
and the valve and seating should be
wiped quite clean after the operation.
It is essential for' each valve
to be ground-in and refitted on its
own seating. as indicated by the
number on the valvehead. The
valves are numbered from I to 8.
starting from the front.
Tighten Cylinder head Nuts Irom the Centre outwards.
Be sure to replace the dynamo leads on their correct terminals.
Do not forget after replacing the head. to refill the radiator with water.
It is also desirable to clean the
valve guides. This operation can be
done by dipping the valve stem in petrol or paraffin and moving it up and
down. and round. in the guide until any stiffness is removed. Then the valve
should be cleaned. and the stem smeared with graphite grease and re-
inserted in the guide. the valve spring and cup being fitted up round it.
The valve lifter is then used as before to compress the spring so that the
taper cotters can be refitted.
Valve Cotters.
Lifting the Cylinder Block.
. For access to the pistons (except the piston crowns). and the con-
necting rods. or for fitting a new tappet plunger or guide. it is necessary
to lift the cylinder block. The three nuts on the distributor side are
easily removed. also the three barrel nuts on the valve side can be removed
without difficulty when the valve cover has been taken off. For access
to the nut at the front of the cylinder block the dynamo and casing. with the
fan bracket and fan. must be lifted clear. First detach the ignition leads
and the lead from the coil from their sockets in the distributor cover.
. Disconnect the dynamo. and remove the fan belt. The dynamo casing is
secured by three set screws and a nut. With the. casing removed. the
front cylinder block nut is accessible. For access to the rear nut of the
block. remove the inspection cover of the clutch pit from the toe plate.
Then remove the flywheel housing cover. whicn is secured by two set.
screws to the flywheel housing. Next remove the lower hose connection
and the cylinder block can be lifted.
When refitting the block it is necessary to use sleeves on t 1e pistons
to compress the rings. These piston ring sleeves are among the extra
tools obtainable from the Service Department of the Austin Motor Co..
Ltd.
It will be necessary to retime the ignition after re-assembling. (See
page 31).
See that the cotters are placed properly on the valve stem. so that the
cup fits evenly. It is easiest to fit the end valves first. and work toward
the centre. The cotters are fitted on the valve stem. and then the lifter
screw is slackened to allow the valve spring cup to come down ove,
them.
Check the clearance by means of the tappet clearance gauge, and, as
a measure of caution. repeat the checking after the car has run 100 miles.
as the valves have a tendency to bed down again.
When refitting the manifolds. ensure that the joints are good. The
cylinder head joint washer should be replaced with the beaded edges
downwards. A little grease smeared over each side will make a good joint
and prevent sticking when the head next has to be lifted.
Pan Adjustment.
Release the clamping pin nut on the fan bracket and then turn the
spindle. which is in the form of a crank. until the necessary tension is
obtained in the fan belt.
60 61
)
 Loading...