Faulty Valves
The bane of all liquid delivery apparatus! Despite AutoMate Scientic’s
best eorts and pursuit of high quality valve manufacturers, some
valves fail. Space shuttle launches have often been delayed due to valve
problems. We can only pass along our valve sup plier’s one year warranty
with their disclaimer “Improper use or mishandling of the units, in the
opinion of the manufacturer, voids this warranty!” (their exclamation mark
too.) Please request a copy of AutoMate Scientic's "Valve Troubleshooting
Guide" to diagnose and sometimes repair valve problems. In order to
minimize valve trouble, please observe these guidelines:
1) Clean your valves after each use. Accumulated debris or precipitate
will rapidly cause leaking valves and seals. Use an in-line lter if you
expect a chance of particles in your solutions. Put your AutoMate
Scientic controller’s programmability to good use by writing a washing
protocol. At the end of the day, ll each reservoir with cleaning solution
(distilled water or appropriate liquid), and open all valves. A protocol can
be easily written to ush each valve in sequence. Saline solutions allowed
to dry in stainless steel valves will cause them to rust. This is considered
improper use. We also recommend rinsing your valves once before
their rst use.
Beware of aking PTFE tape or silicone tting glue. Large debris are often
the cause of valve failure. Try backushing a valve that is suspected to
have failed for this reason by connecting a tube and syringe to the outow
of the valve and pushing liquid while it is energized. Sometimes this
ejects the clog.
2) Do not operate AutoMate Scientic valves with homemade controllers
delivering over 12V DC, or attempt to cycle them rapidly (< 1ms).
3) Do not exceed the rated operating pressure (> 30psi).
Before returning any valves to us please check:
1) That it was purchased in the last 12 months (AutoMate Scientic and
valve manufacturers record each by serial number.)
2) That the valve is faulty and not the controller channel – nd a valve that
works in a particular output channel and try the bad valve in that port
to see that it still does not function.
3) If it is leaking, see #1 above and the section below.
If it qualies for all three of the above, AutoMate Scientic will accept the
valve for subsequent return to the factory. Repair or replacement is at
their discretion, as AutoMate Scientic does not have the ability to open
the valves to determine the cause of trouble. We may be able to loan
replacement valves, which may be billed if the valve factory nds abuse on
the user’s part and refuses to honor the warranty.
Stuck Pinch Valves
Occasionally pinch valves will stick closed, especially after they have
gotten wet. Usually this is a sign that they are about to completely fail,
but sometimes they can be rejuvenated by simply prying them open or
lubricating them. First energize (turn on) the valve; then, using a at
screwdriver, gently force the white plunger open where it normally
pinches the tube closed. The valve may begin functioning normally. Also,
pinch valves will not usually work without a piece of pinch tubing
installed! You can also remove the pinch tubing and spray a drop of WD-
40 lubricant or isopropyl alcohol down the pinch valve plunger. Replace
the tubing. This will often add more life to a dying pinch valve.
Valve Cables
One problem that is easy to diagnose and x is a broken cable connection.
Use any ohmmeter to measure the resistance across the inner pin and
outer ‘barrel’ of the RCA plug end of the valve cable (while unplugged
from the controller.) A resistance of zero ohms indicates a short, or innite
resistance means one of the wires is broken in the cable assembly. This
occurs most often at the joint between the heavy black cable and the valve
lead wires – under the heat-shrink tubing, inside the outer black sheath,
a few inches from the valve itself. This can often be reached without
completely disassembling the valve enclosure.
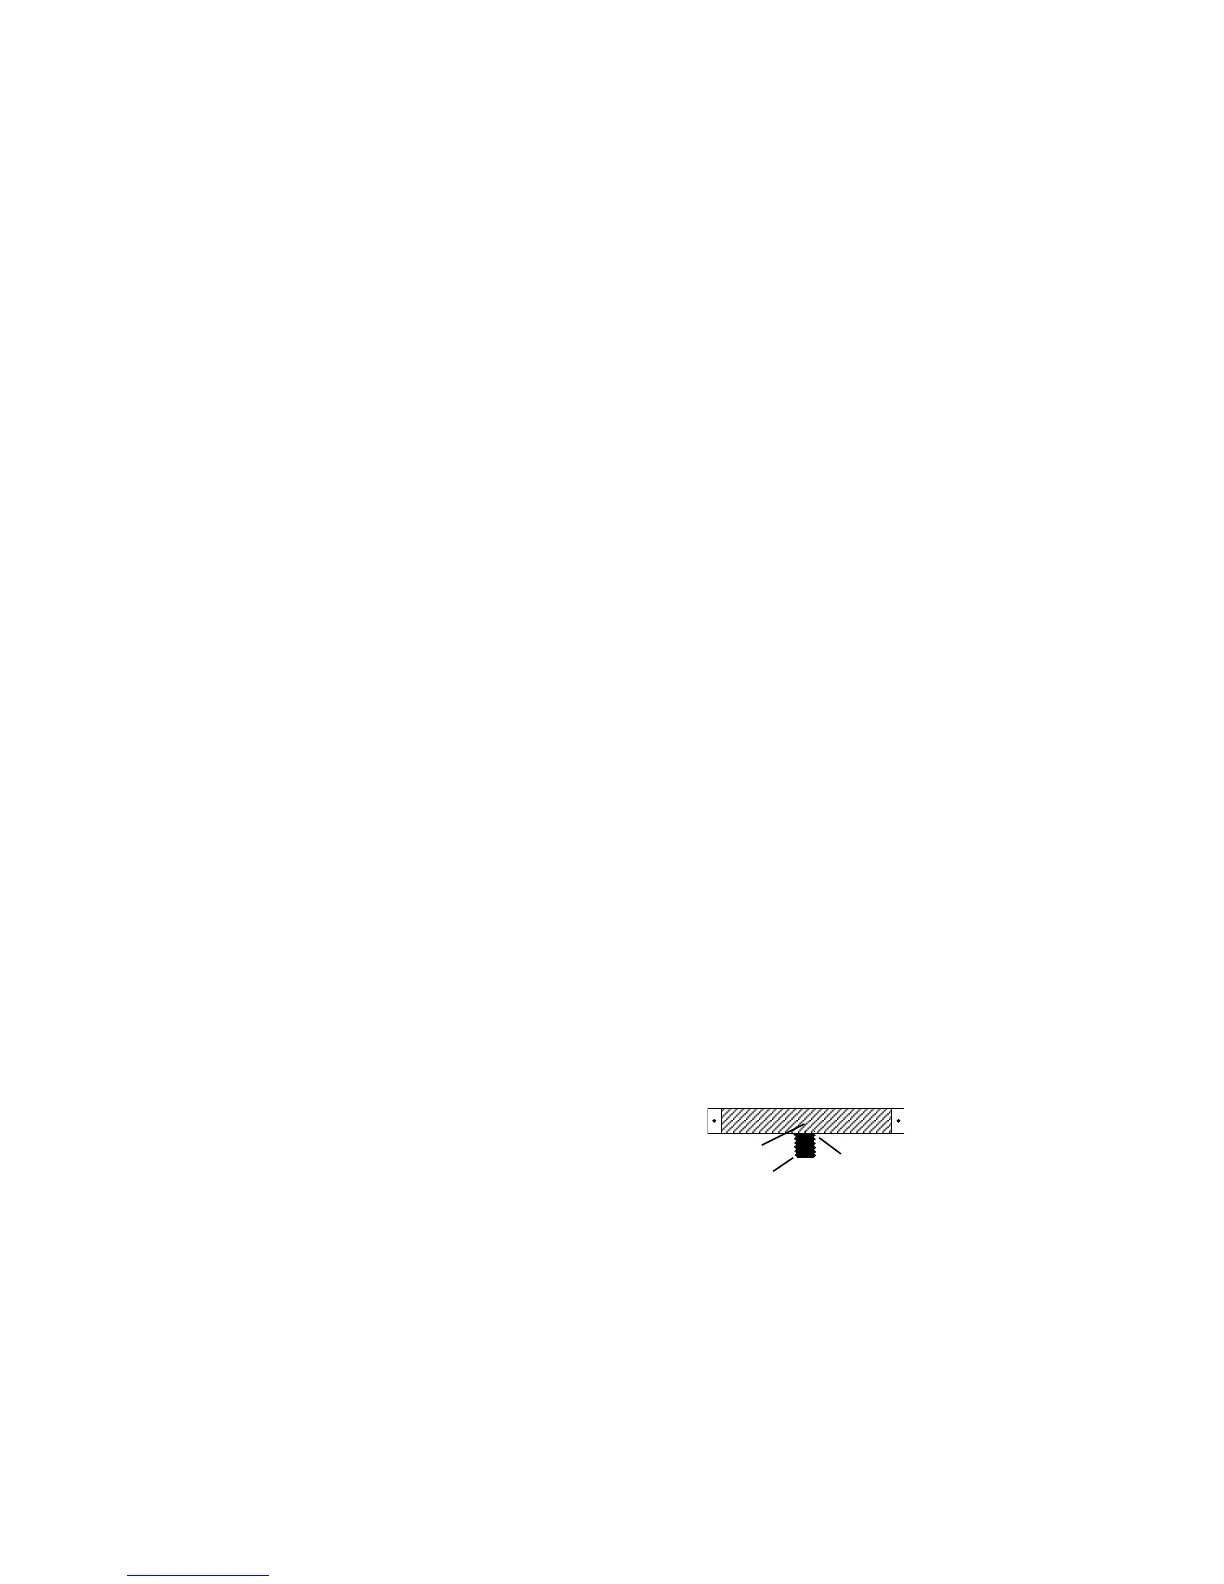
Simply 1) remove the screw inside the black valve box holding the plastic
sheath in its hole, 2) remove the black tape at the top of the sheath and
peel it back a couple of inches, nd the oending cable (trace it back from
the bad valve), and 3) carefully slice its heat-shrink tubing longitudinally
to remove it. The wires may
have come apart or broken
here, or inside the next piece of
electrical tape isolating the two
leads, otherwise within the cable
or valve itself (which can be
1
2
Valve enclosure (shown without front plate)
Plastic ‘split loom’ cable sheath.
37
36

 Loading...