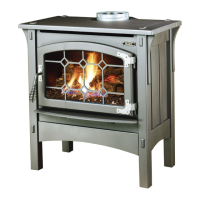
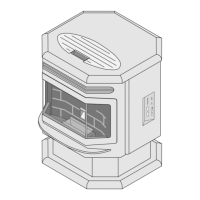
16 Installation (For Qualified Installers Only)
© Travis Industries 4080725 100-01154
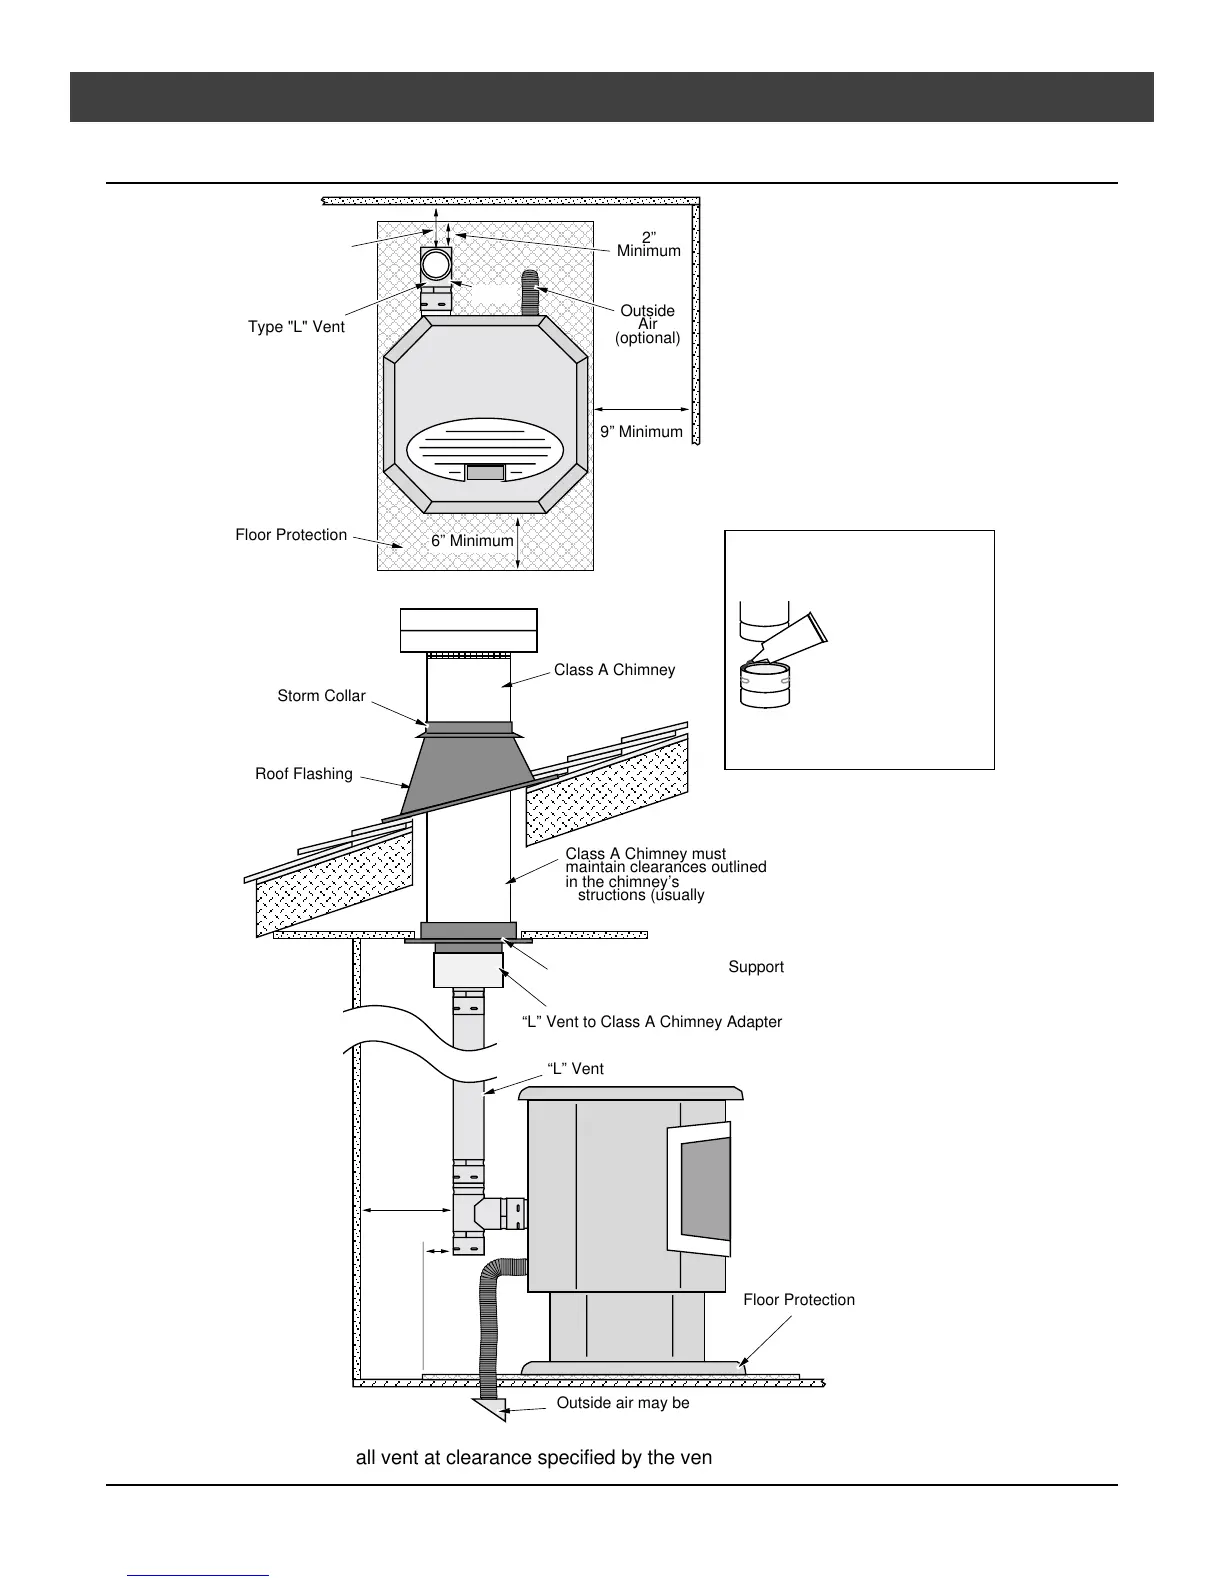
Installation Example: Class A Chimney Retrofit
Vent
Clearance*
AAAAAA
AAAAAA
AAAAAA
AAAAAA
AAAAAA
AAAAAA
AAAAAA
AAAAAA
AAAAAA
Type "L" Vent
6” Minimum
Floor Protection
2”
Minimum
9” Minimum
Outside
Air
(optional)
AAAAAAAAAAAAA
AAAAAAAAAAAAA
AAAAAAAAAAAAA
AAAAAAAAAAAAA
AAAAAAAAAAAAA
AAAAAAAAAAAAA
AAAAAAAAAAAAA
AAA
AAA
Floor Protection
Outside air may be drawn from
a ventilated crawl space.
2” Min.
Vent
Clearance*
Class A Chimney Ceiling Support
Roof Flashing
“L” Vent to Class A Chimney Adapter
Class A Chimney
“L” Vent
A
A
A
A
A
A
A
AAA
Storm Collar
Class A Chimney must
maintain clearances outlined
in the chimney’s installation
instructions (usually 2”).
“Tee”
Seal each vent
section (including
adapters, elbows,
etc...) by injecting a
liberal amount of
500° F. RTV
silicone into the gap
between sections.
500° F. RTV
Silicone
* Install vent at clearance specified by the vent manufacturer.