C
Charles BowmanJul 29, 2025
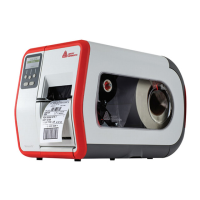
What to do if USB thumb drive is not working properly on Avery Dennison Printer?
- RRobert WeaverJul 29, 2025
To ensure your USB thumb drive works correctly with your Avery Dennison Printer, first, make sure it is properly inserted into a USB port. Additionally, verify that all files on the thumb drive are saved within a folder specifically named 'ADTP'. The printer will not recognize files saved in a folder named 'ADTP1' or in the root directory.