4
English
Installation
Camera Package Contents
Ensure the package contains the following:
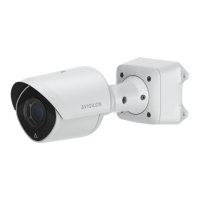
• Avigilon High Definition IP Bullet Camera
• T20 TORX tamper resistant key
• 4 screws and anchors for solid walls
• Drill template sticker
• Configuration Panel opening tool
Installation Steps
Complete the following procedures to install the camera.
1. Adding the Mounting Holes on page 4
2. Connecting Cables on page 4
3. Mounting the Camera on page 5
4. Assigning an IP Address on page 6
5. Accessing the Live Video Stream on page 6
6. Aiming the Camera on page 7
7. Focusing the Camera on page 7
8. (Optional) Configuring Onboard Storage on page 8
Adding the Mounting Holes
1. Use the drill template to drill four mounting holes in the
ceiling or wall.
• Only drill the optional center hole if you are flush
mounting the camera. Once the center cable hole
has been drilled, pull the required cables through.
Connecting Cables
To connect the cables required for proper operation, complete the
following:
 Loading...