2 INSTALLATION
The switch uses TCP/IP for communication over Ethernet. For the best system performance, use a
dedicated, switched 10Base-T or 100Base-T Ethernet network.
You can use the terminal software, OSCAR interface or the OBWI to manage your switch system. The
OBWI manages a single switch and its connections. You can also perform KVM and serial switching tasks
using the OBWI or DSView management software. The optional RAK-key is required to use the remote
KVMfeature on the 2108/2216 switch models. For more information about DSView management software,
visit http://www.VertivCo.com.
NOTE: Ensure that every switch has been upgraded to the most recent version of firmware. For
information on upgrading the switch using the OBWI, see Tools - Rebooting and Upgrading on page
30.
2.1 Setting Up Your Network
The switch uses IP addresses to uniquely identify the switch and attached devices. The switch supports
both Dynamic Host Configuration Protocol (DHCP) and static IP addressing. Make sure that an IP address
is reserved for each switch and that each IP address remains static while the switch is connected to the
network.
2.1.1 Keyboards
A USB keyboard and mouse can be connected to the analog ports of the switch.
NOTE: The switch also supports the use of multiple keyboards and multiple mice on the analog port.
The use of more than one input device simultaneously, however, can produce unpredictable results.
2.2 Quick Setup
The following is a quick setup list. For detailed rack mounting and installation instructions, see the KVM
Switch Rack Mount Quick Installation Guide.
1. Unpack the switch and verify that all components are present and in good condition.
2. Install the switch hardware and connect an IQ module to each target device or tiered switch.
Connect each IQ module to the switch with CAT5 cabling and connect the keyboard, monitor
and mouse connectors to the analog ports of the switch.
3. Connect the local port peripherals to the appropriate ports on the back panel of the switch and
set up the network configuration. The IP address can be set here. Using a static IP address is
recommended.
4. For the local port connection, input all device names using the OSCAR interface or the OBWI.
5. Adjust mouse acceleration on each device to S low or N on e.
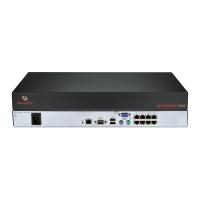
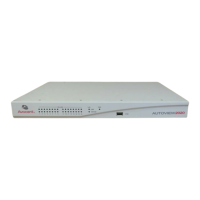
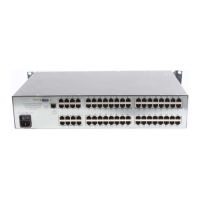
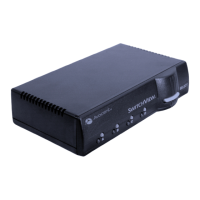
2.3 Connecting the AutoView™ Switch Hardware
The following figure illustrates an example configuration for the AutoView switch.
Vertiv | Avocent® AutoView™ 2108/2216/3108/3216 Switch Installer/User Guide | 5
 Loading...