Execute the following steps to save your settings:
1. Click SAVE to apply your settings. A small confirmation dialogue appears in the bottom right corner.
2. Reboot the camera.
NETWORK - DNS
Here, you can specify the Preferred and Alternative DNS Server.
Figure 38: WebGUI > NETWORK > DNS
Click SAVE to apply your settings. A small confirmation dialogue appears in the bottom right corner.
SYSTEM
You can use the SYSTEM tabs (described below) to define the desired system settings.
Attributes
Figure 39: WebGUI > SYSTEM > Attributes
Specifying a specific device name to be displayed in the OSD can be useful when using multiple cameras on the
same LAN. The Device-ID is always 1 (addressing is done via IP). The language cannot be changed.
Make sure these settings don’t interfere with other uses and services on the same network.
Click SAVE to apply your settings. A small confirmation dialogue appears in the bottom right corner.
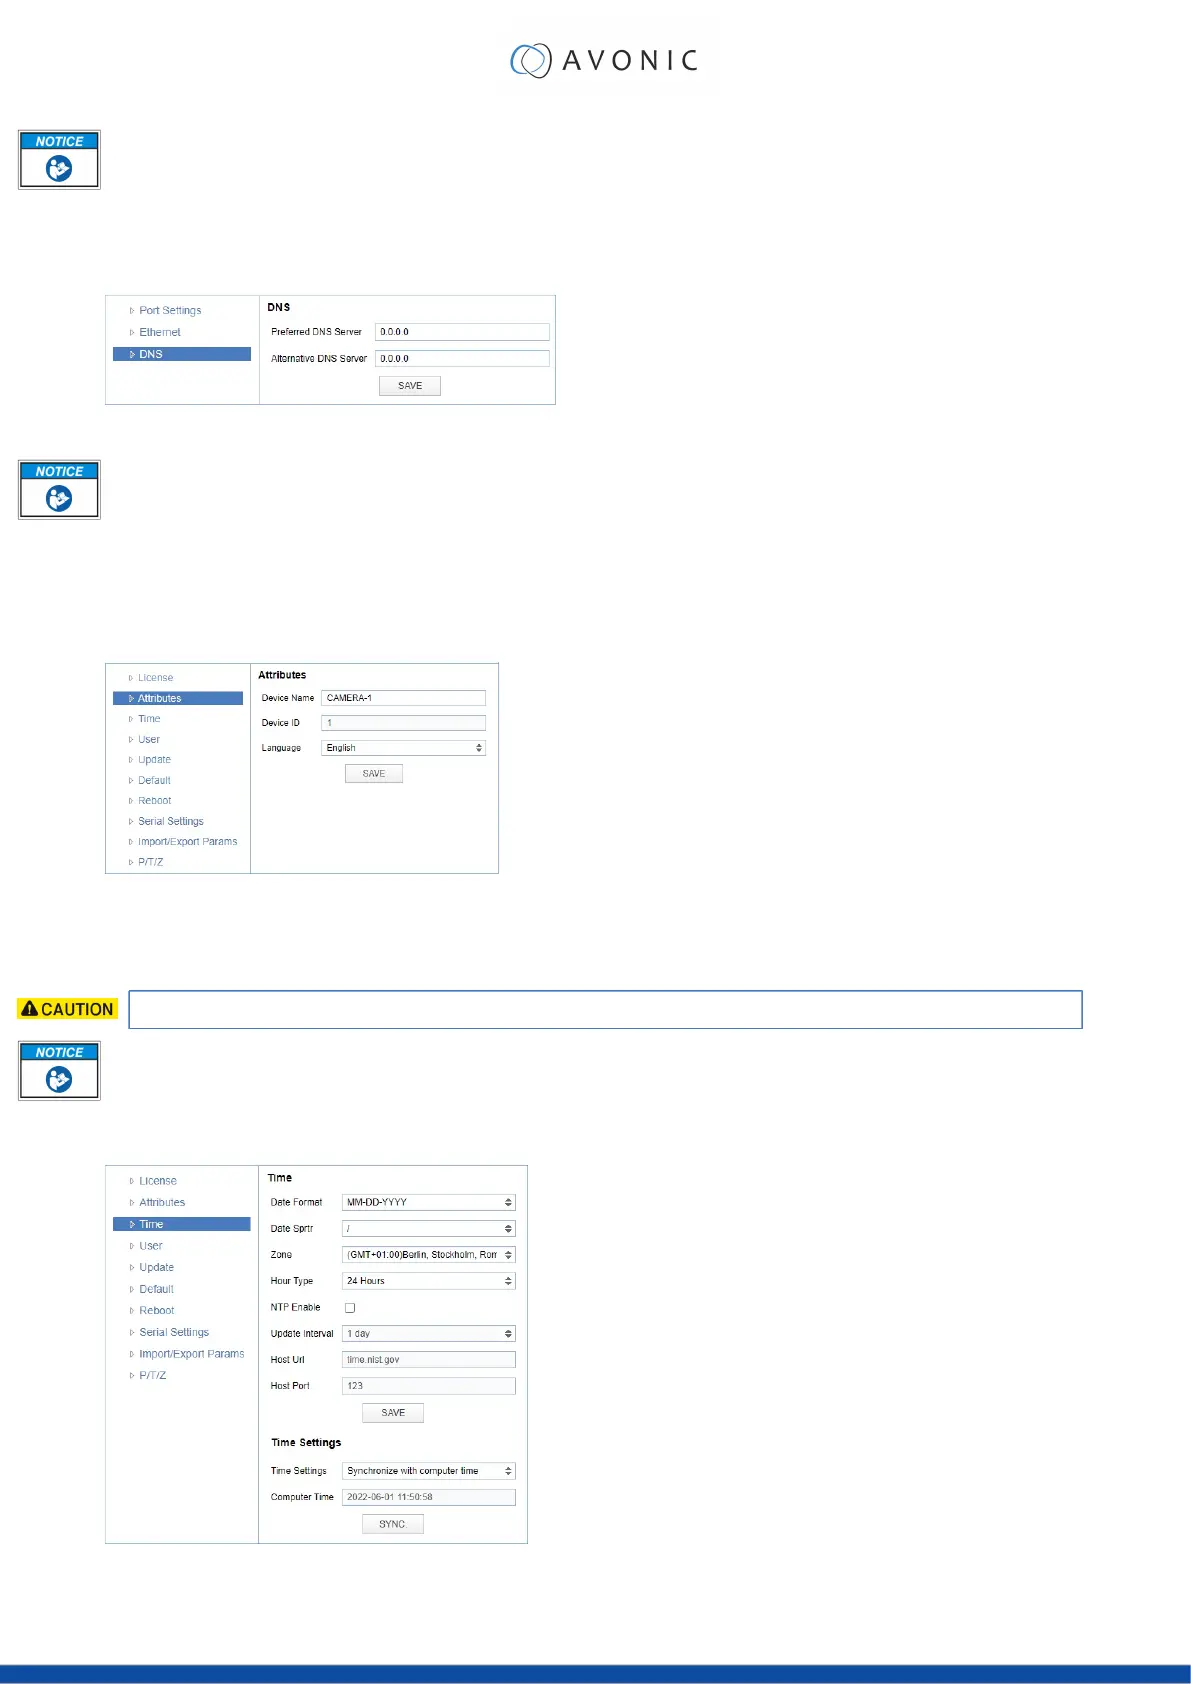
Time
Figure 40: WebGUI > SYSTEM > Time
37
 Loading...