• For safety purpose, mount the screws through the pre-drilled mounting holes or/and drill new holes
from inside the back of the hood to the studs or lumbers. For a more secure installation, use as many
mounting holes as needed to secure from the inside of hood.
6) Securely mount the Blower Unit to the lumber inside the attic (above the ceiling and under the roof).
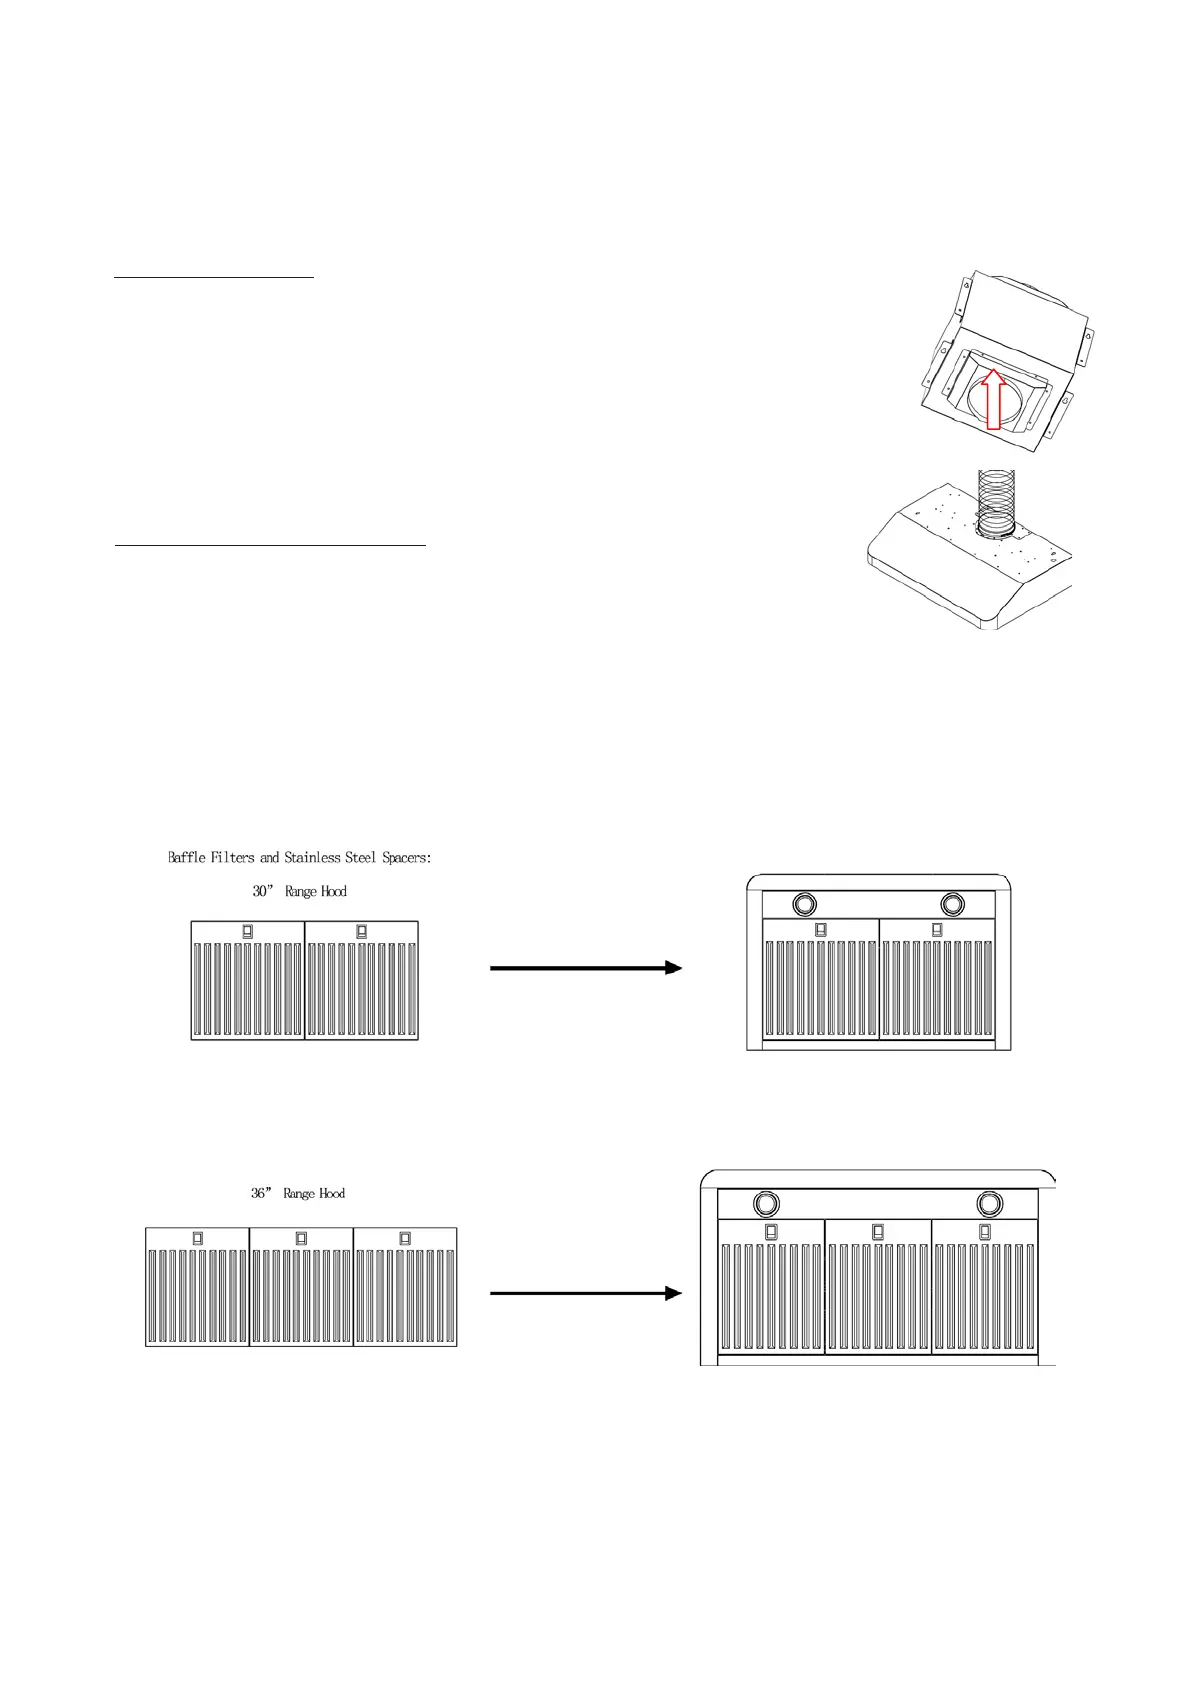
7) Connect the 8” ducts.
• Use 8” round aluminum duct (Recommend to purchase one or two of 8”
semi-rigid aluminum ducts) to connect the exhaust on the hood to the bottom
of the Blower Unit.
• Use the 8” round aluminum duct to connect the top exhaust on the Blower
Unit to the roof/wall cap.
• Use the hose clamps and foil tape or duct tape to make all joints secure
and air tight.
8) Connect the Speed Control Cord from the hood to the top connection box of
the Blower Unit; make sure the wires are securely connected using the
provided electrical nuts according to the colors. Note: the Black wire is
Neutral in this Speed Control Cord.
9) Connect the power cord to a designated grounded standard 110V outlet.
• Or cut off the plug and connect three wires (black, white and green) to house wires and cap with wire
connectors. Connect according to colors (i.e. black to black, white to white, and green to green).
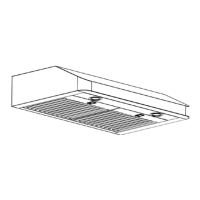
10) Install baffle filters and stainless spacer if any.
• Note: the baffle filters are STAINLESS STEEL covered by the WHITE protective films. Please
REMOVE the films after finished installation and testing.
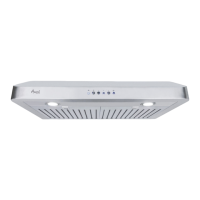
11) Turn power ON in control panel. Check all lights and fan operations.