AXIS 215 PTZ/AXIS 215 PTZ-E - Setup
21
Note that de-selecting the Show setup link box option will remove the Setup link from the camera’s Home
Page. The setup tools will then only be accessible by entering the full setup address into the address/URL field of
a browser:
http://<ip address>/operator/basic.shtml
Own Home Page
To use a previously uploaded web page as the default page, check the
checkbox, select the page from the drop-down list and click OK.
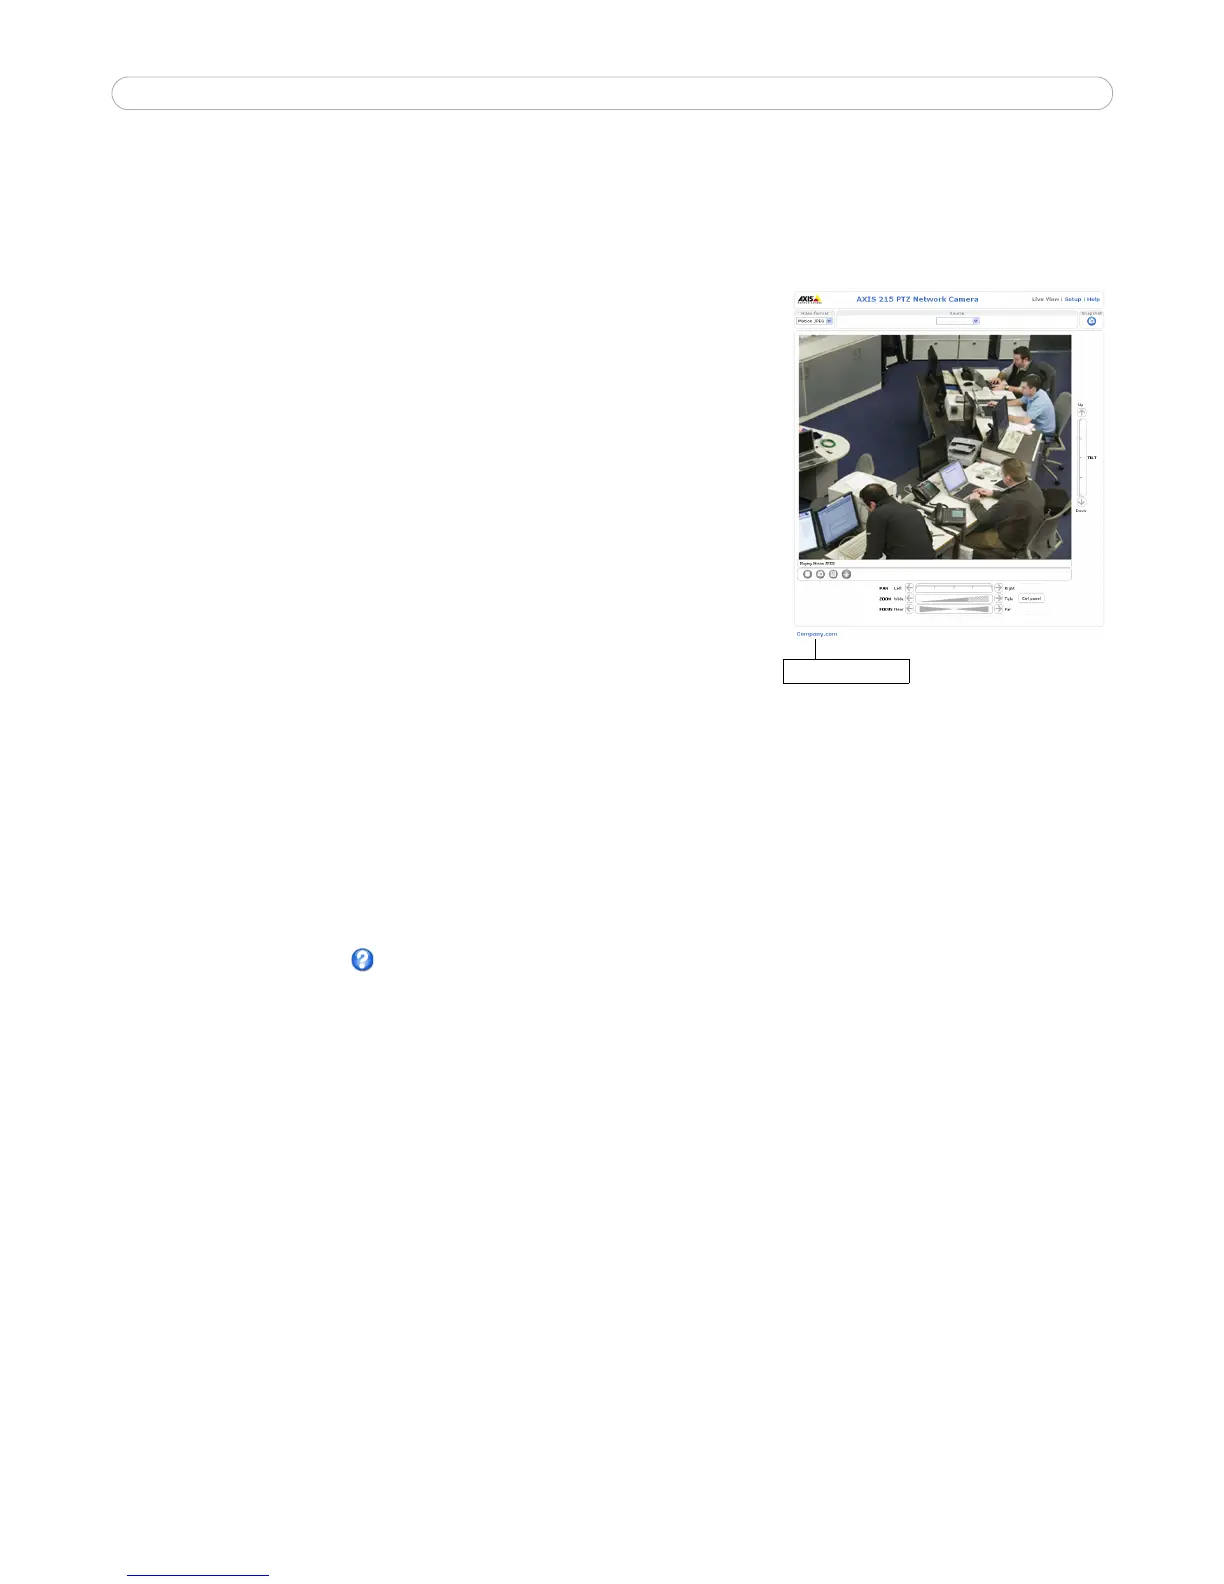
Note: You can also add live video from the AXIS 215 PTZ/AXIS 215 PTZ-E to your own web site.
For further information, please refer to HTML Examples, on page 22.
Default Video Format - select default video format from the drop-down
list. Check the box to enable video format selection from the Live View
Page.
Default Viewer - When using
Microsoft Internet Explorer (IE)
for
Windows, select your preferred method of viewing moving images. The
options are:
• AMC (ActiveX) - this is the best choice for fast image updating
in Internet Explorer for Windows, but might not be possible on
computers that have restriction on the installation of additional
software.
• QuickTime - for use with MPEG-4 only, select this to use the QuickTime plug-in for Microsoft Internet
Explorer.
• Java applet - this alternative uses a Java applet to update the images in the browser.
• Still Image - displays still images only. Hit the Refresh button in your browser to view a new image.
When using any other browser than Internet Explorer for Windows, select the appropriate method from the
drop-down list for viewing images. The available options are similar to Internet Explorer
except for Server
Push. With this method, the camera maintains and controls an open HTTP connection to the browser and sends
data as and when required for as long as required.
Please see the online help for more information.
Viewer settings:
Show viewer toolbar - uncheck to remove the viewer toolbar from the Live View page.
Enable MPEG-4 decoder installation - enables/disables the installation of the MPEG-4 decoder included with
AMC.
Show crosshair in PTZ joystick mode - enables/disables a red position indicator in the center of the image
when the joystick navigation mode is selected.
Use PTZ joystick mode as default - enabling this sets the PTZ mode to joystick. The mode can temporarily be
changed on the Live View page, but will default to joystick if selected.
Enable recording button - enables recording directly from the Live View page. The recording is saved in the
folder specified in the Recording tab in the AMC Control Applet. Note that this button is only available when
viewing with AMC.
Action Buttons:
The Show manual trigger button option can manually trigger and stop an event from the Live View page. See
Event Servers, on page 25.
The Show snapshot button option allows users to take a snapshot of the video stream and save it on a
computer.


 To Next Page