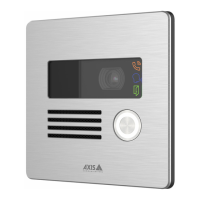
AXISI8016-LVENetworkVideoIntercom
Additionalsettings
•belongstoadepartment
Beforeyoustart
•Createtheorganizationinthephonebook.Tondouthowtocreateit,seeCreateanorganizationonpage8.
•EnableSIPinVoIP>SIPsettings.
1.GotoVoIP>Phonebook>Contacts.
2.ClickEditnexttothenameoftheorganizationtowhichthecontactbelongs.
3.ClickNew.
4.Entertherstandlastnameofthecontact.
5.Enteranavailablespeeddialnumber.
Note
Thespeeddialnumberisusedtocallthecontactfromtheintercom.Ifyouenteraspeeddialnumberwhichisalready
assignedtoanothercontact,awarningmessageappearsandyoucannotsavethecontact.
6.UnderDepartment,selectNewandenterthenameofthedepartment.
7.InCallinformation,selectSIPaddress.
8.Enterthecontact’sSIPaddress.
Note
ForinformationaboutSIPaddresses,seeSessionInitiationProtocol(SIP)onpage13.
9.SelecttheSIPaccounttocallfrom.
10.InFallback,selectNone.
Note
Afallbackisacontact,towhomthecallisforwardediftheoriginalcontactdoesnotreply.
11.ClickSave.
Congurethecallbutton
Bydefault,thecallbuttonisconguredtomakeVMS(VideoManagementSystem)calls.Ifyouwanttokeepthisconguration,you
justneedtoaddtheAxisintercomtotheVMS.
Thisexampleexplainshowtosetupthesystemtocallacontactinthephonebookwhenavisitorpressesthecallbutton.
1.GotoVoIP>Phonebook>CallbuttonandclickAdd.
2.SelectacontactandclickAdd.
3.DeselectVMScall.
4.ClickSave.
Todisablethecallbutton:
De-selectActivatecallbutton,or:
1.Don’taddanyrecipients,orremovealreadyaddedrecipients.
2.DeselectVMScall.
9