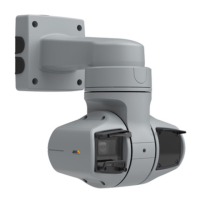
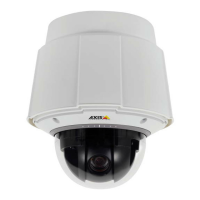
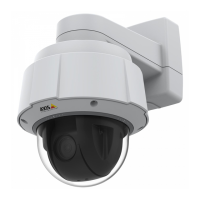
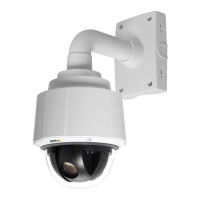
AXISQ60PTZNetworkCameraSeries
Repainttheproduct
2
Lid
3
Bayonetscrew
4
Washer
5
Wavespring
1.Assemblethebayonetscrewwithwasherandwavespring.Tightenthescrewswith1.8Nm(1.3lbft)torque.
2.Fitthethreescrewsbackinthelidassembly.
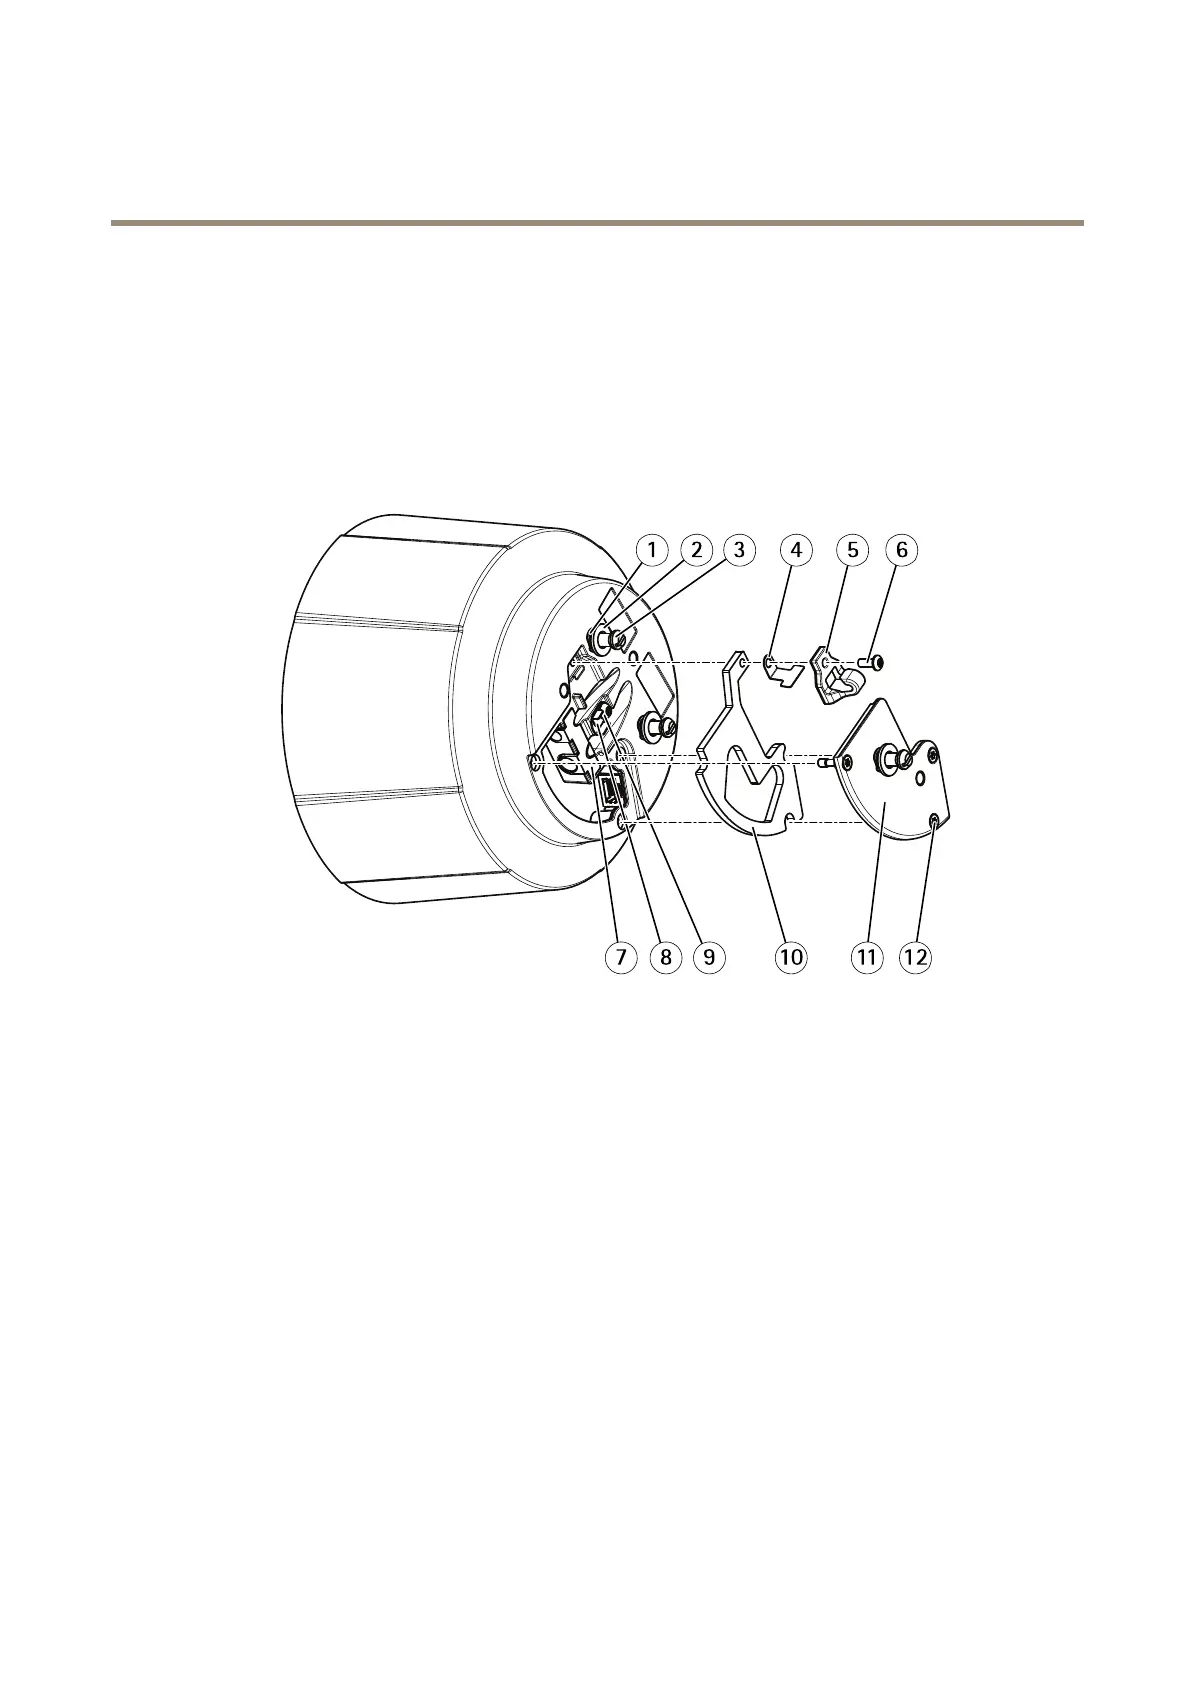
Chassis
1
Wavespring
2
Washer
3
Bayonetscrew
4
Spring
5
Safetyhook
6
Screw
7
Cablegasket
8
Cableholder
9
Screw
10
Gasket
11
Lidassembly
12
Antilossscrew
1.Pushthecablegasketintotheslot.
2.Putbackthecableholdersandthescrew.
3.Putbackthegasketandthelidassembly.Tightentheantilossscrewswith0.4Nm(0.3lbft)torque.
4.Putbackthespring,thesafetyhook,andthescrew.
5.Screwinthetwobayonetscrewswithwashersandwavesprings.Tightenthescrewswith1.8Nm(1.3lbft)torque.
8

 Loading...