Step 1: Attach 'H7' Picnic
Support to 'G1' ground board
using "Safe-T-Fuse" hardware.
Pre-drill & attach 'G3' Picnic
Support to 'G1' ground board
using Screws 'BS', as shown.
Phase Notes
• Assemble with hardware as shown.
Parts needed:
• (2) H7 - PICNIC SUPPORT - W101625
• (2) G3 - PICNIC SUPPORT - W101627
• (2) H9 - PICNIC SUPPORT - W101626
• (2) M2 - FLOOR BOARD - W101525
• (1) M9 - PICNIC CLEAT - W101633
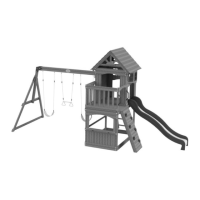
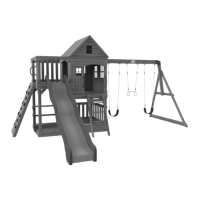
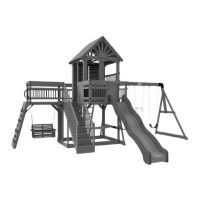
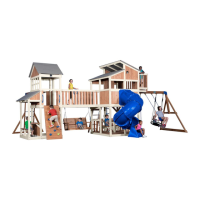
Fort Assembly
Phase 12
Hardware needed:
• (8) D - NUT BARREL WH 5/16x7/8 - H100005
• (8) AD - WASHER LOCK EXT12x19 - H100031
• (8) AC - WASHER LOCK EXT8x19 - H100030
• (8) H - BOLT WH 5/16x1-1/2 - H100010
• (6) BS - SCREW PFH 8x1-3/4 - H100089
• (8) CK - SCREW PFH 8x2 - H100111
• (4) BR - SCREW PFH 8x1-1/8 - H100088
Note: Do not overtighten screws, overtightening
may cause the screw to stick through the boards
and may cause sharp points. The head of the
screw should NOT sink into the wood for this
phase, it should be flush.
To prevent board splitting, you
must pre-drill each board with
a 1/8" drill bit, before attaching.
Note: It is vital that the fort
be level before and after
each phase of assembly.
Step 2: Attach 'H9' Picnic
Support to 'H7' picnic support
using "Safe-T-Fuse" hardware.
Attach 'M2' floor boards to 'H9'
picnic support using Screws
'CK', as shown.
Step 3: Pre-drill & attach 'M9'
Picnic Cleat to 'M2' floor
board using Screws 'BR', as
shown.
H7
G3
H
BS
AC
AD
D
G1
M9
BR
M2
CK
AD
D
H9
H7
AC
H
M2