
C
Caitlin CollinsAug 3, 2025
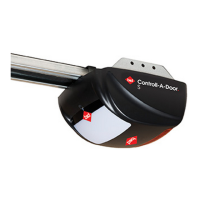
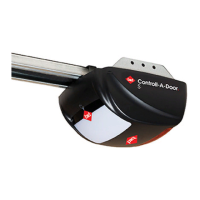
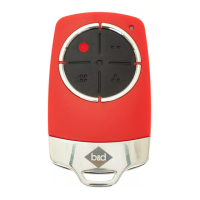
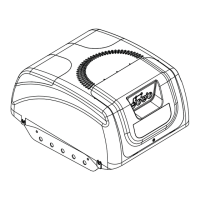
How to fix a B&D Controll-A-Door Smart SDO-7 Door Opening System when the transmitter doesn't work?
- BbrownstephanieAug 3, 2025
If your B&D Door Opening System isn't responding to the transmitter, there are several potential causes. First, ensure the garage door is in good working order; for example, the springs may be broken. Check the door's operation. Next, verify the opener is receiving power by plugging a similar voltage device into the power point. If the opener still doesn't work, replace the transmitter battery. Also, check that the opener hasn't been accidentally set to “Vacation Mode” and turn it off. Finally, ensure the transmitter button is properly programmed to operate the door and code in the transmitter if needed.