601–0445 /05 Loki 89
Image 8-29: Installation menu, Warp
2. In the Warp menu, select Bow.
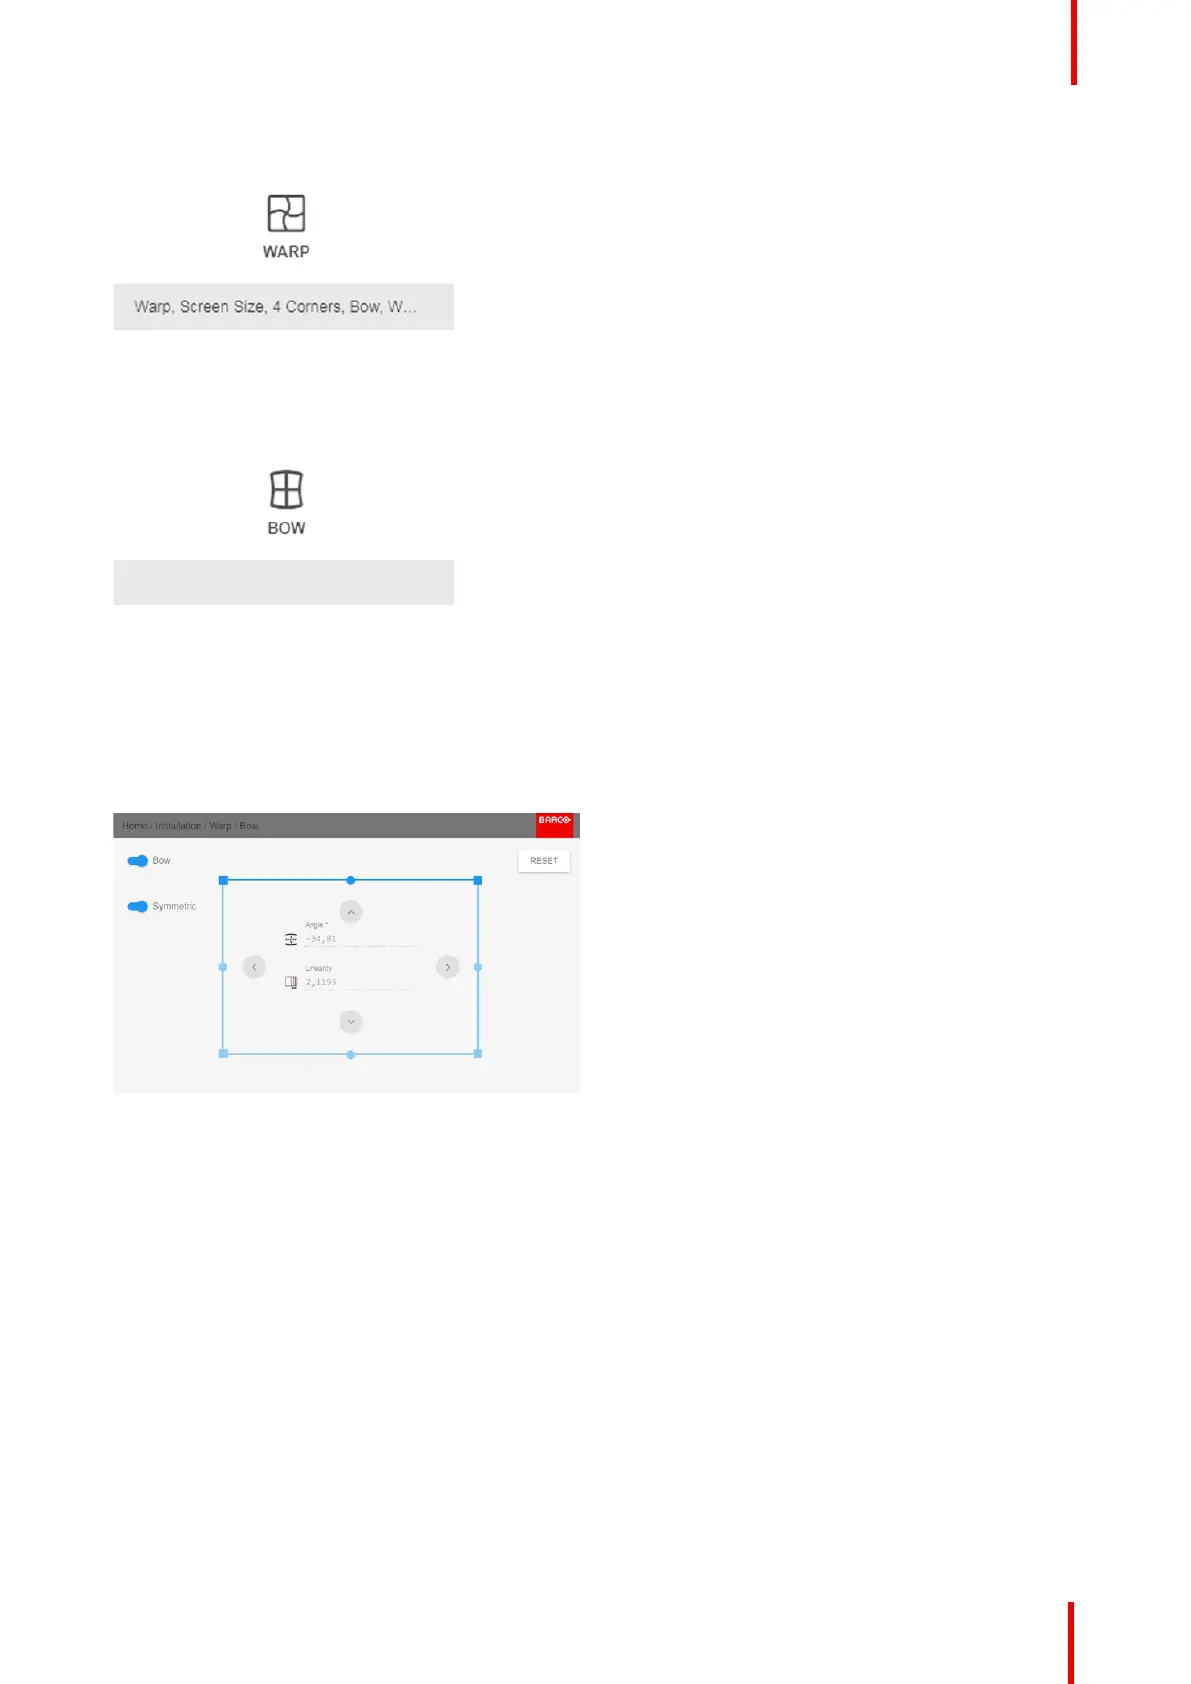
Image 8-30: Warp menu, Bow
A check symbol at the bottom right corner indicates that the bow function is activated.
When the bow menu is selected, a grid will occur in the screen picture in order to visualize the adjustments
performed.
3. To enable Bow correction, make sure the Bow slider is set to On.
The slider is enabled when set to the right and when it is highlighted blue.
Image 8-31: Symmetric Bow correction.
4. To enable a symmetric adjustment, make sure the Symmetric slider is set to On.
The slider is enabled when set to the right and when it is colored blue.
5. Select the side of the picture to be bow corrected, confirm by pressing enter, and use the arrow keys to adjust
the angle and linearity (length) of the vectors.
The angle is adjusted by the up and down arrows on the remote control, and the linearity is adjusted by the left
and right arrows.
The correction will occur symmetrically on each side of the center of the highlighted side.
When corrected with the values in the image above, the picture will occur as shown below.
Repeat this step for all sides of the picture that has to be corrected.
Installation menu

 Loading...