CT12A INSTRUCTION MANUAL
56-101-03100-E CH. 3
May
/ 29 / 09 Page 18 of 19
Note: The Verification Bar must be used in the same way, orientation and position every
time. Use care when performing the verification test in order to get the most accu-
rate reading possible. If in doubt whether the Verification Bar was loaded properly
or if a reading was properly taken, stop and begin verification process again.
Take the reading(s) using the Mode selected, as was described in Section 7.
After the readings are taken, the value displayed should be inside the range calculated with
the Bar’s own tension and tolerance, both indicated on its ID tag. The tolerance is also
shown in Table 3. If value displayed is not within this range, discontinue use of the CT12A.
This indicates the unit either is out of calibration or in need repair/overhaul.
10. POWERING OFF THE CT12A
Hold the ON
/ OFF button down until the LEDs are illuminated and the display shows BYE.
11. RECHARGING THE CT12A BATTERY
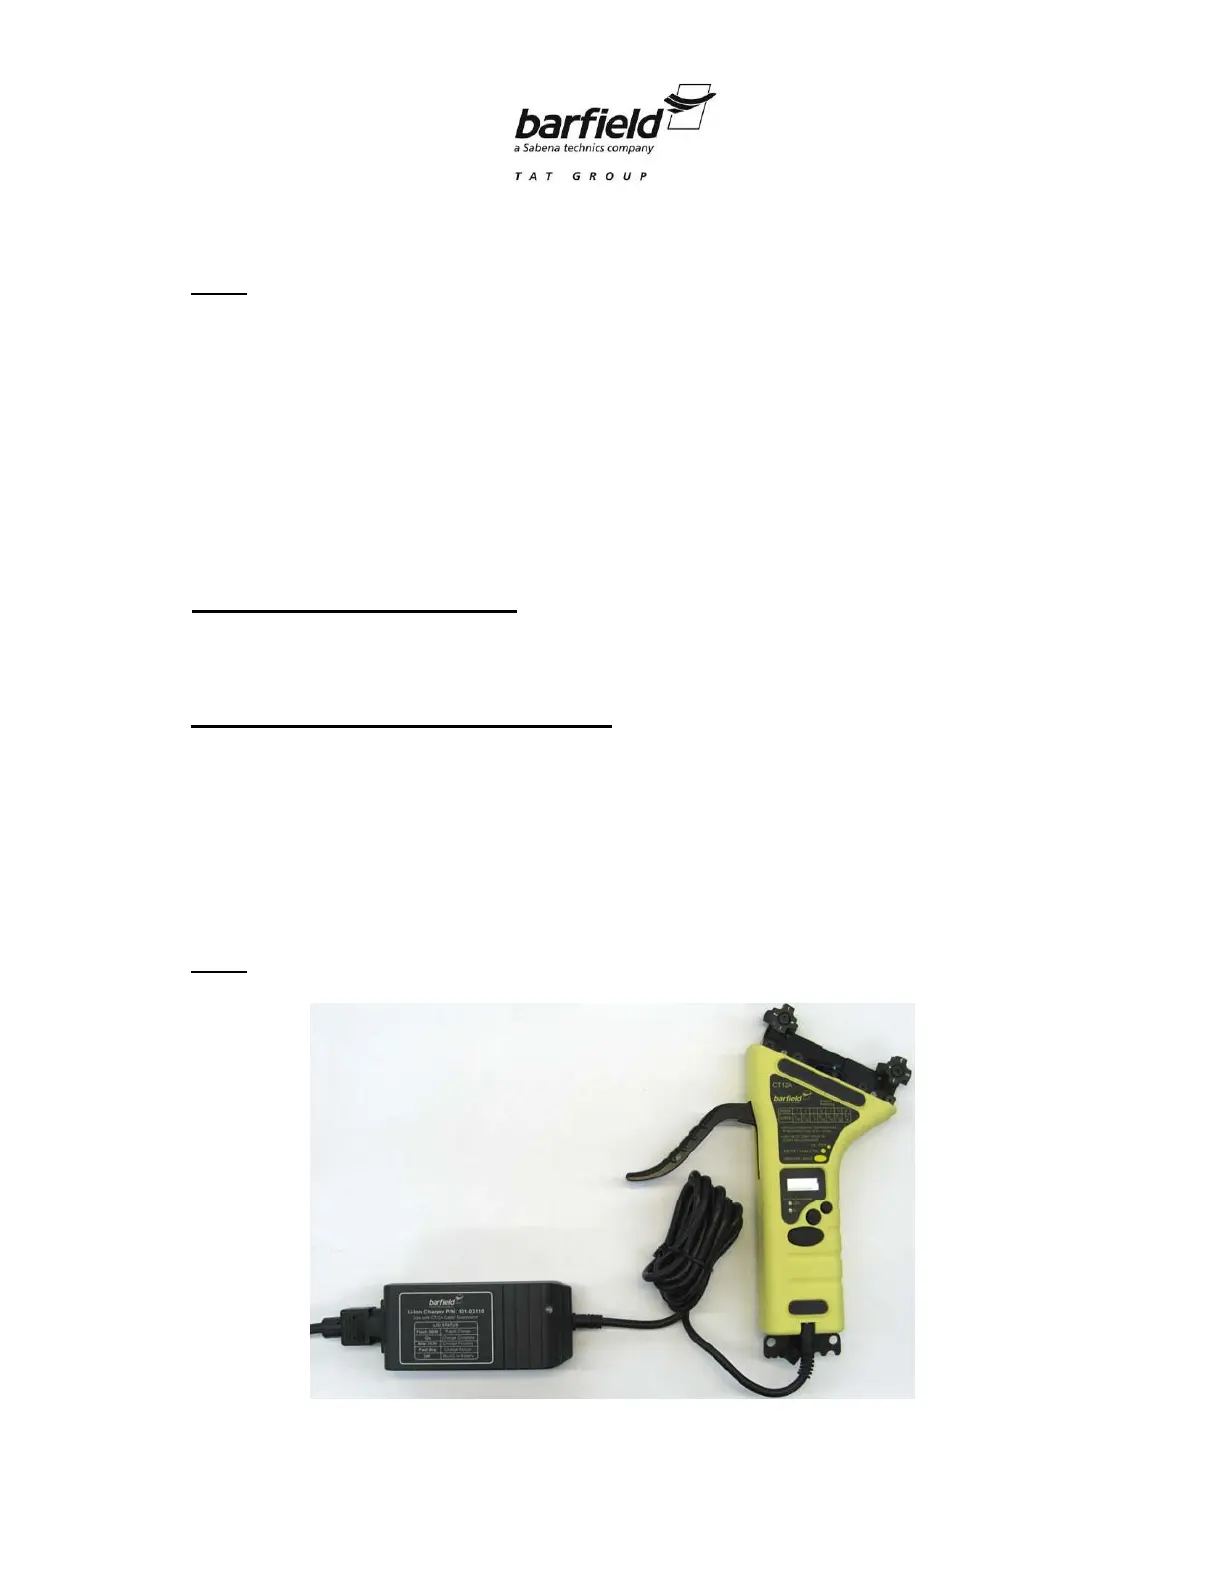
Connect the battery charger to a 115 VAC 50
/ 60 Hz power source.
Lift the rubber cover of the charger port, located at the bottom edge of the CT12A (Fig. 8),
and insert there the battery charger cable connector as shown.
The CT12A is fully charged when the green light is no longer illuminated. It takes approxi-
mately 2 ½ hours for a quick charge, and 4 hours for a full charge.
Note:
Do not use the CT12A while the battery is being charged.
Figure 8 CT12A with Battery Charger Accessory