AW00130404000 Quick Installation Guide for Basler dart Cameras
Basler dart 9
2.2.2 Installing the Camera
The following procedure assumes that these steps have been carried out:
Basler pylon Camera Software Suite software is installed on your PC
You have installed a suitable host controller driver for the USB 3.0 adapter that you will use for
camera installation. You have obtained the driver from Basler.
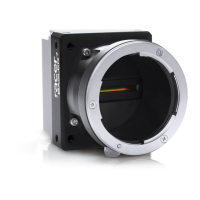
For dart bare board variants only:
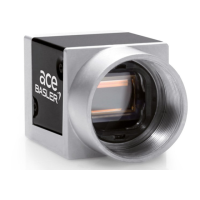
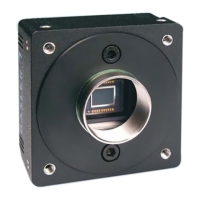
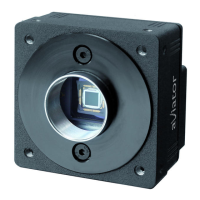
1. Remove the plastic seal from the sensor.
To avoid dust or dirt on the imaging sensor, make sure that the
sensor is pointing down when removing the plastic seal.
For all dart cameras:
2. If you want to use the I/O connector, remove the plastic seal from
the I/O connector.
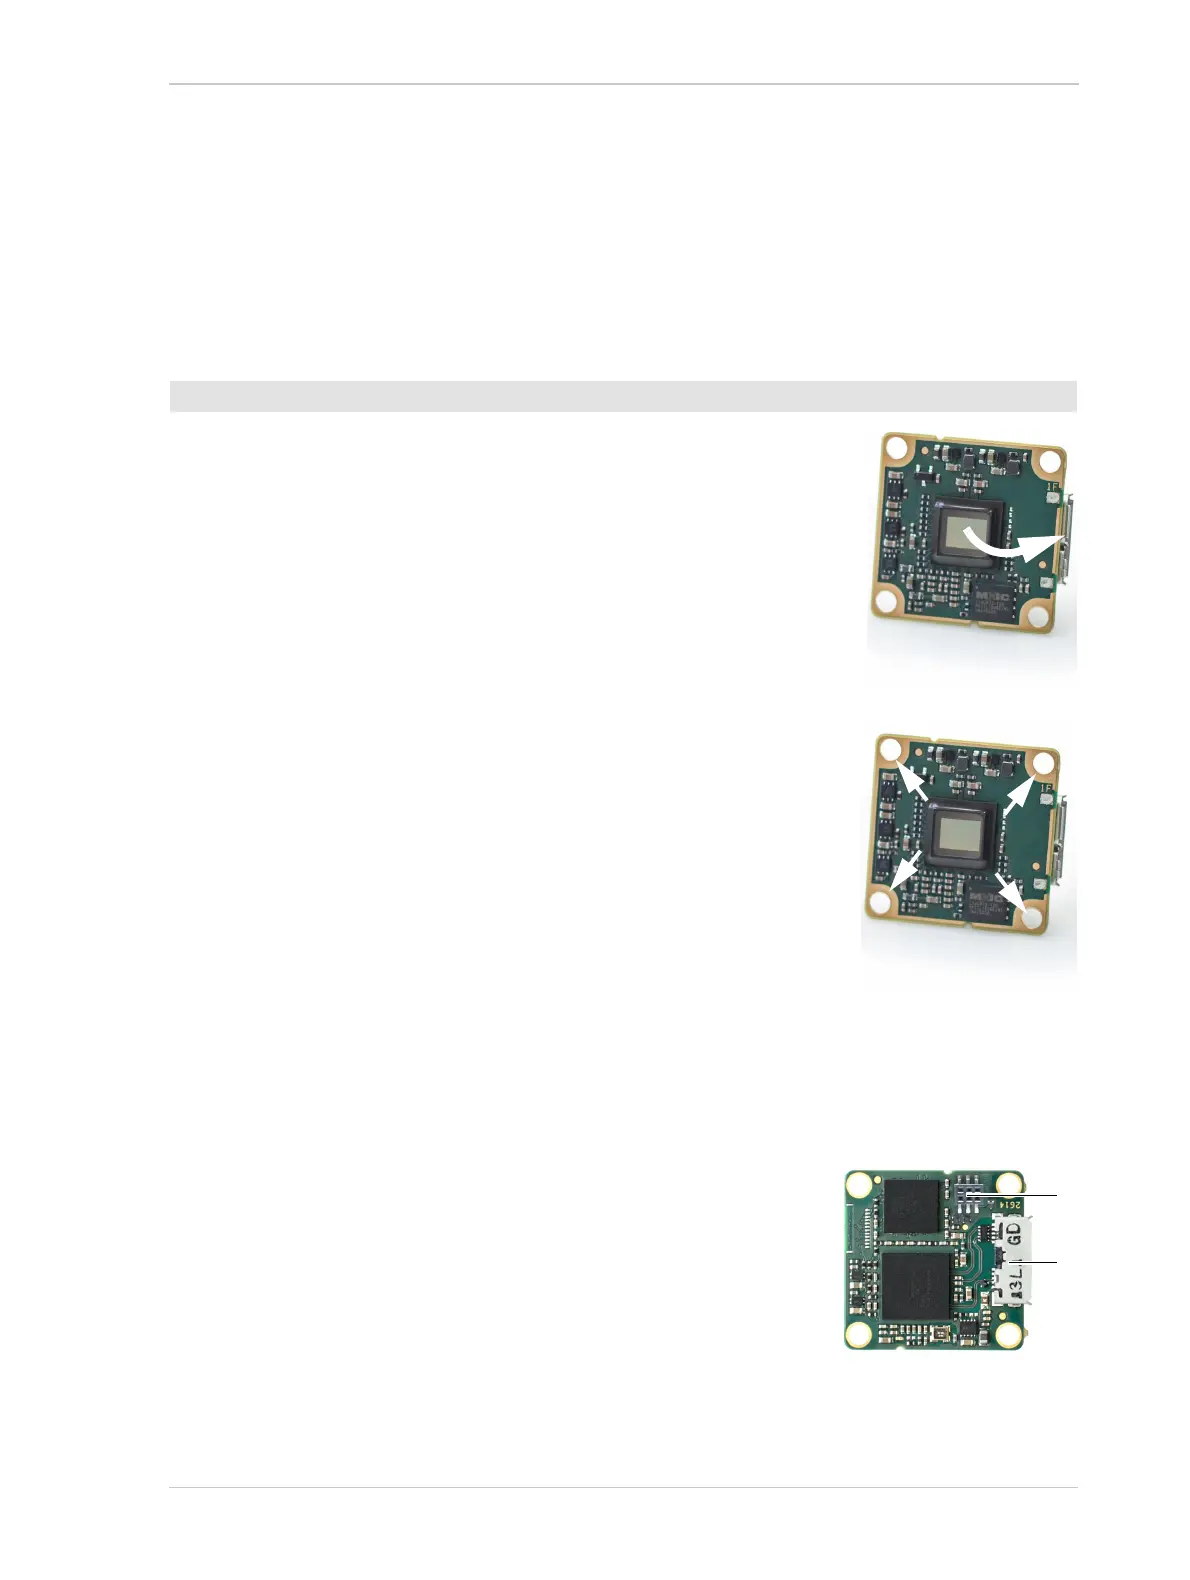
3. Mount the camera in your setup and, if required, install cooling
devices for cooling the camera.
The four holes in the corners of the board are designed for
mounting the camera. You can also use the holes to dissipate heat.
For more information about heat dissipation, see the Basler dart
User’s Manual for USB 3.0 Cameras (AW0001305).
4. If you want to use the I/O Connector, connect the I/O cable to the
I/O connector on the board (see [1] in Figure 4).
Make sure that the I/O cable is wired to conform with the pin
assignments shown in the Basler dart User’s Manual for USB 3.0
Cameras (AW0001305).
5. Connect the USB 3.0 cable:
a. Connect one end of the USB 3.0 cable to the USB 3.0 Micro-B receptacle on the camera
(see [2] in Figure 4).
b. Connect the other end of the USB 3.0 cable to a USB 3.0 port on your PC. USB 3.0 ports
are either marked with a SuperSpeed logo or have a blue insert.
The camera will power up.
During configuration, the LED indicator on the back of the camera
will be shortly dimmed up and down. As soon as the camera is
operative, the LED indicator is lit permanently.
Windows will find the suitable camera driver in the Basler pylon
Camera Software Suite.
To install the camera hardware:
Fig. 2: Removing the
Plastic Seal (Bare Board
Variant)
1
2
Fig. 4: I/O and USB 3.0
Connectors