Quick Installation Guide for Basler dart Cameras AW00130404000
14 Basler dart
4 Acquiring Your First Images
The easiest way to acquire your first images is to use the pylon Viewer software that was installed
earlier with the pylon Camera Software Suite.
1. Put an object within the camera’s field of view and make sure that the object is well illuminated.
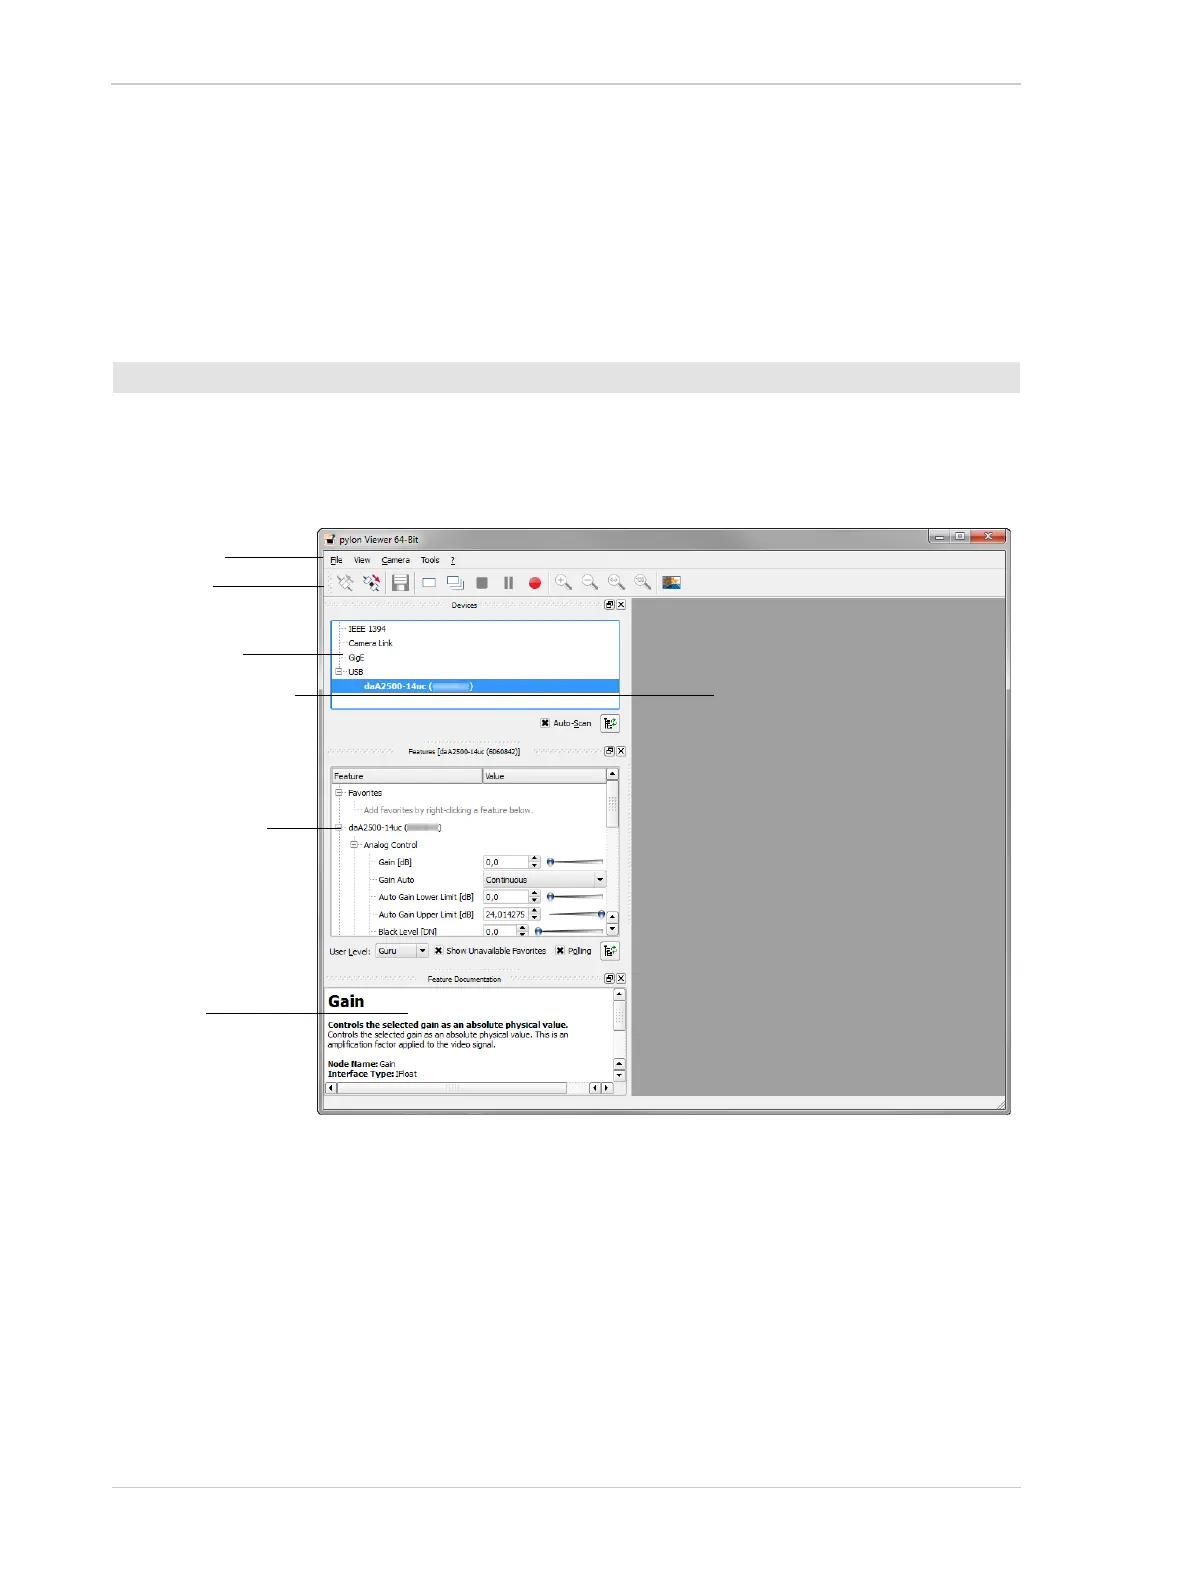
2. Start the pylon Viewer by clicking the pylon Viewer icon on your desktop. The pylon Viewer
will open as shown below and you should see an entry in the Devices pane for your dart
camera.
Fig. 8: Overview of the pylon Viewer
If the camera is not shown in the Devices pane, use the pylon USB Configurator that is
delivered with the pylon software to check for warning and error conditions. For more
information about the USB Configurator, see Chapter 3 on page 11.
3. Double-click your camera’s name in the Devices pane to open the camera connection.
4. In the menu bar, click Camera, Continuous Shot to place the camera into continuous image
capture mode.
The images captured by the camera will be displayed in the image display area as shown
below.
To acquire your first images:
Menu bar
Tool bar
Devices pane
Image display area
Feature
documentation
pane
Features pane