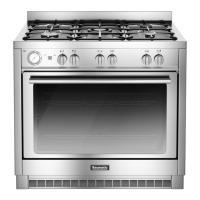
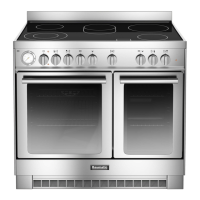
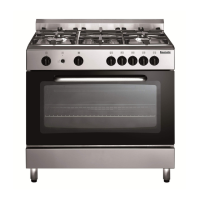
INSTALLATION INSTRUCTIONS
13
ADJUSTABLE-LEG AND KICK-PLATE ASSEMBLY
To complete the assembly and before fitting the accessories, proceed as follows:
1) Open the warming compartment door and tilt the appliance sufficiently to assemble two legs.
2) Repeat the exercise for the remaining two legs ensuring all four are tightly assembled.
3) Check that the appliance is level and at the correct height. If necessary, adjustments can be
made by unwinding the telescopic inner part of the appropriate leg.
4) Screw the fixing brackets to the kick plate.
5) Clip the kick plate on to the front legs.
GAS CONNECTION
Gas installations must only be performed by a competent, CORGI registered gas engineer, and in
accordance with all relevant gas regulations.
The gas supply can be connected either to the left-hand or right-hand side of the appliance via an
approved flexible Plug-in hose. The unused connection point must be sealed-off.
The flexible Plug-in hose length should be such that it does not touch the floor or any surface that
exceeds 70°C.
The appliance hob is supplied for use with Natural Gas, if it is to be adapted for LPG proceed as
follows:
1) Isolate the appliance from the electricity and gas supplies.
2) Remove the pan supports and burner assemblies.
3) Undo the side fixing screws and front corner brackets to allow the hob to be lifted for
replacement of the injectors and to regulate the primary air / minimum settings.
4) Using a 10mm spanner, replace the existing injectors with the alternative type supplied. For
sizing refer to the details in the Technical Data (Pages 16-17).
5) Use the appropriate thread sealant and check for gas soundness.
6) With the metal collars on the burner support, adjust the Primary Air intake gap.
7) Affix the self-adhesive label to the Rating Plate to amend the Gas Category.
GAS FLOW ADJUSTMENT
In order to adjust the minimum gas-flow proceed as follows:
1) Ignite the burner, allow burner to stabilise and then turn down to the minimum setting.
2) Remove the control knob from the gas tap shaft.
3)
Adjust the flow by passing a thin screw driver blade down the shaft and turning the regulating
screw either clockwise to decrease or anti-clockwise to increase the flame. Check that the
flame is 3-4 mm in length, bluish in colour, stable, noiseless and does not extinguish when
changing from maximum to minimum flow.
4)
Replace the control knob and check that all components have been reassembled correctly
.