EN
69
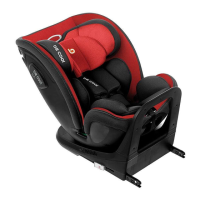
Step 3: as shown in gure 3, pull the ISOFIX adjustment
handle with one hand and press the ISOFIX connectors
towards the base with the other hand.
Step 4: as shown in gure 4, before inserting the two ISO-
FIX connectors into the ISOFIX anchor points, the ISOFIX
indicator window will be red.
Step 5: as shown in gure 6, insert the two ISOFIX
connectors rmly into the ISOFIX anchor points on the
vehicle seat until you hear them click into place. Then
the ISOFIX indicator window will turn green. To release
the ISOFIX connectors, press the green button and the
indicator window will turn back to red.
Step 6: as shown in gure 7, with one hand pull the ISO-
FIX adjustment handle and with the other hand push the
base of the child safety seat to lock it into position. It is
not necessary to pull the ISOFIX adjustment handle if the
ISOFIX is locked.
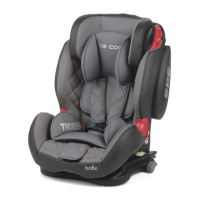
Step 7: as shown in gure 7, settle the child in the seat
and adjust the headrest to a comfortable height. Make
sure that the seat belt passes through the group II and
III guide hook at a slanted angle, check that the lap belt
goes through the two harness guides and insert the
seat belt clip into the buckle making sure it clicks rm-
ly locked into place. Lastly, make sure that the lap belt
holds the child’s pelvis securely.
REMOVING THE COVER
a- REMOVING THE COVER FROM THE STRUCTURE
Removing the cover from the structure of the seat: as
shown in gure on the left, remove the fabric cover fol-
lowing the steps in order 1, 2, 3, 4 and 5 (gure 1 shows
the hooks).
b- REMOVING THE COVER FROM THE HEADREST
Step 1: as shown in gure 1, unfasten the press studs on
the headrest.
Step 2: as shown in gure 2, take the elastic part of the
headrest off. Then, take the cover off in the direction
shown by arrow 3.
Attention: When you want to put the cover back on, fol-
low the same steps in reverse.
6