18
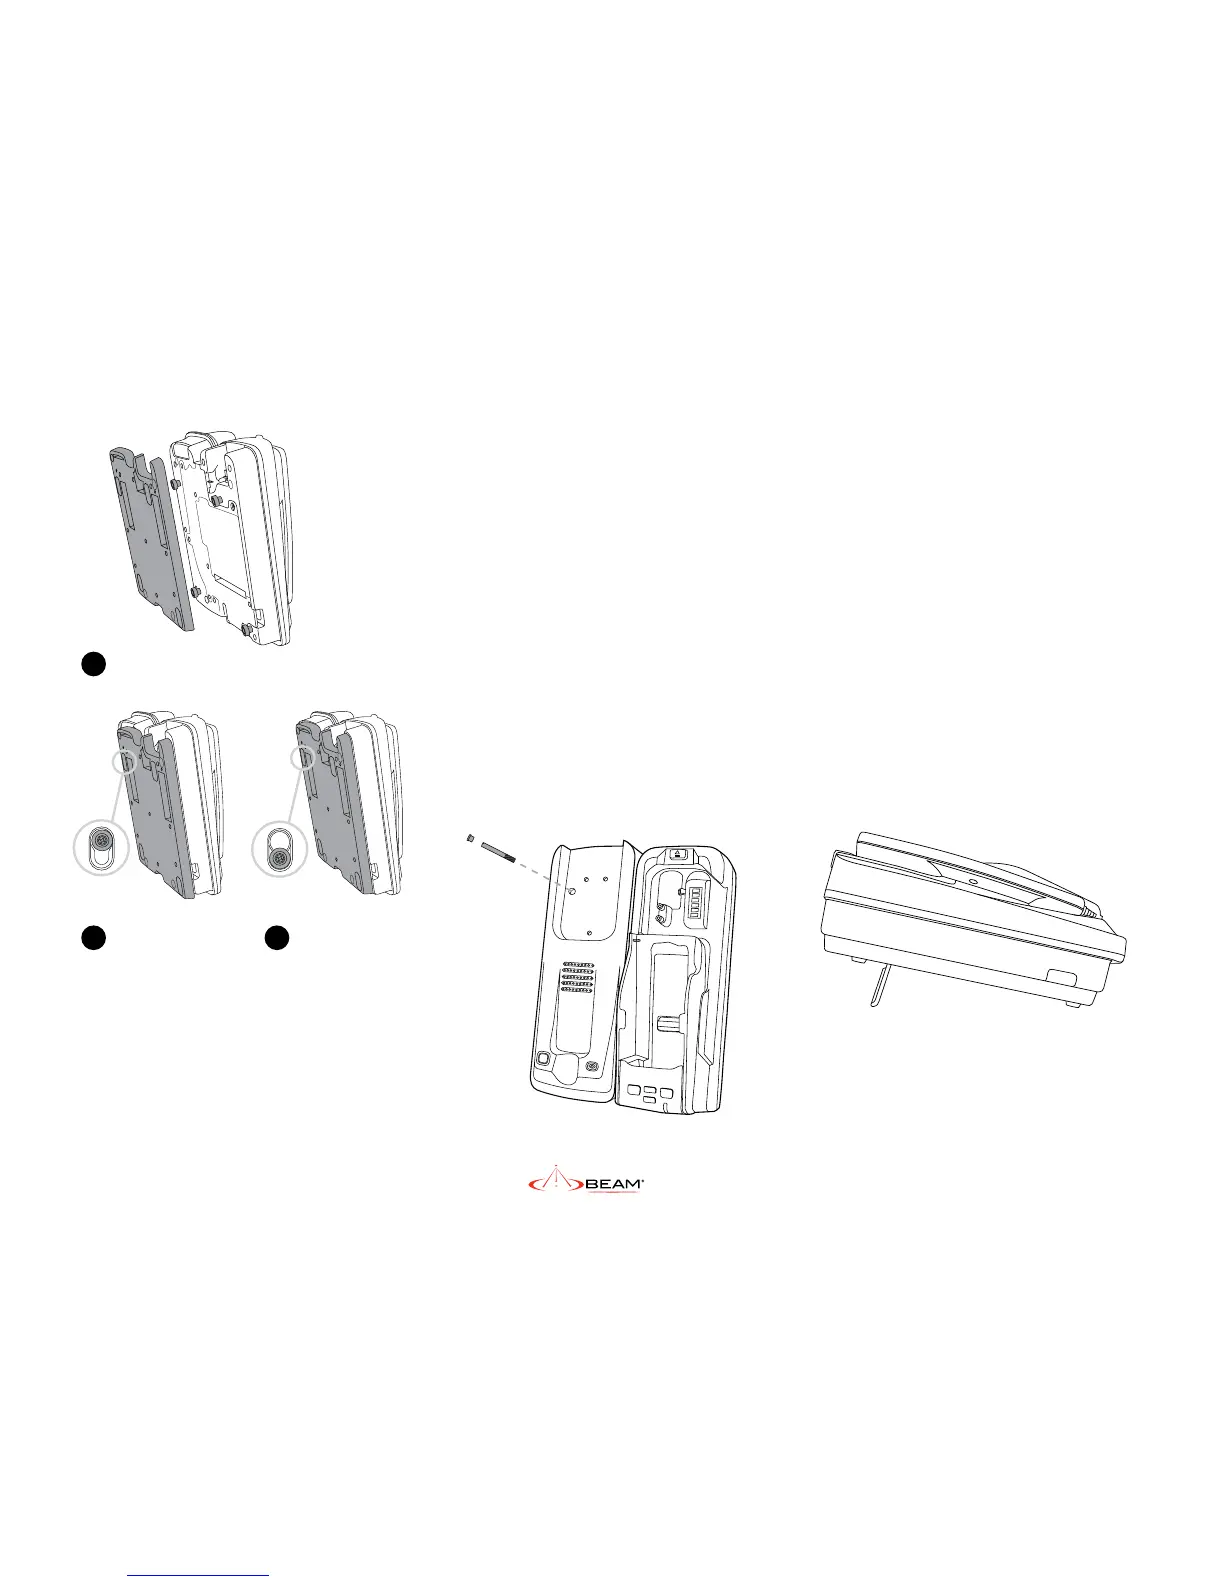
The Security Bolt
Security bolt ensures the PRO docking unit is
rmly xed to the wall and prevents the docking
station from sliding back up freeing the dock.
The security bolt is 4mm in diameter and has a slot
for a at blade screwdriver.
The bolt under the privacy handset mounting cup
must be tted prior to the cup being screwed into
place. The bolt is then covered with a plug. The
security bolt passes through the docking station
and needs to be in place to create a seal against
the o-rings at the rear of the Dock and maintain
the waterproof rating.
Once the dock has been locked onto the
mounting bracket on the wall, the security bolt
is then slid into place locking the dock to
the wall.
a
b c
Slide the dock down
Fit the docks feet in the large holes of the bracket
Final lock position
2b) Desk Mounting Orientation
The IsatDock2 PRO supports a desk mount
conguration. Depending on the users
requirements the docking station supports both
a at and raised orientation on the desk.
To congure the IsatDock2 for a desk installation:
1. Fit the mounting bracket to the back of
the IsatDock2 as shown in section (2a) wall
mounting directions.
2. Flip the feet out if required and locate the
IsatDock on the desk.
When desk mounting, the security bolts are not
required to be tted.