Do you have a question about the Beckman Coulter AU5800 and is the answer not in the manual?
Explains conventions used for text, icons, and terms in the guide for clarity and safety.
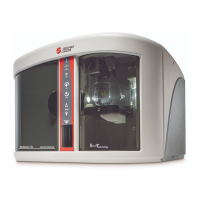
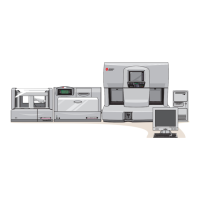
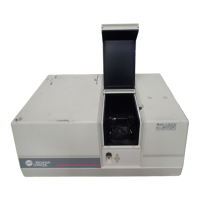
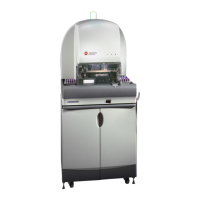
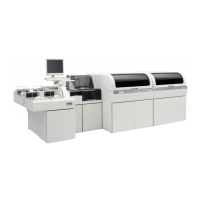
Details the physical components of the AU5800 analyzer, including monitors, racks, and the main unit.
Provides a chart of the software menus and describes how to navigate through the system interface.
Explains how to select menus, exit menus, and understand the entry status display.
Describes the organization of the operation window, including button bars, menu areas, and alarm areas.
Guides through turning on the system, logging in, and setting start conditions.
Details the daily inspection and maintenance tasks required for system performance and safety.
Explains how to check the analyzer status using color-coded indicators for system conditions.
Covers start up procedures and daily maintenance for the optional ISE unit.
Describes how to check reagent quantities, status, and detailed information for system operation.
Details the process of requisitioning and running reagent blanks and calibrators for accurate results.
Explains the importance and process of regularly analyzing QC samples for system performance confirmation.
Guides on initiating sample analysis, including checking for errors and verifying unit readiness.
Details preparing sample cups/tubes and placing them in the correct racks for analysis.
Describes the procedure for arranging and placing prepared racks onto the analyzer's set trays.
Guides on how to correctly place the prepared set trays onto the analyzer's rack set and collection units.
Provides instructions for loading racks directly into the analyzer, emphasizing correct orientation.
Explains how to add racks to the priority rack set unit for higher-priority sample processing.
Covers entering sample information and requested tests, including manual, batch, and host downloads.
Details procedures for handling emergency samples using red racks for priority analysis.
Explains how to verify reagent, calibration, and control results before reporting sample results.
Lists sample data prefixes and their corresponding sample types for easy identification.
Guides on viewing sample information, time to completion, and results within the Sample Status menu.
Describes generating data prints in user-defined report formats and printing results.
Explains how to identify and address error flags and system alarms during analysis.
Details the steps for programming new tests, including name, group, profile, and specific parameters.
Guides on grouping frequently requested tests into profiles to reduce keystrokes.
Explains how to verify and change calibrator concentrations for accurate analysis.
Describes how to input QC mean, standard deviation, and range for quality control monitoring.
Details programming the system to turn on automatically at a specified time each day.
Explains how to program and customize the User Menu for quick access to frequently used functions.
Guides on printing sample data reports and reagent blank, calibration, and QC results.
Details transferring sample data and QC/reagent/calibration data to a host computer system.
Explains how to assign reagents to specific positions when they are not barcoded.
Guides on editing reagent IDs when a read error occurs on a barcoded reagent bottle.
Describes calculating and managing reagent volume required for tests by day of the week.
Details how to display reagent consumption based on analysis or dispense data.
Explains how to search and edit analyzed QC data by sample number or test.
Guides on saving analysis data to external media for backup or transfer to another computer.
Describes saving and loading system parameters to a backup folder or external media.
Explains how to stop analysis for specific tests, even if they have a requisition.
Describes the different operating modes of the analyzer, such as Initial, Warm Up, and Standby.
Guides on how to bypass the warm-up period and switch the system directly to standby mode.
Details the process of shutting down the analyzer and computer, maintaining temperatures.
Explains how to immediately stop analysis operations by transferring the analyzer to stop mode.
Describes how to use the EM STOP button to immediately turn off power to the analyzer and ISE units.
Explains how to use the online help feature to access guides, videos, and alarm descriptions.
Guides on checking system alarms, understanding their levels, and taking corrective actions.
Provides a summary table of error flags and their definitions for troubleshooting analysis results.
| Brand | Beckman Coulter |
|---|---|
| Model | AU5800 |
| Category | Measuring Instruments |
| Language | English |