EN 26
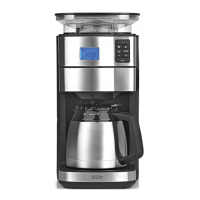
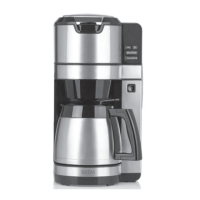
Keep-Warm Function
The device has an automatic keep-warm function. The hotplate remains switched on for ap-
prox. 40 minutes after each brewing process.
To end the keep-warm function prematurely, press the button (18).
Always switch off the keep-warm function after the end of the brewing process when
using the thermal jug (6). The keep-warm function can be used when using a glass jug
(see “Optionally available”).
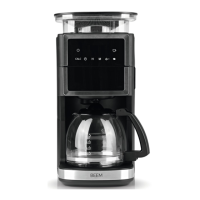
Drip Stop
The device has a drip stop which prevents water from dripping out of the fi lter when the jug
has been removed from the device.
When the device is in operation, the fi lter compartment (5) must be closed and a jug with a lid
placed on it must be placed beneath the fi lter compartment. The lid of the jug pushes the drip
stop upwards and the coffee can fl ow from the fi lter through the lid into the jug.
During the brewing process, the jug must not be removed from the device for longer
than 30 seconds as otherwise the fi lter could overfl ow.
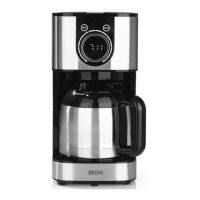
Preparation
PLEASE NOTE!
• Do not operate the device without water or with less water than is required to reach
the 2 Cups mark. If this does happen, the device switches off automatically. In this case,
allow the device to cool down before water is poured in and the device is used again.
• Never use the device without a suitable jug below the coffee outlet.
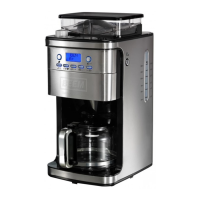
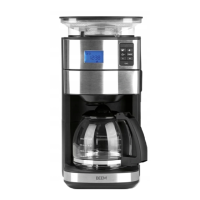
Making Coffee with Coffee Beans
1. Fill the water tank (11) (see the “Handling and Operation” chapter – “Filling the Water
Tank ”).
2. Fill the coffee bean compartment (2) (see the “Handling and Operation” chapter – “Adding
Coffee Beans”).
3. Set the grinding fi neness you want (see the “Handling and Operation” chapter – “Setting
the Grinding Fineness”).
4. Open the fi lter compartment (5).
5. Insert the permanent fi lter (see the
“Handling and Operation” chapter –
“Inserting the Filter”).
6. Close the fi lter compartment.
7. Set the desired number of cups with the button
(25)
(see the “Handling and Opera-
tion” chapter – “Setting the Number of Cups”).