1. Installation of the central siren
Please follow the following procedure to connect your control unit:
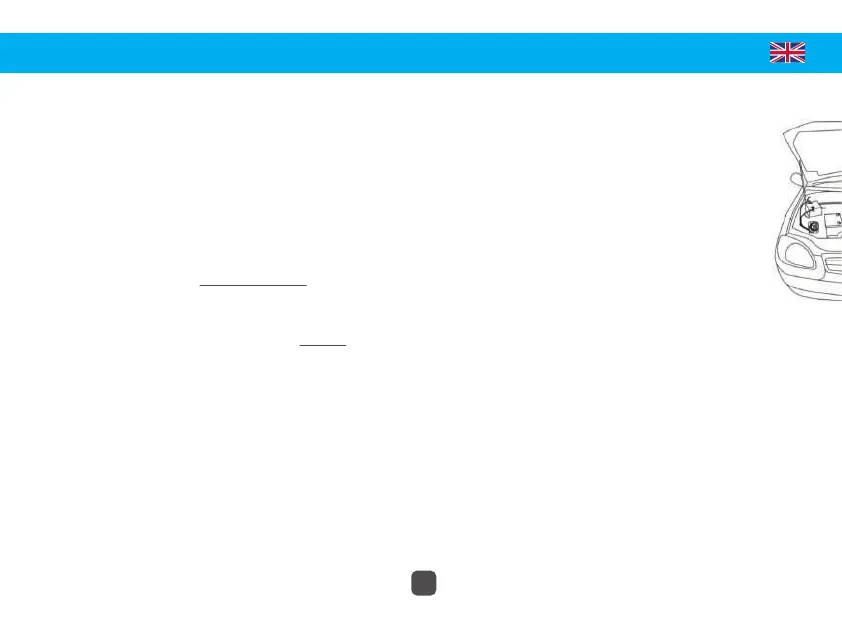
• Open the engine hood and find the best location for its installation. Be sure to place it in a location
designed in such a way as to prevent water from entering. Also be careful not to install it too close to the motor or in an area where
there is high temperature.
• Connect your central siren following the instructions below and the diagram on page 5:
-> The RED & BLACK wires must be connected. They are used to power the central siren.
- Connect the RED wire to a +12V BATTERY.
- Connect the BLACK wire to a GROUND (-).
-> The WHITE, ORANGE and BLUE wires are optional and allow you to power additional functions on your alarm:
- Connect the ORANGE wire to add a starter cut-off relay (for the control of this relay).*
When the alarm is activated, a signal is sent and activates the starter cutout. Starting the vehicle is therefore
impossible.
- Connect the BLUE wire to a perimeter line (= instant system alarm line, connected to doors, trunk, hood, or any other
electrical component of the vehicle to detect unauthorized access to the vehicle).
Warning: On recent vehicles (since 2010), it is not recommended to connect directly to the doors and ceiling lights because the systems are
multiplexed (canbus).
- Connect the WHITE wire to a +12V APC to detect ignition of the vehicle (safety function).
Caution: This wire is usually not to be permanently connected.
Note: To code a remote control it is necessary to connect the BLUE & WHITE wires.
SYSTEM SETUP
14
*Relay not supplied with the alarm (ref. TSX2-RCM)
 Loading...