6
Parts & Service: 020 8988 7400/E-mail:Parts@clarkeinternational.com or Service@clarkeinternational.com
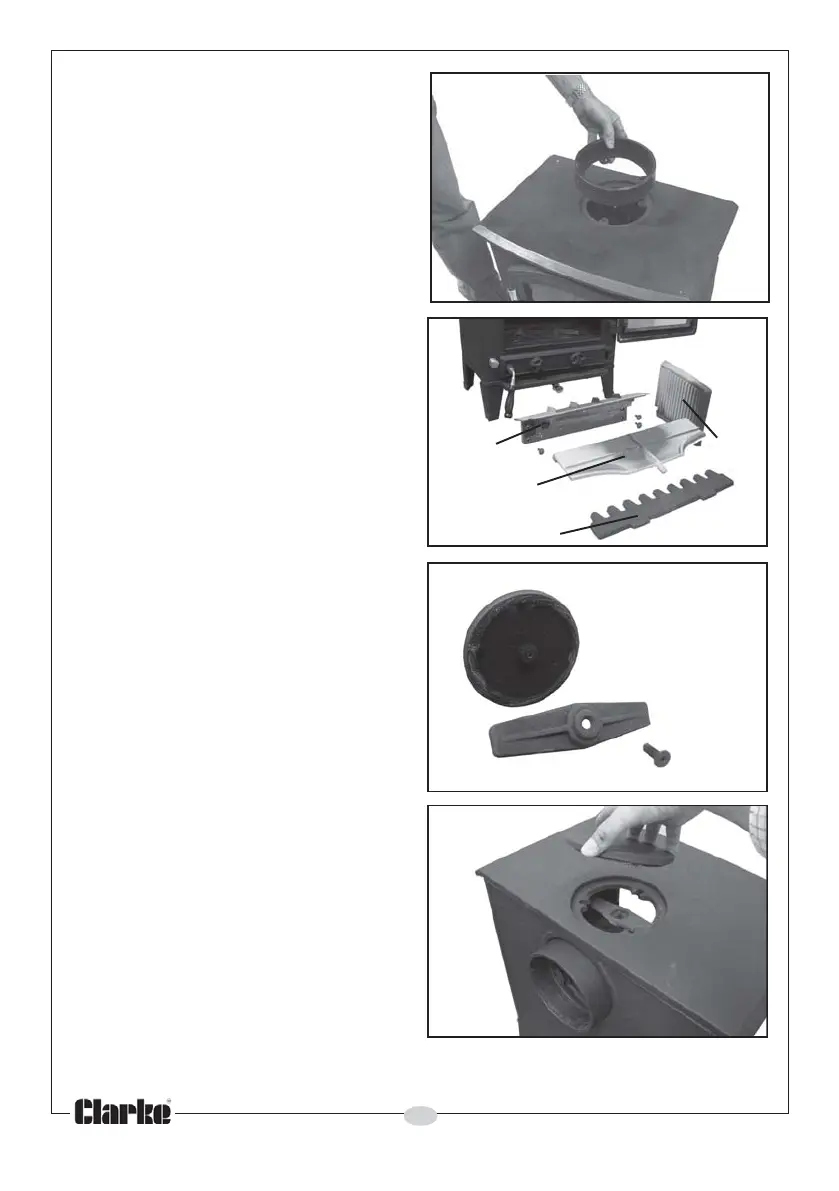
using the socket head bolts, nuts
& washers supplied and tighten
with the key provided. Ensure the
fireproof gasket is correctly seated
in the base of the flue adaptor.
4. Check that the blanking plate is
fitted in the rear panel when the
vertical flue exit is required.
5. If the rear mounting flue
configuration is to be used, the
blanking plate will be fitted to the
top of the stove and the flue
connector to the rear panel.
To do this, the rear baffle will need
to be removed from inside the
stove to gain access to the rear
flue fastenings.
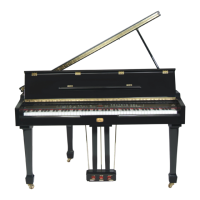
6. Lift out the log retainer bar and
the two side firebrick panels
shown in Fig 3. Lift out the
removable baffle and remove
the four bolts holding the fixed
baffle assembly to the back of
the stove. Remove the baffle.
• You can now access the rear
blanking plate.
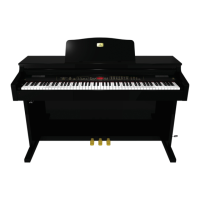
7. Using the hex key provided, undo
the screw securing the blanking
plate clamp shown in Fig 4 and
remove the blanking plate and
clamp.
8. The blanking plate can now be
fitted to the top of the stove and
the flue adaptor to the rear as in
Fig 5.
9. Replace all the components
removed above and ensure the
ashpan is in position below the
grate. A handle is supplied for
when the stove is in use.
10. Place the stove in the desired
location as shown in
POSITIONING AND INSTALLATION. Take care not to damage the floor
surface.
Fig 3
Fig 2
Fig 4
Baffle
Assembly
Removable Baffle
Side
Firebrick
Log Retainer
Fig 5
Clamp Bar
Hex socket
screw