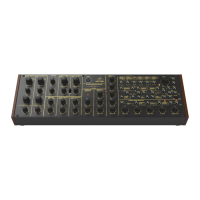
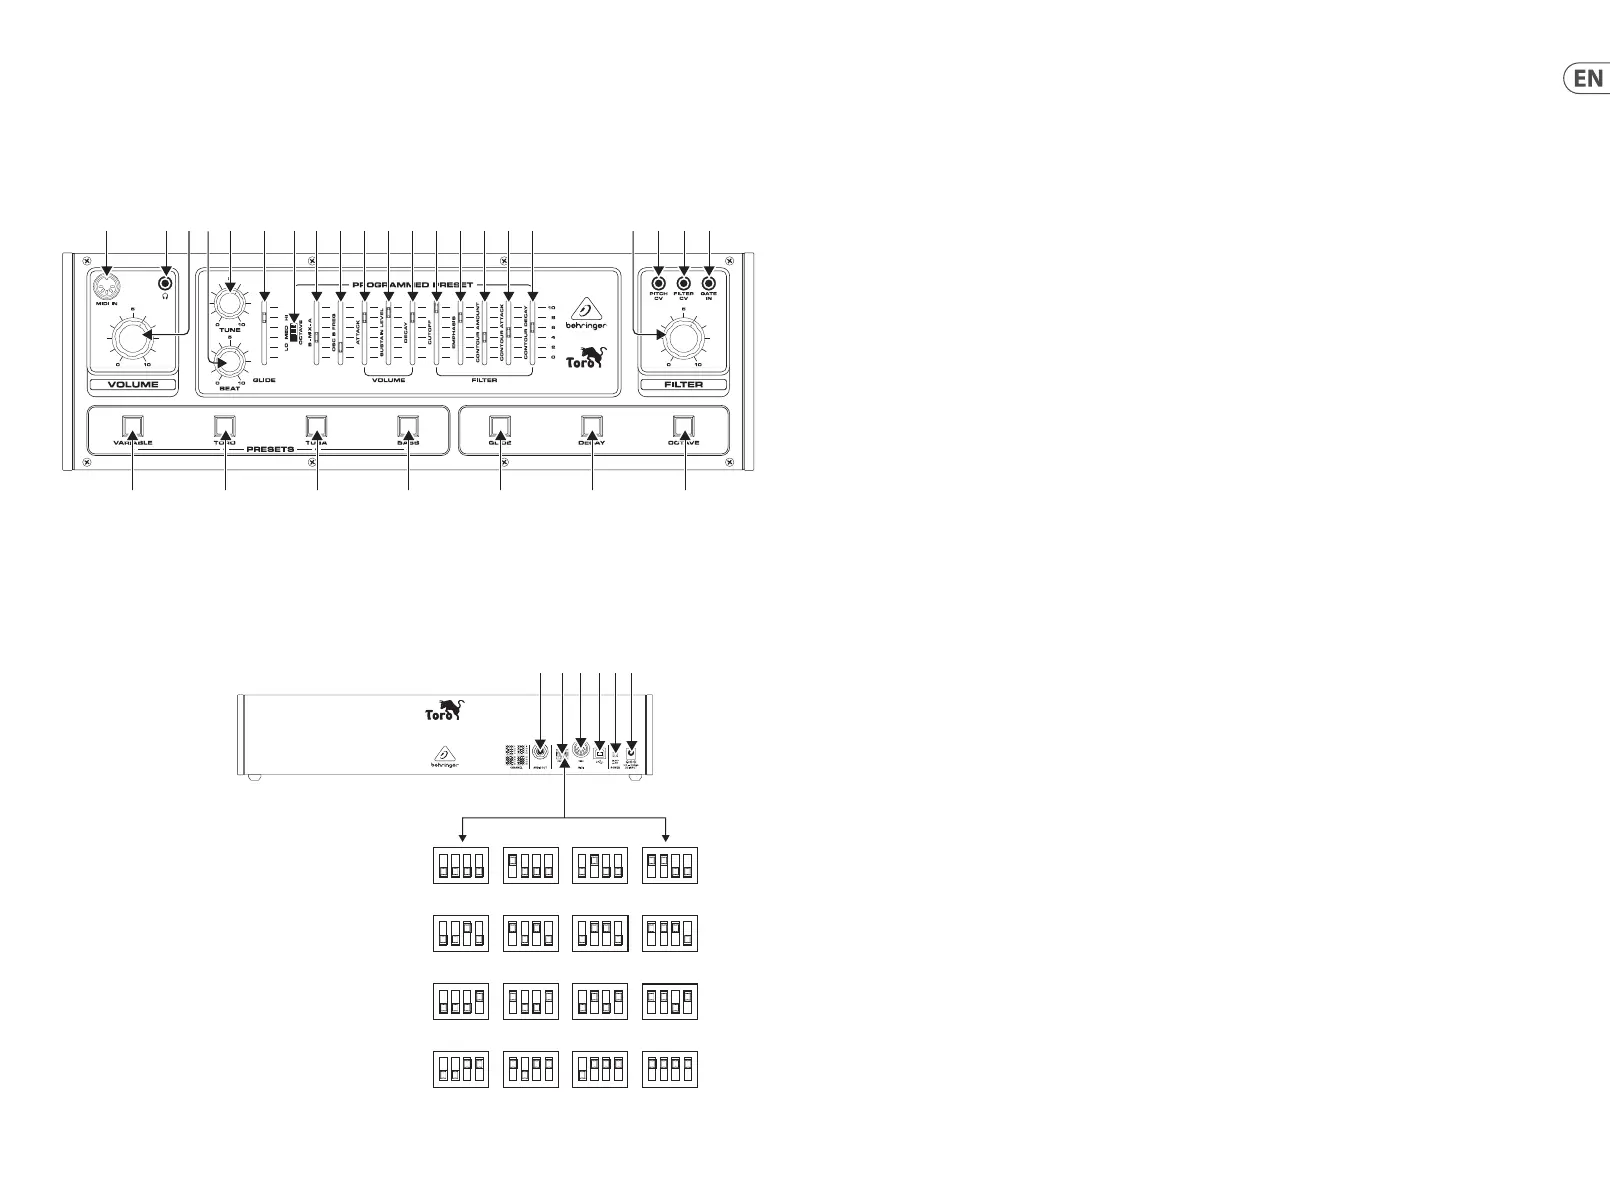
TORO Controls
(1) (2) (3) (5) (4) (6) (8)(7) (9) (10) (11) (12) (13) (14) (15) (16) (17) (19) (20) (21)(18)
(22) (23) (24) (25) (26) (27) (28)
1 2 3 4
5 6 7 8
9 10 11 12
(31)(30) (32)(33)(34)(29)
Top Panel
(1) MIDI IN – use this socket to input MIDI from an external
MIDI device such as a sequencer or DAW.
(2) PHONES – connect headphones via a ⁄" (3.5 mm)
TRS connector.
(3) VOLUME – master volume 0 to 10.
(4) TUNE – use this control to tune the Toro to another
instrument, range is ±1.5 semitones.
(5) BEAT – sets the ne tuning of the second oscillator, range
is ±2%.
(6) GLIDE - sets the rate of glide (portamento) between notes.
(7) OCTAVE – choose the octave range, LO (16’-8’), MED (8’-4’)
or HI (4’-2’).
(8) B-MIX-A – balance control between the A and B oscillator.
(9) OSC B – adjust the coarse frequency of OSC B.
(10) ATTACK – adjust the attack time from 5 to 560 ms.
(11) SUSTAIN LEVEL – sets the sustain level. The higher the
control the longer the sustain.
(12) DECAY – adjust the loudness decay time from 50 ms
to 2.8 s.
(13) CUTOFF – adjusts the cuto frequency of the 24 dB/ octave
low-pass lter.
(14) EMPHASIS – adjusts the resonance of the lter. This
emphasizes the frequencies around the cuto point.
(15) CONTOUR AMOUNT – sets the depth of the applied
envelope. If set to 0, the lter envelope will have no eect.
(16) CONTOUR ATTACK – adjust the lter attack time from
5 to 56 ms.
(17) CONTOUR DECAY – adjust the lter decay time from 50 ms
(down) to 2.8 s (up).
(18) FILTER – adjust the cuto of the 24 dB/octave lter, which
works on the presets as well as the variable panel.
(19) PITCH CV – use this socket to control the Toro from an
external CV source in the range 0 V to +4 V.
(20) FILTER CV – VCF cuto frequency control voltage
0 to +5 V.
(21) GATE IN – trigger the Toro from an external gate.
0 to +5 V.
(22) VARIABLE – selects the variable controls
(23) TORO – selects the Toro bass preset
(24) TUBA – selects the Tuba preset
(25) BASS – selects the Bass preset.
(26) GLIDE – glide on/o function
(27) DECAY – decay on/o function
(28) OCTAVE – toggle high-low octave.
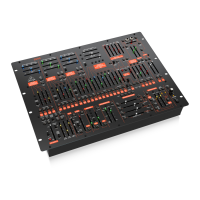
Rear Panel
(29) OUTPUT – main output via a ¼" (6.35 mm) TRS connector.
(30) MIDI CHANNEL SELECT – move the four dip switches to
select the MIDI channel.
(31) MIDI THRU – a direct output of the MIDI IN to chain to
other devices.
(32) USB – connects to a computer via a standard USB cable.
(33) POWER ON – turn the Toro on/o.
(34) DC INPUT – connect the supplied power supply.
(EN) Step 2: Controls
18 19Quick Start GuideTORO