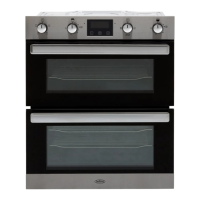
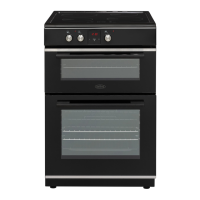
INSTALLATION
STEP 3: Connect to the electricity
supply - Gas (mains ignition models
only)
Warning:Thisappliancemustbeearthed.
Theexiblemainsleadissuppliedcon-
nected to a mains plug which complies
withAS/NZS3112.
Replace only with a plug of the same type
and rating.
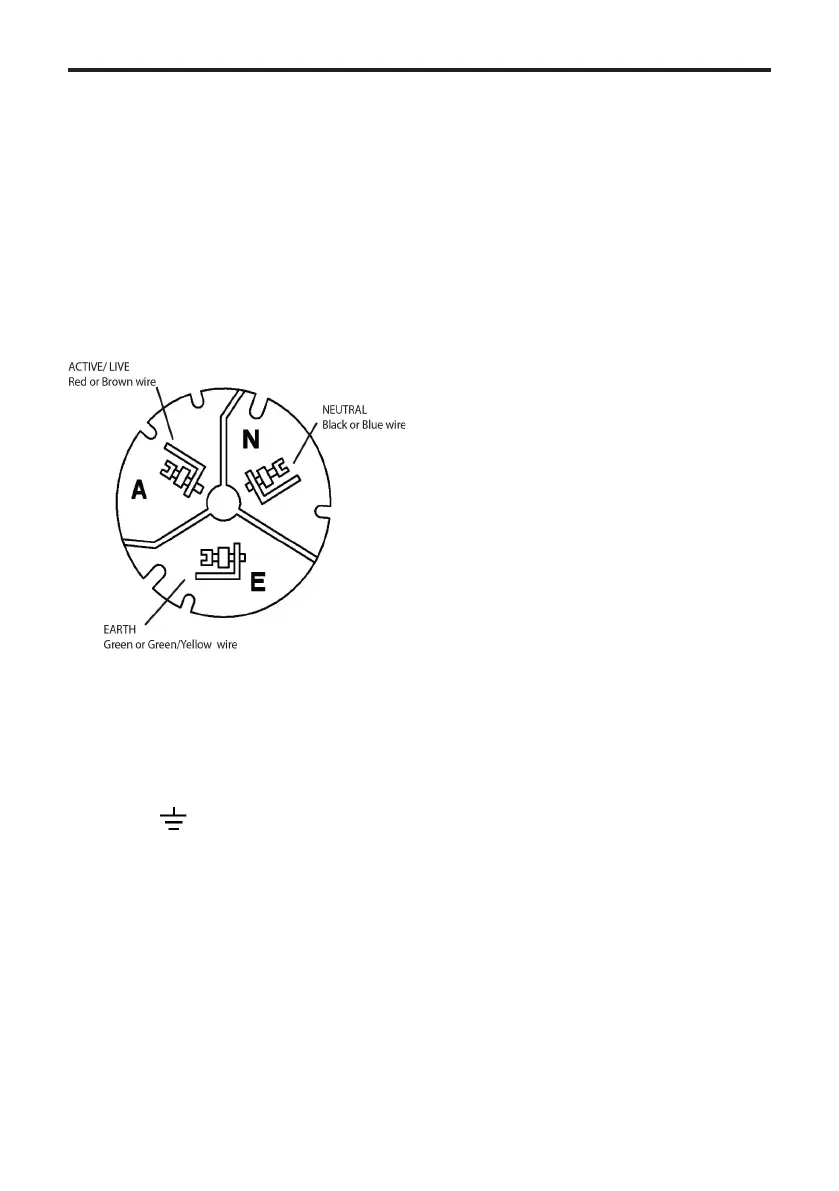
WIRING SIDE OF THE PLUG
As the colours of the wires in the mains
lead for the appliance may not correspond
with the coloured markings identifying the
terminalsinyourplug,proceedasfollows:
1. The wire which is coloured green and
yellow must be connected to the terminal
marked E (Earth) or coloured
Green.
2. The wire which is coloured blue must
be connected to the terminal marked N
(Neutral), or coloured Black.
3. The wire which is coloured brown must
be connected to the terminal marked L
(Live), or coloured Red.
The plug and socket must be accessible
after installation. Should the mains lead of
theapplianceeverrequirereplacing,this
mustbecarriedoutbyaqualiedelectri-
cian who will replace it with a lead of the
same size and temperature rating.
Important:-ensurethatyourouteall
mainsandelectricalcablesandexible
tubing well clear of any adjacent heat
source.
Under no circumstances should the mains
electric cable be allowed to come into
contactwiththeverticalovenuetubes
on the rear of the appliance.
 Loading...