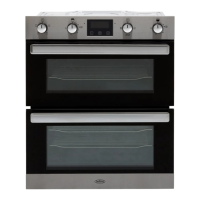
INSTALLATION
STEP 4: SECURE APPLIANCE INTO
HOUSING UNIT
Note:Theunithousingtheappliance
mustbeappropriatelyxed.Ensurethat
the appliance is centrally located. Take
care not to damage the appliance or
cabinetry.
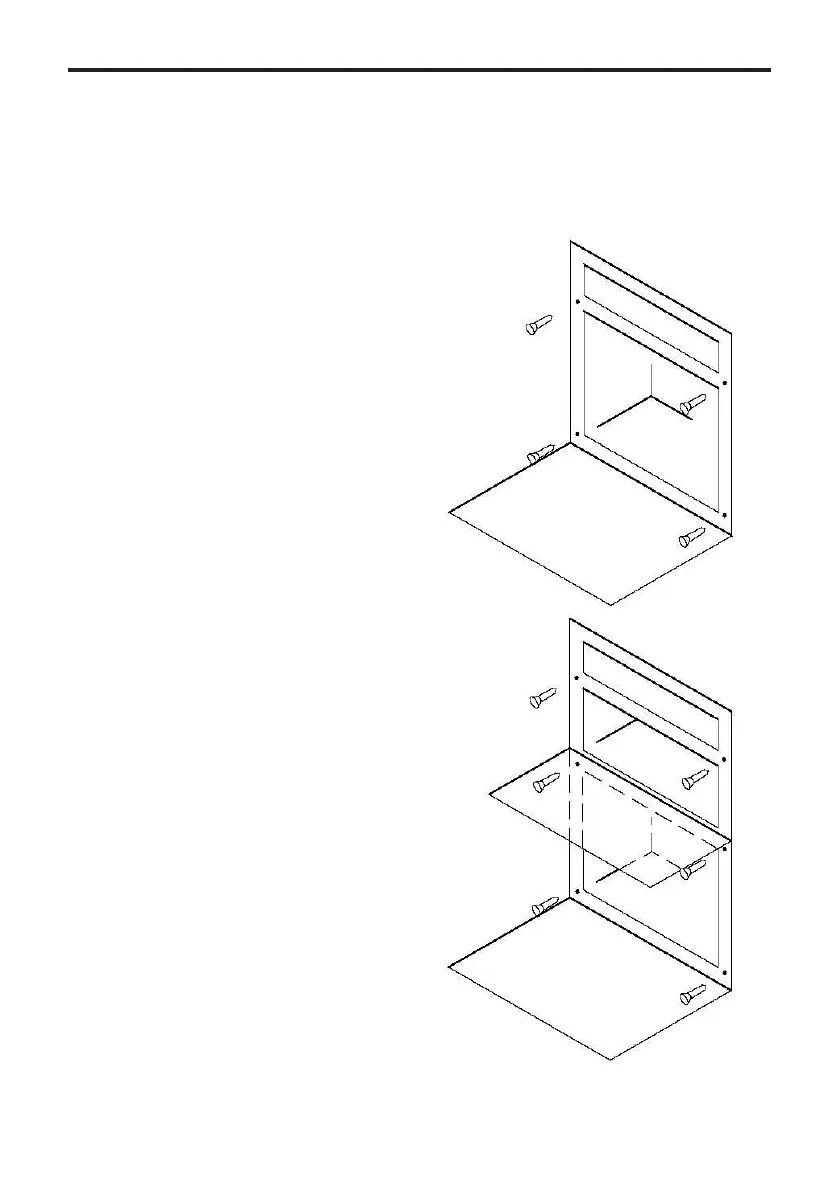
70cm only
Method1:Caremustbetakentoensure
theappliancerunnersaresufciently
engaged over the top of the runners on
the base units.
Method2:Insertapplianceintothecabi-
net - ensure that it is engaged over the
top of the side runners.
Method3:Insertapplianceintocabinet
Note:ForinstallationMethod1,youwill
needtodrillthroughthexingholesinto
the side trims with a 3.2mm diameter
drill.
There are 4/6 black no 8 x 25mm long
chipboard screws for securing appliance
to cabinet. Insert appliance into cabinet
and secure.
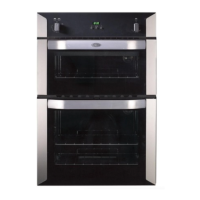
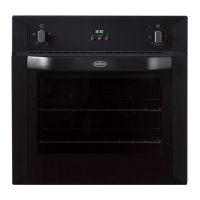
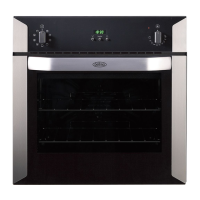
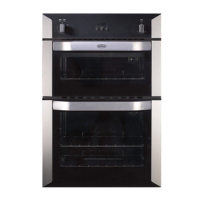
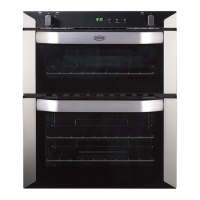
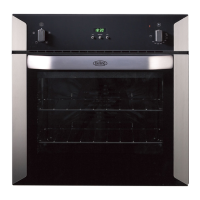
60cm ovens
- Open the oven door and screw the 4
xingscrewsthroughtheholesinthe
front frame.
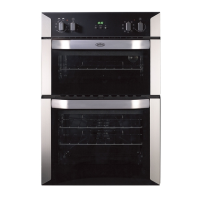
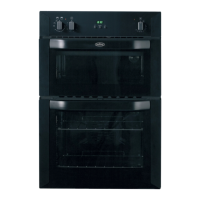
70/90cm ovens
- Open the grill / top oven door, and
screw2xingscrewsthroughthetopcor-
ner holes in the front frame.
- With the grill / top oven door still open,
screw2xingscrewsthroughtheholes
located under the grill compartment.
Close the grill / top oven door.
- Open the main oven door and screw 2
xingscrewsthroughthebottomcorner
holes in the front frame.
60/70/90 xing positions
 Loading...