2
1
3
4
5
7
8
9
10
11
12
16 15
14
13
6
-09- -10-
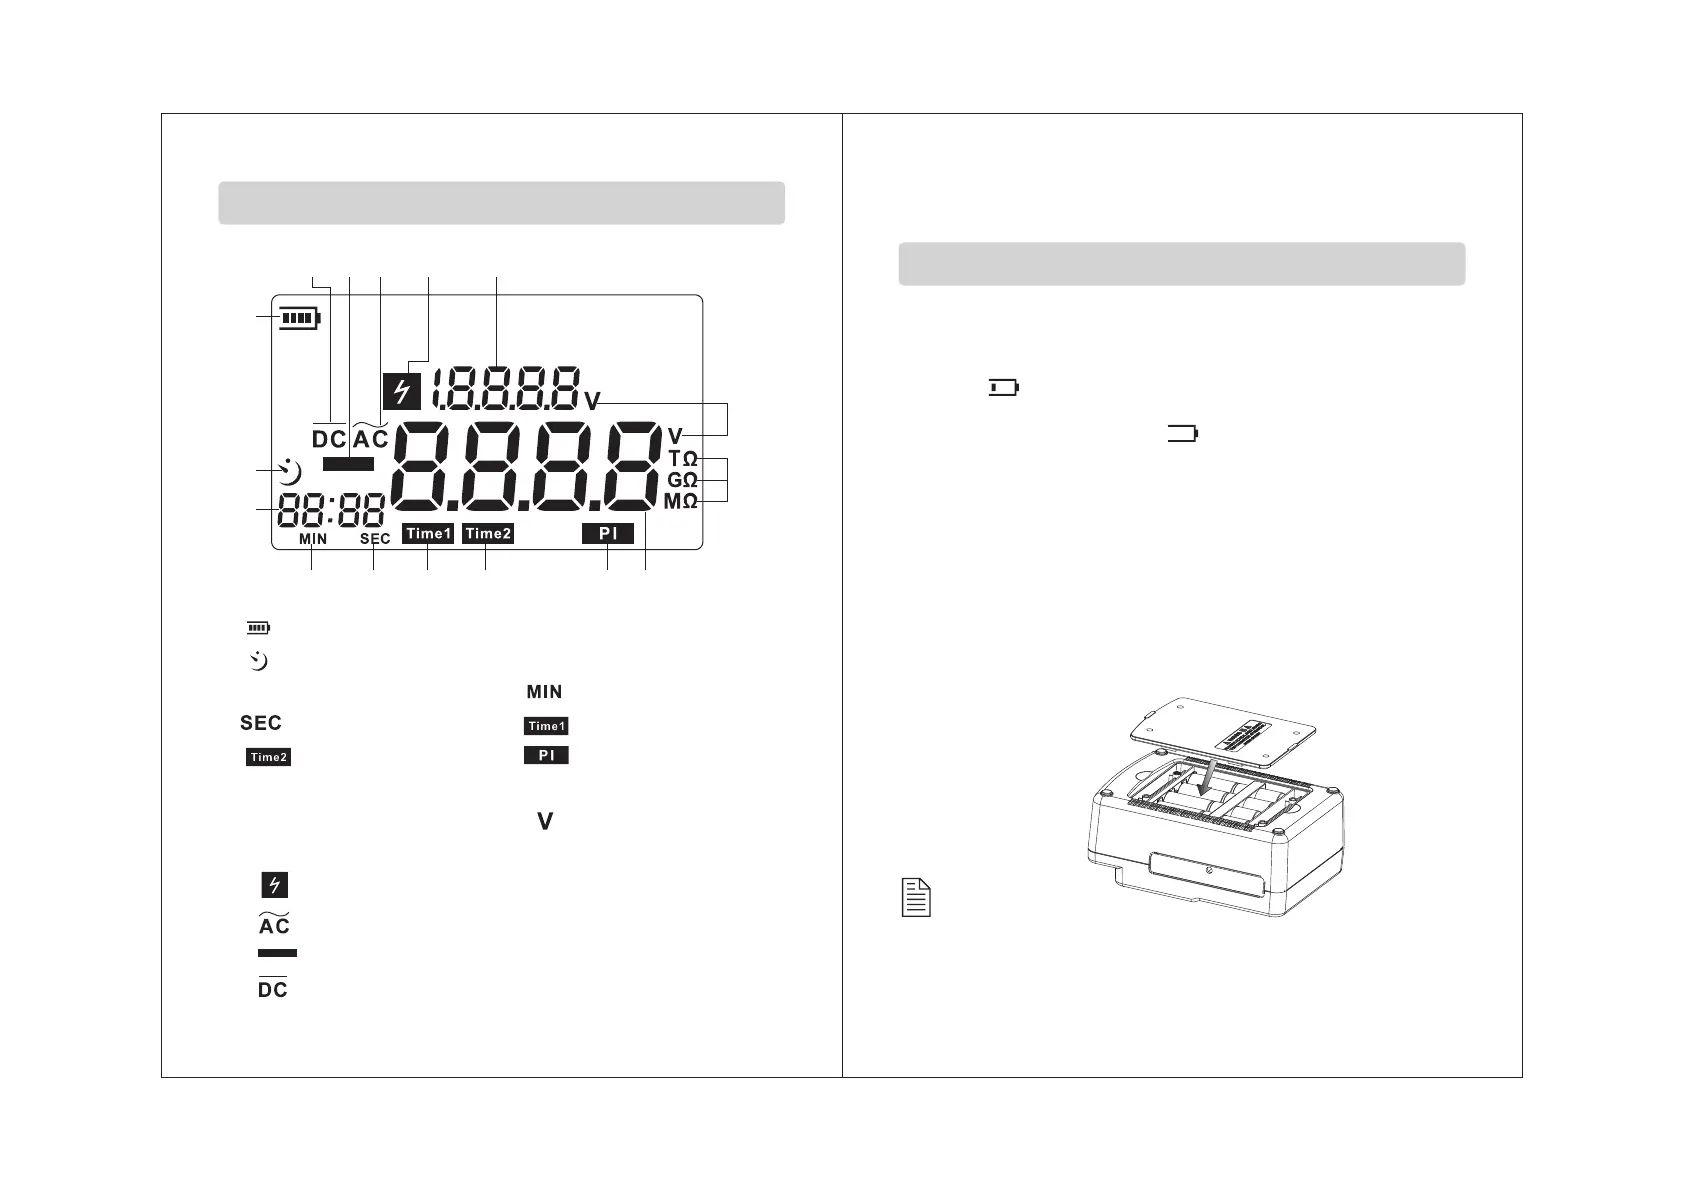
1. : Battery symbol;
2. :Time count down symbol;
3.Timing display ; 4. :Minute;
5. :Second; 6. :Timers 1;
7. :Timers 2; 8. :Polarization index
9.Voltage/ insulation resistance reading.
10.Resistance unit 11. :The voltage unit
12.Voltage display section
13. :High voltage warning .
14. :Alternating current .
15. :Minus symbol.
16. :Direct current .
LCD Display
2.Operation instructions
1. Check the battery voltage & battery replacement:
a.Set the function switch to any position other than OFF.
b. When the battery mark shown at the upper left on the LCD
is “ ”, the battery is almost exhausted. Replace the
batteries to proceed to measurement.
When battery mark is “ ”, the battery voltage is bel-
ow the lower limit of the operating voltage. The accuracy
cannot be guaranteed.
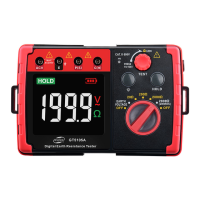
c.Battery replacement:
1>. Take down all the test line after you turn off the
instrument.
2>. Uninstall four screws at the bottom and open the
battery door.
3>. Replace all old batteries with new batteries. Please
note the polarity.
4>. Cover the battery door and fasten the screws. As the
picture below:
Preparation before measurement
Caution:
Remove the batteries if the tester is not required for an
extended periods in order to avoid damage to the battery
compartment and erosion resulting from a battery leakage.