29
EN
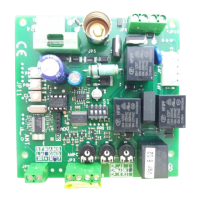
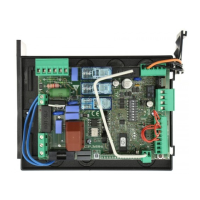
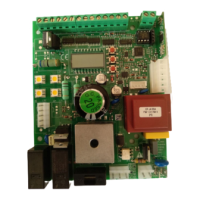
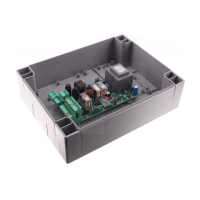
2) CP.BULL 15 OMI CONTROL UNIT
2.1) INPUT/OUTPUT FUNCTIONS
N° Terminals Function Description
L-N-GND Power Supply
Single-phase power input.
L: Phase - N: Neutral - GND: Ground connection to the motor housing.
Note: the ground connection must be done as shown in the diagram at page ???
U-V-W Single-phase motor Single-phase motor connection Phase-Common-Phase.
Lamp Blinker Blinker connection 230Vac 40W max or 115Vac 40W max (BULL 15 OMAI).
24 Vdc 24 Vdc Auxiliary output power supply 24Vdc/500mA max.
SCA SCA
N.O. Clean Contact (voltage free contact) to be used as open gate indicator 24 Vac 0.5 A
max, configurable through the logic SCA.
Phototest Photo-test Photocell test output, see figure 15
COM COMMON Common for all the input command.
OPEN
OPEN COMMAND OPEN Input (N.O. contact).
CLOSE
CLOSE COMMAND CLOSE Input (N.O. contact)
P.P.
STEP BY STEP COM-
MAND
STEP BY STEP Input (N.O. contact)
PED PEDESTRIAN PEDESTRIAN Input (N.O. contact)
STOP STOP STOP Input (N.C. contact)
PHOTO OPEN PHOTOCELL PHOTOCELL Input active only during opening phase
PHOTC CLOSE PHOTOCELL PHOTOCELL Input active only during closing phase
COM COMUNE COMMON for the limit switch
SWC
CLOSE LIMIT SWITCH CLOSE Limit Switch Input (N.C. contact)
SWO OPEN LIMIT SWITCH OPEN Limit Switch Input (N.C. contact)
DAS/8K2
SAFETY EDGE
SAFETY EDGE Input
Resistive Edge (8K2): JP1 “DAS” close
Mechanical Edge (N.C.): JP1 “DAS” OPEN
The activation of the Safety Edge stops and reverses the movement of the leaf for 3s.
RADIO RADIO RECEIVER
Plug-in connection for radio receiver ONE, to be used with the cable provided, see picture
18.
2CH
SECOND CHANNEL Second radio channel output. N.O. contact (max 24Vac/dc 1A)
BRAKE BRAKE RESISTOR Brake resistor Input for the braking current dissipation.
P3
Not used
COM1 Not used
J7 Not used
J8 Not used
SW1
Dip1, Dip2 Keep in ON position
2.2) HOW TO CHECK CONNECTIONS
1) Cut off power supply.
2) Manually release the door/gate and push it for about half stoke. Lock the door again.
3) Restore power supply.
4) Send a step-by-step command through push-button <-> on the control unit (LCD display off). To stop the door/gate press <-> once
more.
5) The door/gate should open. If not, use the MINV logics to change the opening direction.
3) PROGRAMMING
The programming of the various functions of the control unit is carried out using the LCD display on the control unit and setting the
desired values in the programming menus described below.
The parameters menu allows you to assign a numerical value to a function, in the same way as a regulating trimmer.
The logic menu allows you to activate or deactivate a function, in the same way as setting a dip-switch.
Other special functions follow the parameters and logic menus and may vary depending on the type of control unit or the software
release.
 Loading...