Do you have a question about the Beok Controls BOT-R7X-WIFI and is the answer not in the manual?
Thermostat automatically turns heating on when indoor temp drops below 5°C and off when it reaches 5°C.
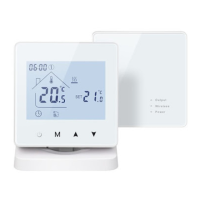
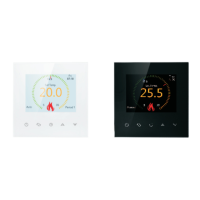
The BOT-R7X-WIFI Gas Boiler Heating Thermostat is an intelligent digital thermostat designed for floor heating systems. It operates by comparing the ambient temperature with a user-defined set temperature, controlling the electric valve of the floor heating system to maintain a comfortable and energy-efficient environment.
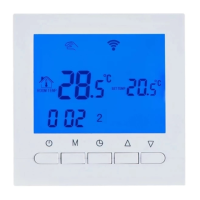
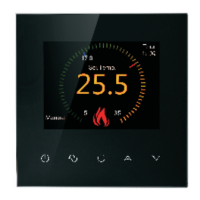
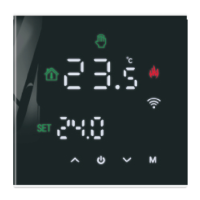
The thermostat allows users to manage their heating system through various modes and settings. It features a manual mode and an automatic mode, indicated by distinct icons on the LCD display. In manual mode, users can directly set the desired temperature. In automatic mode, the thermostat follows a pre-programmed schedule. The device also includes a low-temperature protection function, which automatically activates heating if the indoor temperature drops below 5 degrees Celsius and turns off when it rises back to 5 degrees Celsius, ensuring pipes do not freeze.
The thermostat offers intuitive controls for ease of use. The ON/OFF key allows users to power the device on or off. Pressing it again during shutdown will close all valves. The mode switch key (represented by the "00" icon) toggles between manual and automatic operating modes.
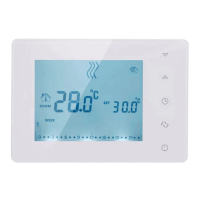
Temperature adjustment is straightforward: in the startup state, pressing the regulation key will make the temperature display flash, allowing users to rotate the outer frame to set the desired temperature.
For time and week adjustments, users can press and hold the clock adjustment button for 5 seconds. Once the icon flashes, rotating the outer frame adjusts the values. The "00" button switches between time and week adjustments, and the regulation key saves and exits the settings.
The device also features a lock key function for preventing unintended changes. Pressing and holding the lock key button for 5 seconds activates this feature, indicated by a lock icon at the bottom of the display screen.
Programming the thermostat's schedule is possible by pressing and holding the "00" button for 5 seconds in the startup state. Within programming mode, the "00" button is used to switch between parameters, the outer frame adjusts various parameters, and the "00" button fine-tunes minutes and sets the temperature. The process for subsequent time periods mirrors the first. The regulation key saves and exits the programming mode.
Parameter settings can be accessed by long-pressing the "00" button for 5 seconds while the device is powered off. This interface allows users to cycle through parameters using the "00" button, adjust values by rotating the outer frame, and save changes with the regulation key. Parameters include temperature compensation, switch deviation setting, antifreeze function activation (ON/OFF), rest day selection (off, one day, two-day weekend, no rest), and setting the upper limit of the temperature range.
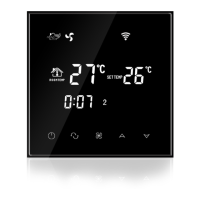
The thermostat also supports WiFi connectivity, enabling remote control and integration with smart home systems. To connect to WiFi, users must turn off the controller, then press and hold the regulation button for 5 seconds. The WiFi icon on the display will flash slowly, indicating the device is in code-checking state. Users then locate the thermostat product (Bluetooth+WIFI version) in their smart home app's device list, confirm, select their home WiFi network, enter the password, and follow the app prompts to complete the distribution process.
The device is designed for easy installation and troubleshooting. For installation, an expansion screw sleeve with a 59mm spacing is mounted on the wall. The upper and lower covers of the thermostat are separated with a screwdriver, and the wire is passed through the back cover to the wiring duct, leaving about 20cm of slack. The bottom shell is then fixed to the wall, the wire secured, and the front shell covered.
The manual provides a "Common Faults Handling" section to assist users with troubleshooting. For instance, if the device doesn't start up, users are advised to check if the battery is installed correctly or if the boot key is valid. If the LCD displays messy code, the rear shell installation should be checked for deformation. If the display is normal but there's no output, users should verify the connection between the main control board and the power board, and ensure the output is connected to the correct wire. Temperature display errors can be calibrated via the first item in the advanced options.
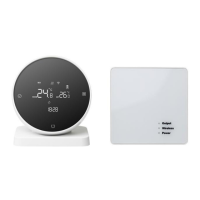
For wireless communication, the transmitting panel requires three AA batteries. After installing the batteries and turning off the power, users can press and hold the regulation button for 5 seconds to check the code. A steady light on the receiving panel's code checking indicator confirms successful code checking.
The code matching process for the receiving panel involves powering it on (the power indicator will be continuously lit), then pressing and holding the code matching button until the code matching indicator flashes. This ensures proper communication between the transmitting and receiving units.
| Display | LCD |
|---|---|
| Current Load | 16A |
| Accuracy | ±0.5°C |
| Installation Hole Distance | 60mm |
| Button | Touch button |
| Voice Control | Yes |
| Remote Control | Yes |
| Programmable | Yes |
| Installation | Wall-mounted |
| Control Accuracy | ±0.5°C |
| Type | Thermostat |
| Temperature Range | 5°C - 35°C |
| Power Supply | AC 100-240V, 50/60Hz |
| Control Method | App, Manual |
| Sensor | NTC sensor |
| Ambient Temp. | -10°C to 50°C |
| Storage Temp. | -20°C to 60°C |
| Timing Error | ±1 second/day |
| Shell Material | ABS |
| App | Beok Controls App |