EasyManua.ls Logo

Bernina 165 User Manual

Bernina 165
2 pages
To Next Page IconTo Next Page
Page #1 background imageLoading...
Page #1 background image
SUPPLIES
• BERNINA
®
Needle Punch Accessory Set
• Any of the following BERNINA
®
machines:
activa,
virtuosa, aurora, & artista
models 165, 170, 630
• Haiku Two Jacket pattern from The Sewing
Workshop
•Wool fabric (coat weight
or felted wool)
• Jewel tone skein
of variegated wool
yarn – remove
polyester
threads
wrapped
around yarn, if
applicable OR
• “Pure Wool”
- package of 6
solid single
rounds and 2
multi-color double
rounds of 100%
Merino Wool Fleece
MACHINE SET-UP
Note: Power to the machine should be OFF for the
installation of the Needle Punch Accessory Set.
• Drop the feed dog of the machine.
• Remove the presser foot, needle, and stitch plate.
• Remove needle holder thumb screw completely.
• Remove the bobbin case.
• Open the shuttle cover and remove hook race,
then leave shuttle cover and bobbin door open. Put
all these parts in a small plastic bag for safekeep-
ing.
Note: Consult your machine owner’s manual to
identify the parts, if needed.
• Place the Needle Punch stitch plate (with the large
hole) on the machine.
• Mount the Needle Punch needle holder on the nee-
dle bar. Secure it in place using the fixing screw.
• Attach the Needle Punch presser foot.
• Turn the machine on - this will automatically center
the needle bar
• Select Straight Stitch.
Note: This is the
only
stitch
that can be used with this attachment.
• Slowly turn the handwheel toward you, making sure
the needles go into the center of the large hole on
the stitch plate.
BY FAITH REYNOLDS
Turn a simple wool jacket
into a stunning fashion
statement by creating a floral
cascade along both sides
of the front opening.
The flowers are needle
punched in bright colors and
form the shape of the
outer edges of the lapels.
For visual instructions on using
the BERNINA
®
Needle Punch Accessory
Set, watch the instructional DVD
included with the set. For more written
information and inspiration, see
Feet-ures, Volume 3
18
Question and Answer IconNeed help?

Do you have a question about the Bernina 165 and is the answer not in the manual?

Bernina 165 Specifications

General IconGeneral
ButtonholesYes
DisplayLCD
Memory FunctionYes
Embroidery ModuleNo
TypeElectronic
Bobbin SystemDrop-in
Stitch Width9 mm
Stitch Length5 mm
Number of Stitches140
Feed DogRetractable
Built-in Stitches140
Max Stitch Length5 mm
Max Stitch Width9 mm
Free ArmYes

Summary

Machine Set-Up

Power Off and Parts Removal

Turn machine power OFF, drop feed dogs, remove presser foot, needle, stitch plate, and bobbin case.

Accessory Installation

Place Needle Punch stitch plate and mount needle holder. Attach the Needle Punch presser foot.

Machine Operation Setup

Turn machine on, select Straight Stitch, and slowly turn handwheel to center needles in the stitch plate hole.

Needle Punching Technique

Basic Principles and Tips

Uses free-motion principles but is easier. Sew faster, don't push/pull fabric, relax, and have fun.

Jacket Preparation for Punching

Haiku Two jacket lapels are cut in one piece. Extend outer lapel edge by 2" for easier handling.

Designing Floral Patterns

Create freeform flowers. Complement designs on both lapels. Mix shapes, colors, sizes, and add leaves/stems.
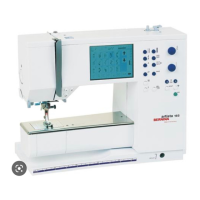
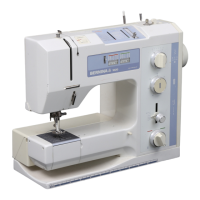
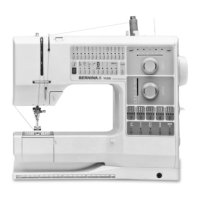
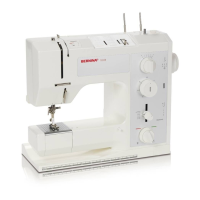
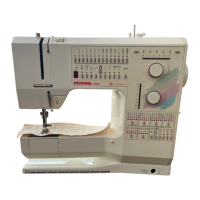
Related product manuals