74 Cleaning, Maintenance, T r o u b l e s h o o t i n g
Cleaning
If the machine is stored in a cold room, it
should be brought to a warm room about
1 hour before use.
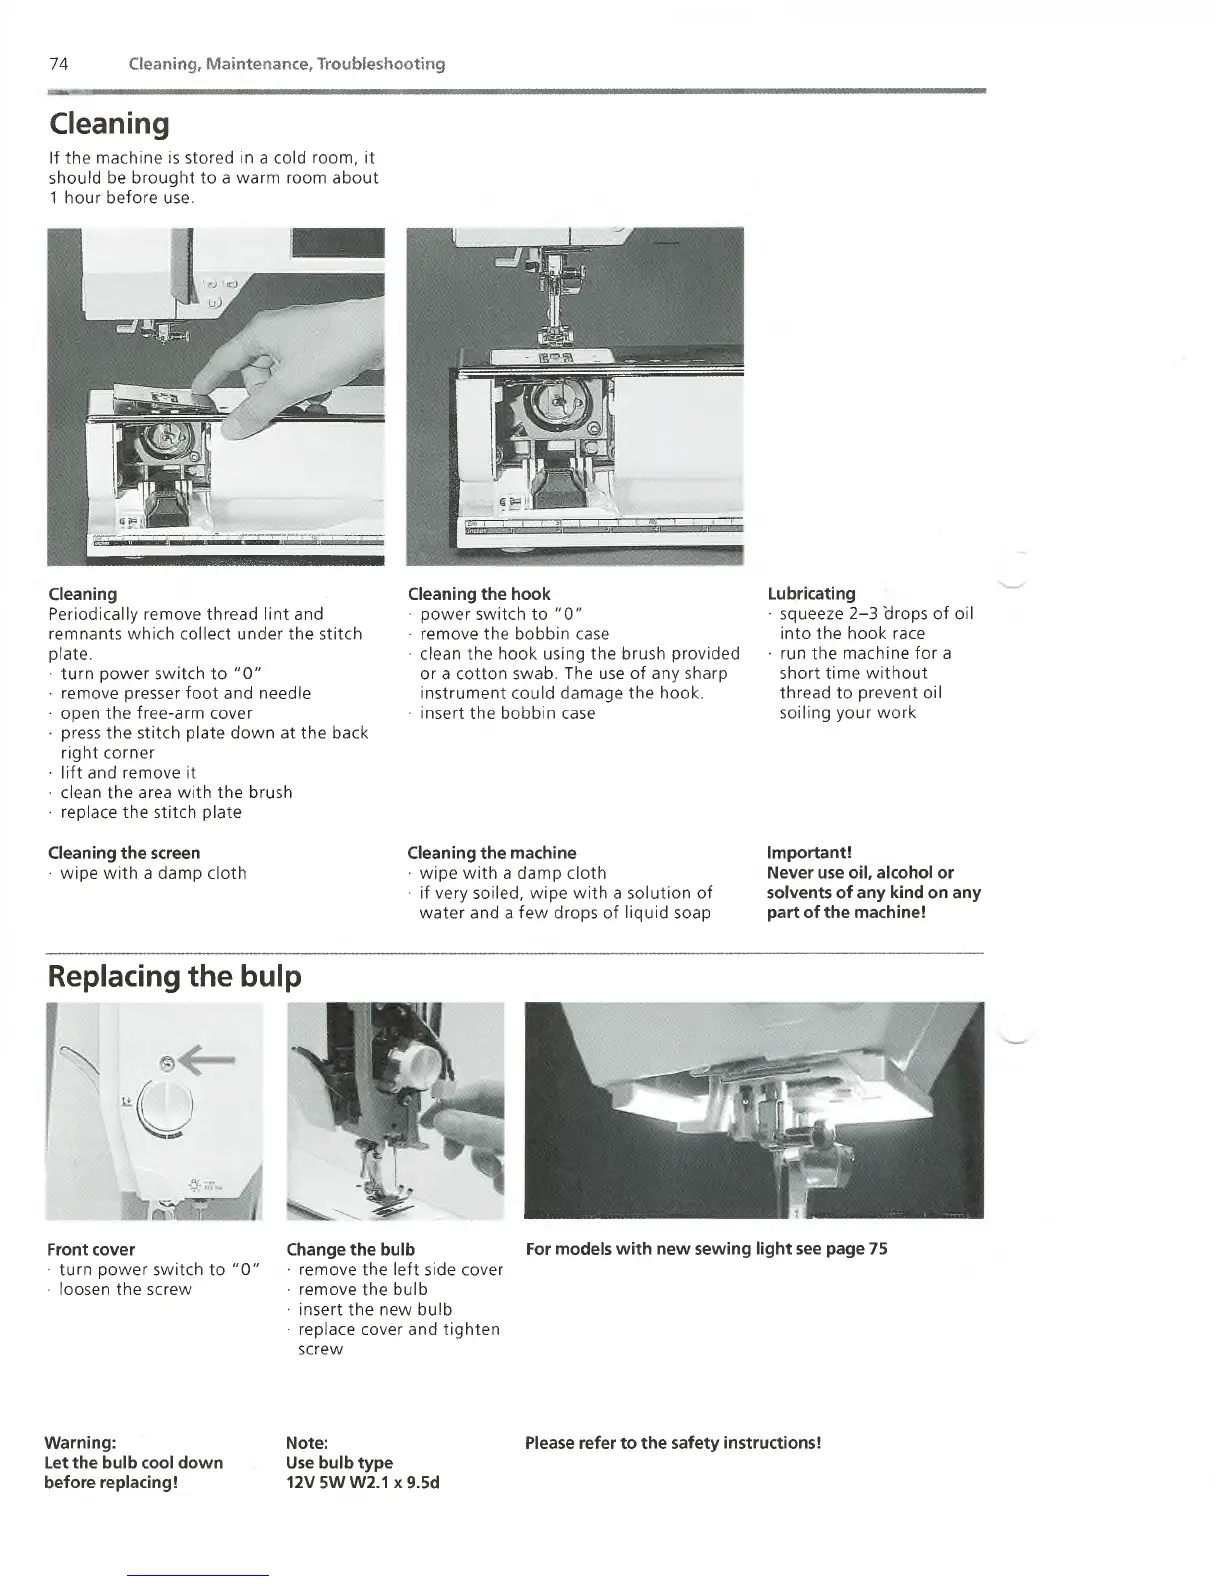
Cleaning
Periodically remove thread lint and
remnants which collect under the stitch
plate.
• turn power switch to "0"
• remove presser foot and needle
• open the free-arm cover
• press the stitch plate down at the back
right corner
• lift and remove it
• clean the area with the brush
• replace the stitch plate
Cleaning the screen
• wipe with a damp cloth
Cleaning the hook
• power switch to "0"
• remove the bobbin case
• clean the hook using the brush provided
or a cotton swab. The use of any sharp
instrument could damage the hook.
• insert the bobbin case
Lubricating
• squeeze 2-3 'drops of oil
into the hook race
• run the machine for a
short time without
thread to prevent oil
soiling your work
Cleaning the machine
• wipe with a damp cloth
• if very soiled, wipe with a solution of
water and a few drops of liquid soap
Important!
Never use oil, alcohol or
solvents of any kind on any
part of the machine!
For models with new sewing light see page 75
Replacing the bulp
Front cover
• turn power switch to "0"
• loosen the screw
Change the bulb
• remove the left side cover
• remove the bulb
• insert the new bulb
• replace cover and tighten
screw
Warning:
Let the bulb cool down
before replacing!
Note:
Use bulb type
12V 5WW2.1 x9.5d
Please refer to the safety instructions!
 Loading...