 Loading...
Do you have a question about the Bernina Q Series and is the answer not in the manual?
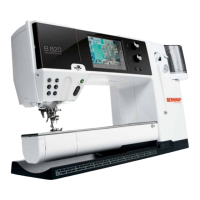
| Color Touch Screen | Yes |
|---|---|
| LED Lighting | Yes |
| Connectivity | USB |
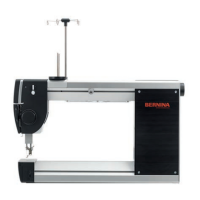
| Series | Q Series |
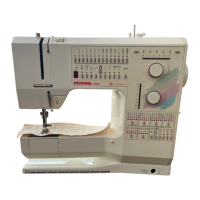
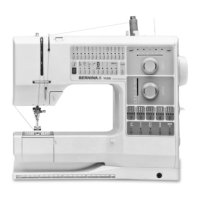
| Brand | Bernina |
| Automatic Thread Cutter | Yes |
| Speed Control | Yes |
| Stitch Regulation | Yes |
| LCD Screen | Yes |
| Warranty | Varies by region, consult your local Bernina dealer. |